
Winter brings beauty, but also challenges—especially when snow and freezing temperatures turn your driveway into a slick hazard. Ice buildup not only makes it difficult to drive or walk safely but can also damage pavement over time. While many reach for salt at the first sign of ice, not all solutions are equal in effectiveness, safety, or environmental impact. Understanding the best ways to remove and prevent ice ensures your driveway remains accessible, safe, and structurally sound throughout the season.
Understanding Ice Formation and Its Risks
Ice forms when moisture freezes on hard surfaces like asphalt, concrete, or pavers. This process is accelerated by repeated freeze-thaw cycles, where daytime melting refreezes overnight. The expansion of water as it turns to ice can cause cracks, spalling, and long-term deterioration of driveway materials.
Beyond property damage, icy driveways pose serious slip-and-fall risks. According to the National Safety Council, thousands of injuries occur annually due to winter slips on residential properties. Effective ice removal isn’t just about convenience—it’s a critical component of home safety.
Top 5 Proven Methods to Remove Ice from Your Driveway
Different situations call for different approaches. Below are five reliable techniques backed by homeowners, contractors, and winter maintenance experts.
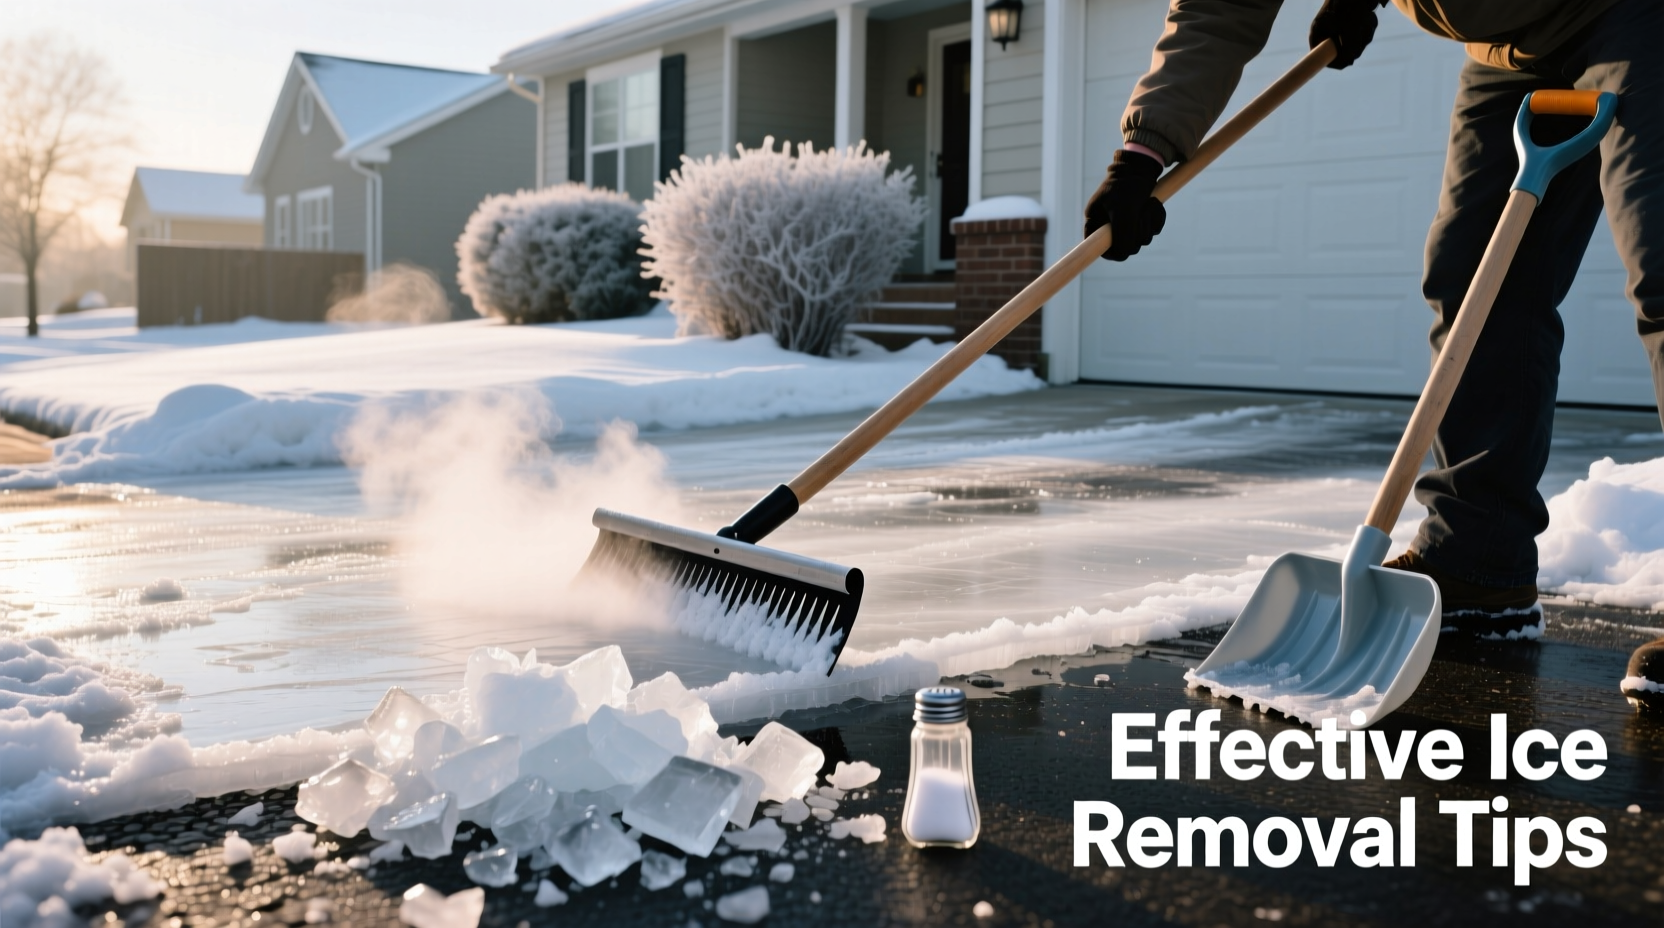
1. Mechanical Removal with Proper Tools
The most immediate and chemical-free method is physically removing ice using shovels, ice scrapers, or snow blowers. For thick layers, use a flat-edged shovel or roof rake with a push motion to avoid damaging underlying surfaces.
- Use plastic shovels on stamped or delicate concrete to prevent scratches.
- Avoid metal-edged tools on asphalt—they can gouge the surface.
- Apply downward pressure with an ice chisel for stubborn patches, but do so carefully.
“Mechanical removal should be the first step. De-icing chemicals work better on thin ice or damp surfaces.” — Greg Thompson, Winter Maintenance Supervisor, Midwest Snow & Ice Services
2. Use of De-Icing Chemicals (Salt Alternatives Included)
Sodium chloride (rock salt) is common, but it has limitations. It becomes ineffective below 15°F (-9°C) and can corrode concrete, harm plants, and pollute groundwater.
More effective alternatives include:
- Calcium chloride: Works down to -25°F (-32°C), generates heat upon contact, and is less damaging than rock salt.
- Magnesium chloride: Safer for concrete and vegetation, effective to 5°F (-15°C).
- Potassium acetate: Environmentally friendly and used at airports; ideal for eco-conscious homeowners.
| De-Icer Type | Effective Temp | Surface Safety | Environmental Impact |
|---|---|---|---|
| Rock Salt (NaCl) | 15°F (-9°C) | Poor – damages concrete | High – harms plants & soil |
| Calcium Chloride | -25°F (-32°C) | Fair – less corrosive | Moderate |
| Magnesium Chloride | 5°F (-15°C) | Good – safer for surfaces | Low to Moderate |
| Potassium Acetate | 20°F (-7°C) | Excellent | Very Low |
3. Hot Water and DIY Solutions (Use with Caution)
Pouring hot water on ice can melt it quickly, but this method carries risks. Sudden temperature changes may crack concrete, and runoff can refreeze into more hazardous black ice.
If you choose this route:
- Mix 1/2 gallon of hot water with 1 tablespoon of dish soap and 1/4 cup of rubbing alcohol.
- The soap reduces surface tension, while alcohol lowers the freezing point.
- Apply sparingly and only during daylight hours to allow drainage.
4. Electric or Heated Driveway Systems
For long-term investment, heated driveways use embedded cables or hydronic tubing to melt snow and ice automatically. These systems activate via sensors or timers and eliminate manual labor.
While installation costs range from $12 to $25 per square foot, they pay off in convenience and reduced maintenance over decades. Ideal for new construction or major renovations.
5. Physical Barriers and Insulation Techniques
Covering your driveway with insulated tarps or reusable snow mats prevents accumulation altogether. Though less common, some homeowners use large polyethylene sheets weighted at the edges to block snowfall on small sections.
This method works best for short-term protection during forecasted storms.
Step-by-Step Guide: How to Safely Remove Ice in 6 Steps
Follow this proven sequence to clear ice effectively without damaging your driveway or risking injury.
- Wait for daylight: Work during mid-morning when temperatures are highest.
- Remove loose snow: Use a shovel or blower to expose the ice layer.
- Break up thick ice: Use a mallet and ice breaker tool if necessary.
- Apply de-icer: Choose calcium chloride or magnesium chloride for faster action.
- Allow time to work: Wait 10–20 minutes for chemicals to penetrate.
- Clear slush: Scoop away melted residue to prevent re-freezing.
“The key is timing. Don’t wait until ice is a quarter-inch thick. Early intervention saves effort and protects surfaces.” — Laura Mendez, Certified Snow Management Professional
Prevention: The Best Way to Avoid Ice Buildup
Proactive measures reduce the need for emergency ice removal. Consider these strategies before winter sets in.
- Seal cracks in concrete or asphalt in fall to prevent water infiltration.
- Install proper drainage around the driveway to minimize pooling.
- Trim overhanging branches to allow sunlight exposure.
- Keep a supply of pet-safe de-icer on hand for quick response.
Mini Case Study: A Homeowner’s Winter Strategy in Upstate New York
Sarah Jenkins, a homeowner in Syracuse, NY—one of the snowiest cities in the U.S.—struggled with recurring ice dams and slippery approaches each winter. After replacing damaged concrete twice, she adopted a layered approach:
- She began pre-treating her driveway with magnesium chloride pellets 30 minutes before expected snowfall.
- After storms, she cleared snow immediately using a cordless electric shovel.
- She applied a second round of de-icer if temperatures dropped below freezing overnight.
Within two years, she reported no new cracks, fewer falls, and significantly less physical strain. “I used to dread every snowflake,” she said. “Now I have a system that works—and my back thanks me.”
Checklist: Your Complete Ice Removal Action Plan
- ✅ Stock up on effective de-icer (calcium or magnesium chloride)
- ✅ Inspect and repair driveway cracks in autumn
- ✅ Keep shovels, scrapers, and gloves easily accessible
- ✅ Pre-treat driveway before expected storms
- ✅ Clear snow early to prevent compaction
- ✅ Use traction aids (sand, non-clumping cat litter) when needed
- ✅ Monitor weather forecasts weekly during winter months
Frequently Asked Questions
Can I use vinegar or sugar-based products to melt ice?
Vinegar (acetic acid) has a low freezing point and may help slightly, but it's weak compared to commercial de-icers and can damage grass and concrete over time. Sugar beet juice is used in industrial blends but is rarely effective alone at home.
Is it safe to use a pressure washer on icy driveways?
Only under caution. High-pressure water can force moisture into porous surfaces, leading to cracking during freeze cycles. It’s better suited for removing slush after de-icing, not breaking solid ice.
How often should I reapply de-icer?
Reapply only when necessary—typically after new snowfall or if temperatures drop sharply. Overuse leads to runoff, environmental harm, and surface degradation. One application every 24–48 hours during active winter weather is usually sufficient.
Conclusion: Take Control of Winter Hazards Today
Getting rid of ice on your driveway doesn’t have to mean back-breaking labor or harmful chemicals. By combining mechanical removal, smart de-icing choices, and proactive prevention, you can maintain a safe, functional driveway all winter long. The best approach is strategic: act early, choose the right tools, and protect both your property and the environment.


 浙公网安备
33010002000092号
浙公网安备
33010002000092号 浙B2-20120091-4
Comments
No comments yet. Why don't you start the discussion?