
A sticky, grimy dashboard pad is more than just an eyesore—it’s a sign of sun exposure, aging materials, and improper cleaning over time. Many car owners reach for quick fixes like silicone sprays or household cleaners, only to worsen the stickiness or degrade the surface. The truth is, restoring a dashboard pad requires patience, the right tools, and a careful approach that preserves the material’s integrity. Whether you drive a daily commuter or a weekend classic, maintaining a clean, non-sticky dashboard enhances both comfort and resale value.
Understanding Dashboard Pad Materials and Why They Become Sticky
Most modern car dashboard pads are made from polyurethane foam covered with a thin layer of vinyl or soft-touch plastic. These materials are engineered to absorb heat, reduce glare, and provide a premium tactile feel. However, prolonged exposure to UV rays breaks down the chemical bonds in these surfaces, causing the top layer to soften and exude plasticizers—oily compounds that make the material pliable. When these migrate to the surface, they create a tacky residue.
Additionally, many commercial \"dash shine\" products contain petroleum distillates or silicones that temporarily enhance gloss but accelerate degradation over time. Each application builds up a film that attracts dust and becomes increasingly difficult to remove. This cycle leads to a surface that feels sticky no matter how often it's wiped.
“UV exposure is the number one enemy of interior plastics. Once the protective top coat fails, the underlying material begins to break down chemically.” — Mark Reynolds, Automotive Interior Specialist at ProDetail Labs
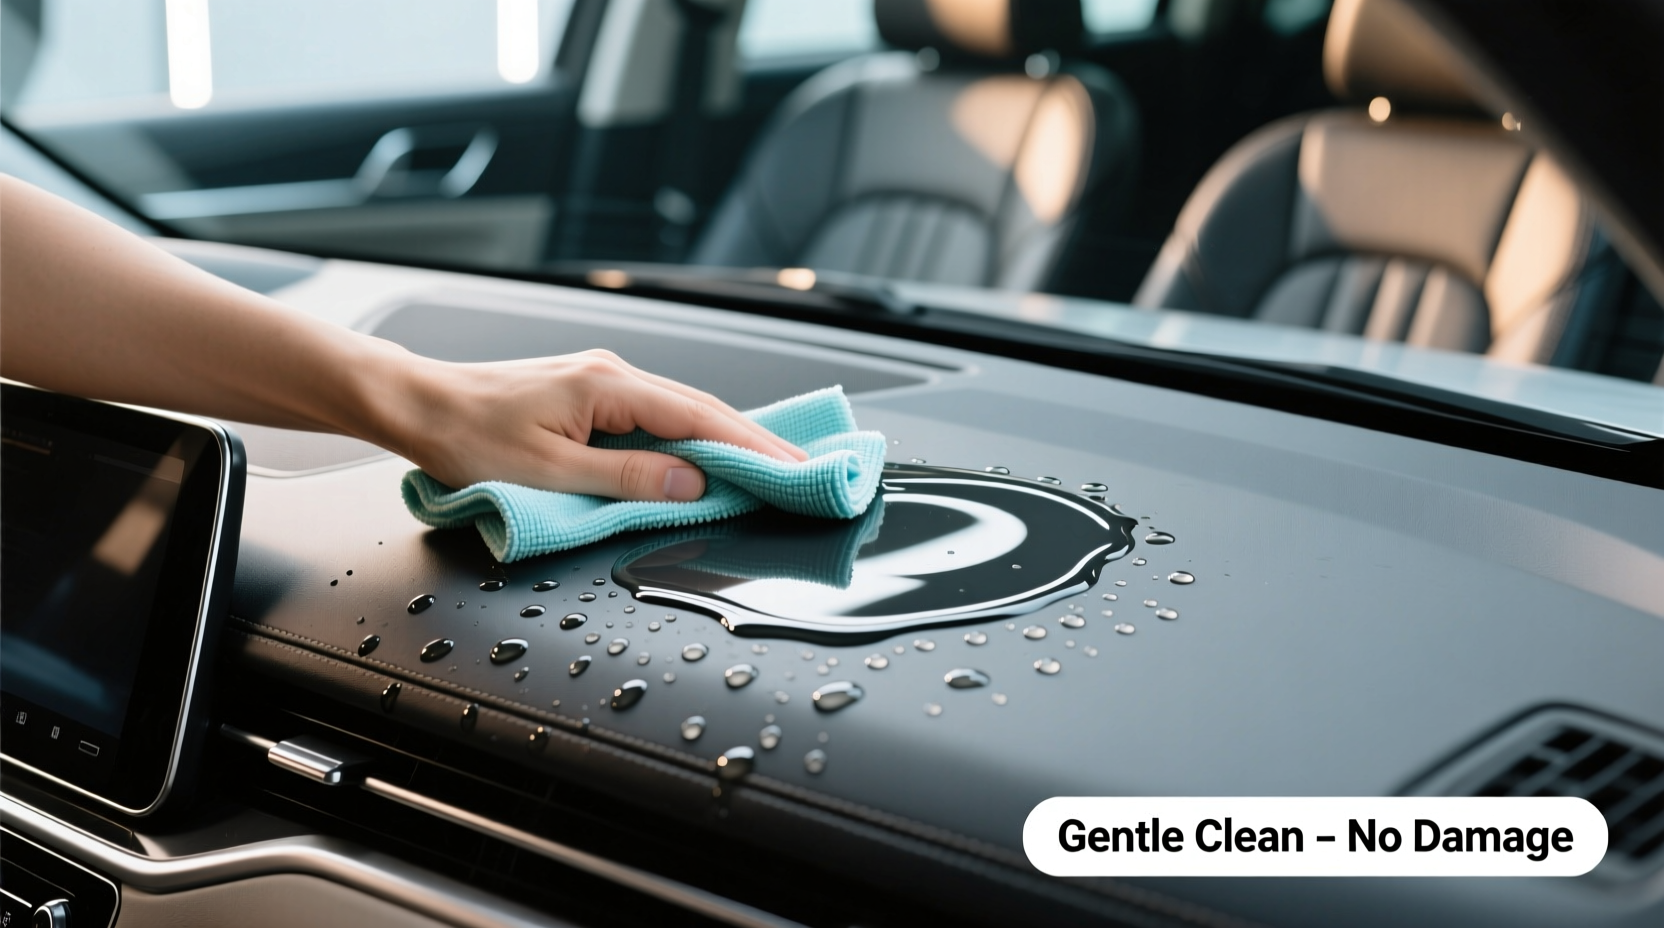
Step-by-Step Guide to Safely Clean and Restore Your Dashboard Pad
Cleaning a sticky dashboard isn’t about scrubbing harder—it’s about reversing chemical breakdown gently and thoroughly. Follow this detailed process to restore functionality and appearance without risking cracks or discoloration.
- Remove loose debris: Use a microfiber duster or soft brush to clear dust and particles. Avoid dry paper towels, which can scratch.
- Pre-clean with distilled water: Dampen a high-quality microfiber cloth (not soaking wet) and gently wipe the surface to remove surface grime. Let dry completely. ️
- Apply a dedicated interior cleaner: Use a pH-balanced, non-silicone automotive interior cleaner. Spray onto the cloth—not directly on the dash—to avoid liquid seepage into seams.
- Gently agitate with a soft-bristle brush: Use circular motions to lift sticky residue without damaging the surface. Focus on high-contact areas like near vents or glove compartments.
- Wipe clean with a second microfiber cloth: Use a dry section of a clean cloth to remove loosened residue. Change cloths as needed to avoid reapplying grime.
- Rinse with a damp cloth (optional): If using a foaming cleaner, lightly rinse with distilled water on a cloth to remove any leftover residue.
- Dry thoroughly: Allow 15–20 minutes of air drying before applying any protectant.
- Apply a UV-protective sealant: Choose a water-based, non-greasy dashboard protectant with UV inhibitors. Apply sparingly with a cloth or foam applicator.
Do’s and Don’ts: Dashboard Cleaning Comparison Table
| Do | Don't |
|---|---|
| Use pH-neutral interior cleaners | Use all-purpose cleaners with ammonia or alcohol |
| Apply protectants with UV blockers | Apply silicone-heavy “shine” sprays weekly |
| Clean every 4–6 weeks | Wait until stickiness appears to clean |
| Use microfiber cloths and soft brushes | Scrub with abrasive sponges or steel wool |
| Park in shade or use a windshield sunshade | Leave car exposed to full sun daily |
Real Example: Restoring a 2015 Honda Civic Dashboard
David, a rideshare driver in Phoenix, noticed his dashboard had become increasingly sticky after two summers of constant sun exposure. He’d used a popular silicone spray every few weeks, believing it protected the surface. Instead, the pad turned glossy and tacky, collecting dust within hours of cleaning.
He switched to a professional-grade interior cleaner (Chemical Guys InnerClean) and followed the step-by-step method above. After three sessions over six weeks—cleaning every 10 days to remove built-up residue—the stickiness disappeared. He replaced the silicone spray with a matte-finish, water-based protectant containing UV absorbers. Six months later, the dashboard remains smooth and easy to wipe, with no recurrence of stickiness.
His key insight? “It wasn’t dirt—it was layers of bad product buildup. Once I stopped using the shine sprays and cleaned properly, the real surface came back.”
Essential Checklist for Dashboard Pad Maintenance
- ☑ Inspect dashboard monthly for early signs of stickiness
- ☑ Stock pH-neutral interior cleaner and microfiber cloths
- ☑ Replace old silicone-based protectants with UV-protective formulas
- ☑ Use a soft-bristle detailing brush for textured surfaces
- ☑ Apply a windshield sunshade when parked
- ☑ Clean every 4–6 weeks, even if not visibly dirty
- ☑ Avoid touching the pad with sunscreen- or lotion-coated hands
Frequently Asked Questions
Can I use vinegar to clean a sticky dashboard?
Vinegar is acidic and may degrade sensitive plastics over time. While diluted vinegar might remove some residue, it risks dulling the surface and breaking down protective coatings. Stick to pH-balanced automotive cleaners designed for interiors.
Will toothpaste remove stickiness from my dashboard?
No. Toothpaste is mildly abrasive and formulated for enamel, not soft plastics. Using it on a dashboard can scratch the surface and create micro-tears where moisture and grime accumulate. It may temporarily reduce stickiness through abrasion, but long-term damage outweighs any benefit.
How do I know if my dashboard pad is beyond repair?
If the surface is cracked, peeling, or crumbling when touched, the material has degraded past restoration. In such cases, replacement or professional re-dying services are better options. A restorable pad will feel uniformly tacky but remain intact and flexible.
Final Thoughts and Action Plan
Restoring a sticky dashboard pad isn’t a one-time fix—it’s part of a long-term maintenance strategy. Sunlight, poor cleaning habits, and incorrect products all contribute to premature aging. By switching to gentle, scientifically sound methods, you preserve both aesthetics and function.
The most effective approach combines regular cleaning with UV protection and mindful product selection. Avoid shortcuts that promise instant shine but deliver long-term damage. Instead, invest time in proper care that keeps your cabin looking fresh and feeling clean.


 浙公网安备
33010002000092号
浙公网安备
33010002000092号 浙B2-20120091-4
Comments
No comments yet. Why don't you start the discussion?