
Over time, even the most powerful PCs can slow down due to cluttered files, bloated software, and background processes consuming resources. A sluggish system doesn’t always mean it’s time for a new machine—often, a thorough cleanup is all it takes to restore responsiveness and reclaim valuable disk space. With the right approach, you can significantly improve boot times, application responsiveness, and overall stability. These methods work across Windows 10 and 11 systems and require no advanced technical skills.
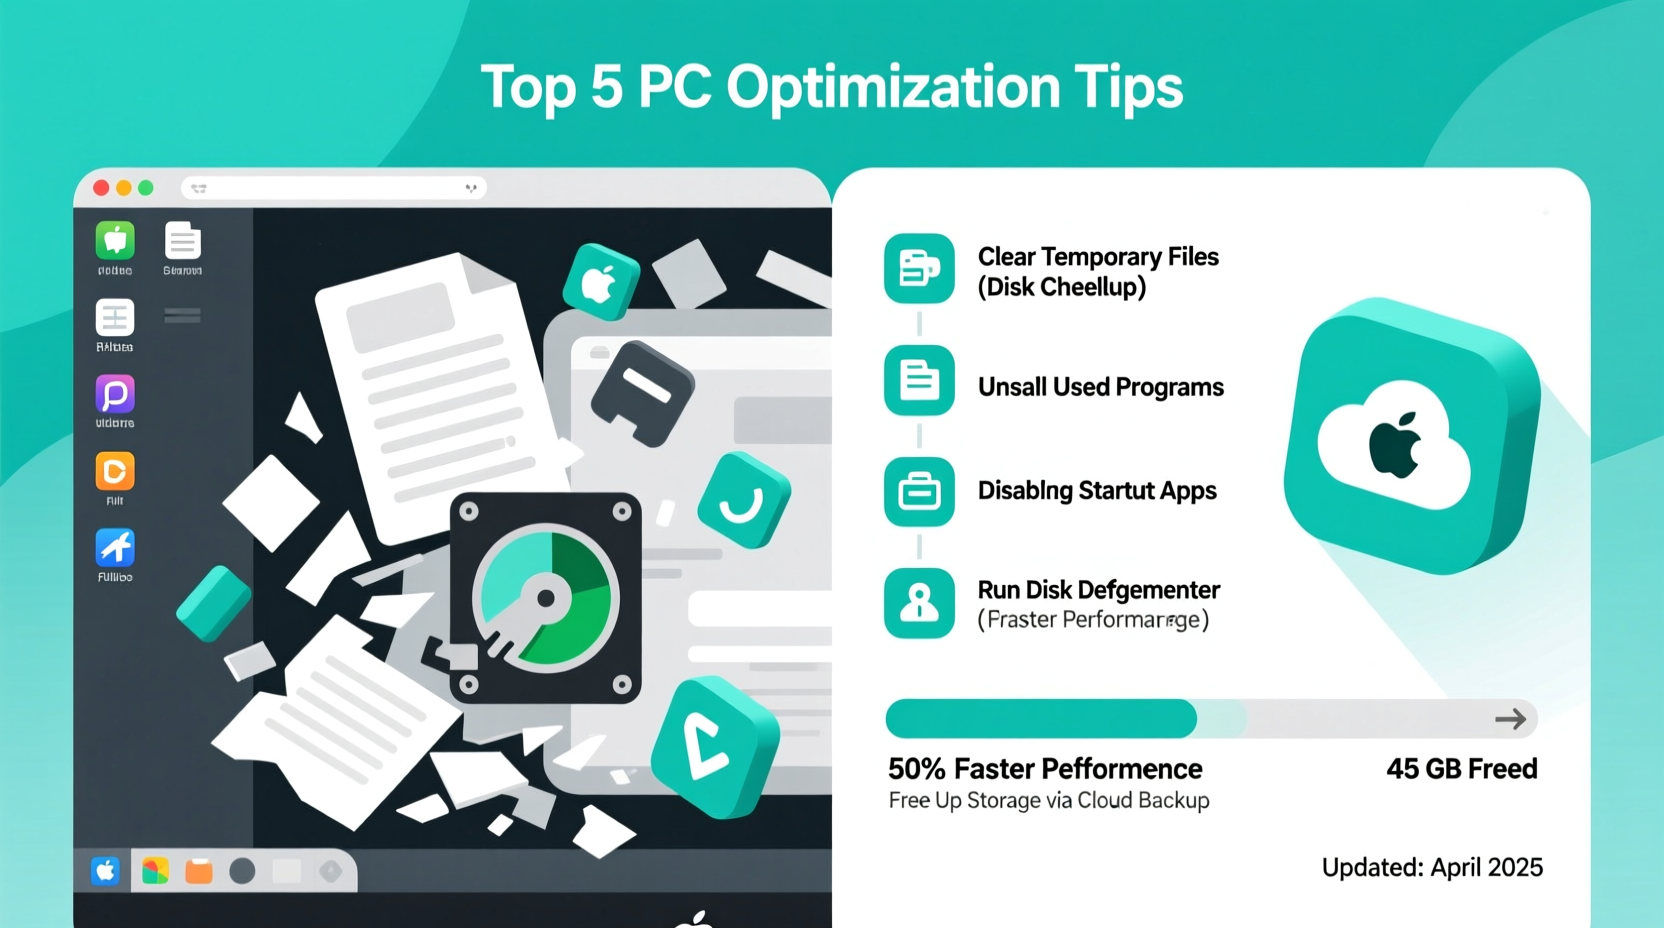
1. Remove Unnecessary Files and Temporary Data
Every day, your computer accumulates temporary files, cached data, and system logs that serve no long-term purpose. Web browsers store cookies and site data, applications leave behind installation remnants, and Windows itself builds up update files. While individually small, these files can collectively consume tens of gigabytes.
The quickest way to eliminate this digital debris is through Windows’ built-in Disk Cleanup tool. Access it by searching “Disk Cleanup” in the Start menu, selecting your main drive (usually C:), and letting the utility scan for deletable files. You’ll see options like:
- Downloaded program files
- Temporary internet files
- Recycle Bin contents
- Windows Update cleanup files
- Delivery Optimization Files
Select all applicable categories and click “OK” to remove them. For deeper cleaning, click “Clean up system files” after the initial scan—this unlocks additional categories such as previous Windows installations, which can free up several gigabytes alone if you’ve upgraded recently.
2. Uninstall Bloatware and Unused Programs
Bloatware—pre-installed software you never use—is a major contributor to startup delays and storage waste. Many OEMs load PCs with trial versions of antivirus suites, media players, or shopping apps that run in the background and consume memory.
To remove them, go to Settings > Apps > Installed apps. Sort by size to identify the largest offenders. Look beyond obvious names; entries like “McAfee Security Scan” or “HP Support Assistant” may be using resources without providing value to you.
Uninstall anything unfamiliar or unused. Be cautious with drivers or utilities tied to hardware—if unsure, search the app name online before removing.
“Removing just three unused programs can reduce boot time by up to 30% and free over 5GB of storage.” — David Lin, Systems Optimization Specialist
3. Manage Startup Programs for Faster Boot Times
A slow boot isn’t always about hardware—it’s often caused by too many apps launching at startup. Email clients, cloud sync tools, and messaging apps often enable auto-launch by default, dragging down your system’s responsiveness during login.
To manage these, press Ctrl + Shift + Esc to open Task Manager, then navigate to the “Startup” tab. Here, each app displays an “Impact” rating (Low, Medium, High). Disable any with high impact that you don’t need immediately upon login.
For example:
| Startup App | Impact | Action |
|---|---|---|
| Spotify | High | Disable – launch manually when needed |
| OneDrive | Medium | Keep – essential for file sync |
| Adobe Reader Updater | High | Disable – updates can run on demand |
| Steam | Medium | Disable – gaming platform not needed at startup |
After disabling unnecessary entries, restart your PC to experience noticeably quicker boot performance.
4. Optimize Storage with File Management and Compression
Running low on storage? Instead of upgrading your hard drive immediately, reorganize and compress existing data. Begin by identifying large folders—common culprits include Downloads, Videos, and old backups.
Use Windows Search to sort files by size:
- Navigate to This PC > Local Disk (C:)
- In the search bar, type
size:gigantic - Review results sorted from largest to smallest
- Delete duplicates, outdated installers, or obsolete media files
For files you must keep but rarely access (e.g., tax records, project archives), consider compression. Right-click the folder, select “Send to” > “Compressed (zipped) folder.” This can reduce file size by 50–70%, depending on content type.
Additionally, relocate personal data like photos and documents to external drives or cloud storage (OneDrive, Google Drive). Then, use symbolic links or folder redirection to maintain seamless access without occupying internal space.
5. Perform System Maintenance and Hardware Checks
Cleaning software is only half the battle. Physical and system-level maintenance ensures sustained performance.
Disk Defragmentation (HDDs only): If you’re still using a traditional hard drive, fragmentation slows read/write speeds. Use “Defragment and Optimize Drives” (search in Start menu) to consolidate scattered data. Modern SSDs do not need defragmentation—Windows handles this automatically.
Check Disk Health: Use built-in tools like CHKDSK to scan for errors. Open Command Prompt as Administrator and run:
chkdsk C: /f /r
This checks the drive for logical and physical errors, repairing issues where possible. Schedule it for the next reboot if the drive is in use.
Monitor Temperatures: Overheating causes throttling and instability. Use free tools like HWMonitor to check CPU and GPU temps. If idle temperatures exceed 60°C, clean dust from fans and vents, or consider repasting thermal compound.
Mini Case Study: Reviving a 4-Year-Old Laptop
Sarah, a freelance graphic designer, noticed her laptop taking over three minutes to boot and frequently freezing during design work. Her 256GB SSD was 95% full. She followed these steps:
- Ran Disk Cleanup and removed 12GB of temp files and old updates
- Uninstalled duplicate design trials and unused utilities (saved 8GB)
- Disabled five high-impact startup apps including Spotify and Skype
- Moved 45GB of client project archives to an external drive
- Enabled Storage Sense to auto-clean downloads monthly
Result: Boot time dropped to 45 seconds, available storage increased to 60GB, and application crashes ceased. The entire process took under two hours and cost nothing.
Essential PC Cleanup Checklist
Follow this checklist every 3–6 months to maintain peak performance:
- ✅ Run Disk Cleanup and Clean up system files
- ✅ Uninstall unused or redundant software
- ✅ Disable unnecessary startup programs
- ✅ Delete large, outdated files from Downloads and Desktop
- ✅ Move infrequently used data to external or cloud storage
- ✅ Check SSD/HDD health using Windows built-in tools
- ✅ Update operating system and drivers
- ✅ Physically clean dust from vents and fans
Frequently Asked Questions
How often should I clean up my PC?
Perform a light cleanup (clearing downloads, browser cache) monthly. Conduct a full system cleanup every 3–6 months, especially if you notice slowing performance or low storage warnings.
Can cleaning my PC damage files or the operating system?
When using built-in tools like Disk Cleanup or Add/Remove Programs, the risk is minimal. Avoid deleting files manually from system folders like Windows or Program Files unless you’re certain of their purpose. Always back up critical data before major cleanup operations.
Does clearing temporary files delete my personal data?
No. Temporary files include caches, logs, and installer remnants—not personal documents, photos, or emails. However, clearing browser cache will log you out of websites and remove saved form data.
Take Action Today for a Faster, Leaner PC
Your PC doesn’t have to slow down with age. Simple, consistent maintenance can restore speed, recover storage, and extend its usable life by years. The tools you need are already built into Windows—what matters is using them regularly and intelligently. Start with one section of this guide today: clear temporary files, uninstall one unused app, or disable a single startup program. Small steps lead to dramatic improvements. A faster, more responsive computer is within reach—no upgrade required.


 浙公网安备
33010002000092号
浙公网安备
33010002000092号 浙B2-20120091-4
Comments
No comments yet. Why don't you start the discussion?