
Removing a bike crank is a common maintenance task, often required when replacing chainrings, servicing the bottom bracket, or upgrading components. While a crank puller is the standard tool for the job, not every cyclist has one on hand. Whether you're stranded on a trail or working from a home garage with limited tools, knowing how to remove a crank without a puller can save both time and money. This guide outlines safe, effective, and practical methods using common tools, along with expert insights and real-world tips to get the job done right—without damaging your drivetrain.
Understanding Crank Types and Compatibility
Before attempting removal, it's essential to identify the type of crank system on your bike. Most modern bicycles use either square taper, splined (e.g., Shimano Hollowtech II), or proprietary systems like SRAM DUB or Campagnolo Ultra-Torque. The method described here applies primarily to older square taper cranks, which are most commonly compatible with manual removal techniques. Newer external bearing systems typically require specific tools and are less amenable to improvised removal.
Square taper cranks feature a central bolt or nut that secures the crank arm to the spindle. Once this fastener is removed, the crank can be separated from the bottom bracket axle—but only with sufficient force. Without a puller, leverage and mechanical advantage become critical.
Essential Tools You’ll Need
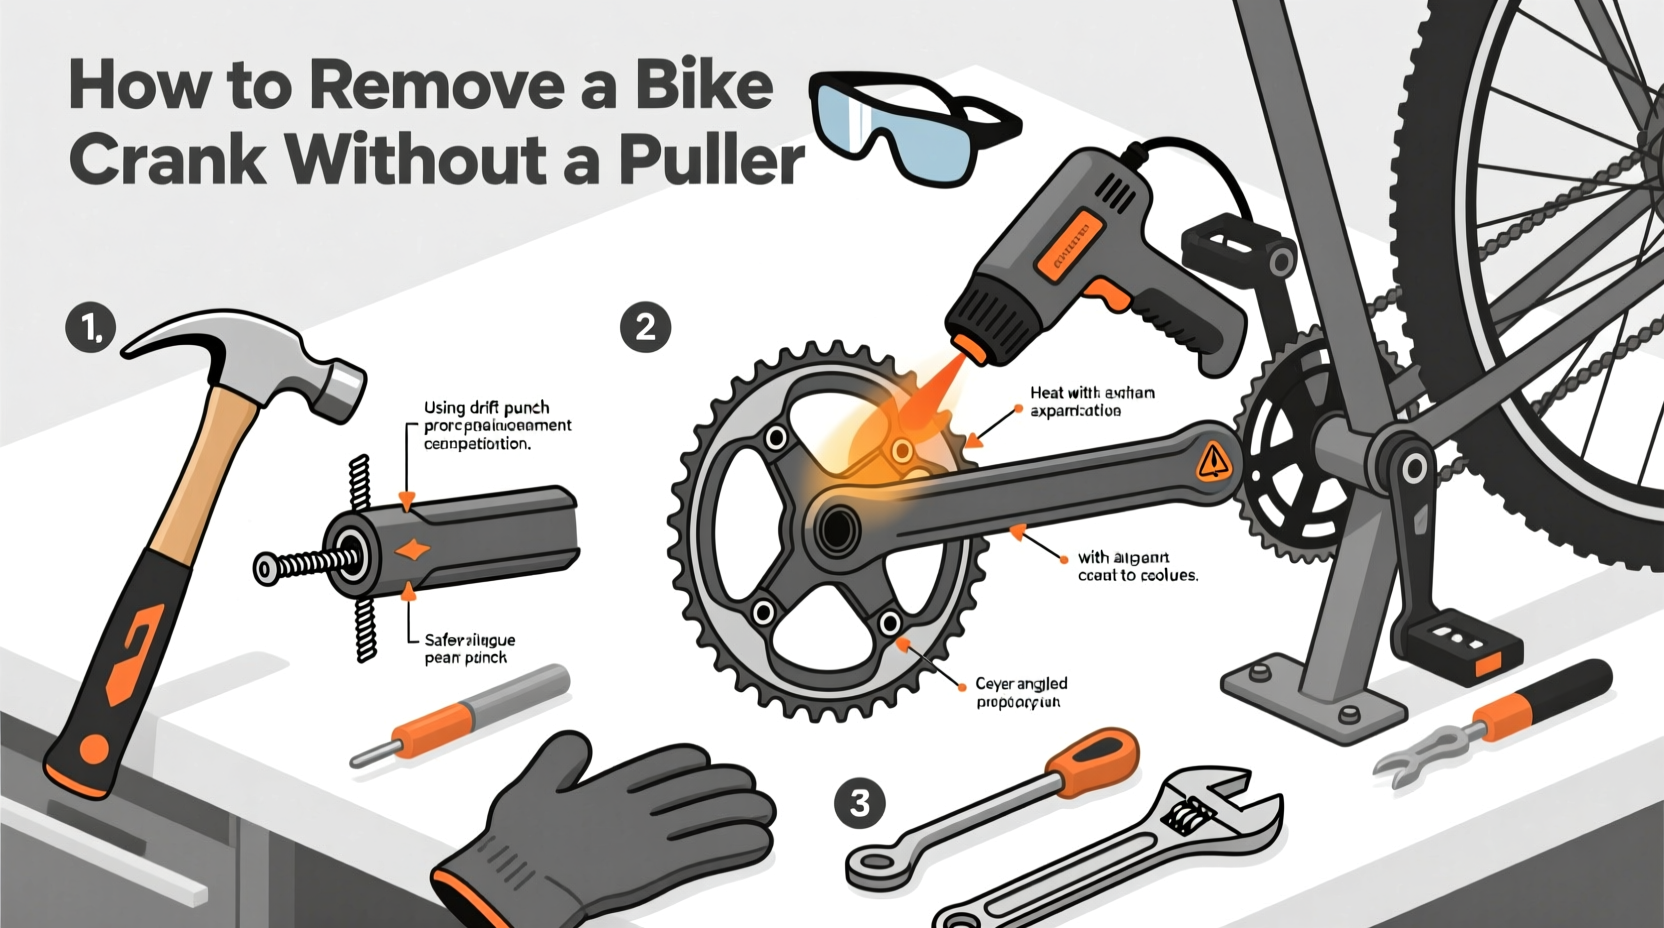
The success of removing a crank without a puller depends heavily on having the right substitute tools. While no method fully replicates the precision of a dedicated puller, these household or basic bike tools can help achieve similar results:
- Hex wrench (typically 8mm or 10mm, depending on crank)
- Adjustable wrench or spanner
- Penetrating oil (e.g., WD-40 or PB Blaster)
- Rubber mallet or soft-faced hammer
- Threaded bolt (M8x1.0 or M10x1.0, ~50–60mm long)
- Two metal nuts matching the bolt’s thread
- Vise (optional, but helpful)
Ensure all tools are clean and in good condition. Using damaged or mismatched hardware risks stripping threads or breaking components.
Step-by-Step Guide: Removing a Crank Without a Puller
- Remove the crank bolt or nut. Use the appropriate hex key or wrench to unscrew the central fixing completely. Keep this bolt safe—it will be reused in the removal process.
- Apply penetrating oil. Spray a small amount into the interface between the crank and the spindle. Let it sit for 10–15 minutes to break down corrosion or old grease.
- Clean the threads. Wipe away dirt and excess oil from the threaded hole in the crank arm to ensure smooth reinsertion of the bolt later.
- Reinsert the crank bolt backward. Place two nuts on the bolt and tighten them against each other (this locks the nuts in place). Then, thread the bolt—head first—into the crank arm’s center hole until it contacts the end of the bottom bracket spindle.
- Tighten gradually. Using a wrench, slowly turn the bolt clockwise. As it advances, it will push against the spindle while the locked nuts prevent the bolt from threading further into the crank. This creates outward pressure, forcing the crank off the taper.
- Tap gently if needed. If the crank doesn’t release immediately, lightly tap the sides of the crank arm with a rubber mallet to break the friction bond.
- Remove the crank. Once loose, pull it straight off the spindle by hand. Avoid wiggling excessively, as this may damage the taper.
This method effectively mimics the function of a crank puller by using a threaded bolt as a pusher rod. It’s reliable, reversible, and minimizes risk when performed carefully.
| Method | Tools Required | Effectiveness | Risk Level |
|---|---|---|---|
| Bolt-and-Nut Push Method | Bolt, two nuts, wrench | High (for square taper) | Low |
| Hammer & Punch Only | Punch, hammer | Low | High (risk of damage) |
| Heat Application | Heat gun, gloves | Moderate | High (uneven expansion) |
| Vise-Assisted Removal | Vise, protective jaws | Moderate | Medium (if misaligned) |
Common Mistakes and How to Avoid Them
Improper technique can lead to costly damage. Here are frequent errors and how to sidestep them:
- Using excessive force with a hammer: Striking the crank directly can deform the arm or damage the bottom bracket. Always use controlled taps on non-critical surfaces.
- Forcing a seized crank: If the crank won’t budge after moderate effort, stop. Reapply penetrating oil and let it soak longer—sometimes overnight.
- Using a bolt with wrong thread pitch: An incorrect bolt can strip internal threads. Test fit by hand first.
- Ignoring safety gear: Wear gloves and eye protection, especially when applying force or using chemicals.
“Many riders assume they need specialized tools for every job, but understanding mechanical principles opens up smart workarounds. The key is patience and precision—not brute force.” — Daniel Reyes, Master Bike Mechanic, 15+ years at Urban Cycle Works
Real-World Example: Trailside Repair Success
During a weekend ride in the Catskills, Mark noticed his left crank arm was developing play. With no cell service and 12 miles from the nearest town, returning home seemed impossible—until he remembered a trick from an old forum post. Using a spare M8 bolt from his multi-tool bag, two locknuts, and a small adjustable wrench, he reversed the bolt into the crank. After letting oil penetrate for 20 minutes, he slowly tightened the assembly. On the third attempt, the crank popped free. He safely finished the ride with one crank, then replaced the part days later. What could have been a $100 tow turned into a $5 bolt and a story to share.
Frequently Asked Questions
Can I remove a Shimano Hollowtech II crank without a puller?
No. Hollowtech II cranks are designed to self-extract when the center cap bolt is loosened. Simply removing the pinch bolts and loosening the central 5mm hex bolt usually causes the crank to release. A puller is not needed—and attempting alternative methods may damage the lightweight alloy arms.
What if the crank still won’t come off?
If the crank remains stuck after using the bolt method, let penetrating oil sit for several hours or overnight. Gently heating the crank base (not the spindle) with a hair dryer can expand the metal slightly and break the bond. Avoid open flames.
Is it safe to reuse a crank after manual removal?
Yes, as long as no deformation occurred during removal. Inspect the taper interface for scoring or cracks. Clean thoroughly before reinstalling with fresh grease and proper torque.
Final Checklist Before You Begin
- ✔ Identify your crank type (square taper recommended for this method)
- ✔ Gather correct bolt size and two locking nuts
- ✔ Apply penetrating oil and allow dwell time
- ✔ Work slowly and avoid sudden impacts
- ✔ Clean and inspect parts after removal
Conclusion
Removing a bike crank without a puller is entirely feasible with basic tools and a clear understanding of mechanical leverage. While modern cranks increasingly rely on proprietary designs requiring specific tools, many bikes—especially older or entry-level models—still use serviceable square taper systems that respond well to improvisation. By following the bolt-back method, applying patience, and avoiding aggressive force, you can maintain your drivetrain efficiently and economically.


 浙公网安备
33010002000092号
浙公网安备
33010002000092号 浙B2-20120091-4
Comments
No comments yet. Why don't you start the discussion?