
Dog chewed baseboards are a common household issue for pet owners. While chewing is a natural behavior for dogs—especially puppies—it can lead to costly repairs and unsightly damage if left unchecked. The good news is that with the right approach, you can not only fix existing damage but also implement strategies to stop it from happening again. This guide covers proven repair techniques, preventive measures, and behavioral insights to protect your home while keeping your dog happy and healthy.
Understanding Why Dogs Chew Baseboards
Dogs chew for various reasons, including teething, boredom, anxiety, or lack of training. Puppies between 3 and 6 months old often chew as their adult teeth come in. Older dogs may resort to destructive chewing when stressed, under-exercised, or seeking attention. Identifying the root cause is essential before applying any solution.
Baseboards are particularly vulnerable because they’re low, accessible, and often made of soft wood like pine. Their location along walls makes them easy targets during play or exploration. Without intervention, repeated chewing can compromise structural integrity and diminish home value.
“Addressing the behavior behind the chewing is just as important as repairing the physical damage.” — Dr. Laura Bennett, Certified Canine Behaviorist
Step-by-Step Guide to Repairing Chewed Baseboards
Repairing damaged baseboards doesn’t always require a full replacement. Depending on the severity, several cost-effective methods can restore both appearance and function.
- Assess the Damage: Examine each chewed section. Superficial scratches and small gouges can be sanded and refinished. Deep bites or missing chunks may require patching or replacement.
- Remove Loose Material: Use pliers or a utility knife to clean out splintered wood and jagged edges. This creates a smooth surface for repair.
- Sand the Area: With medium-grit sandpaper (120–150), sand down rough spots until the surface is even with the surrounding baseboard.
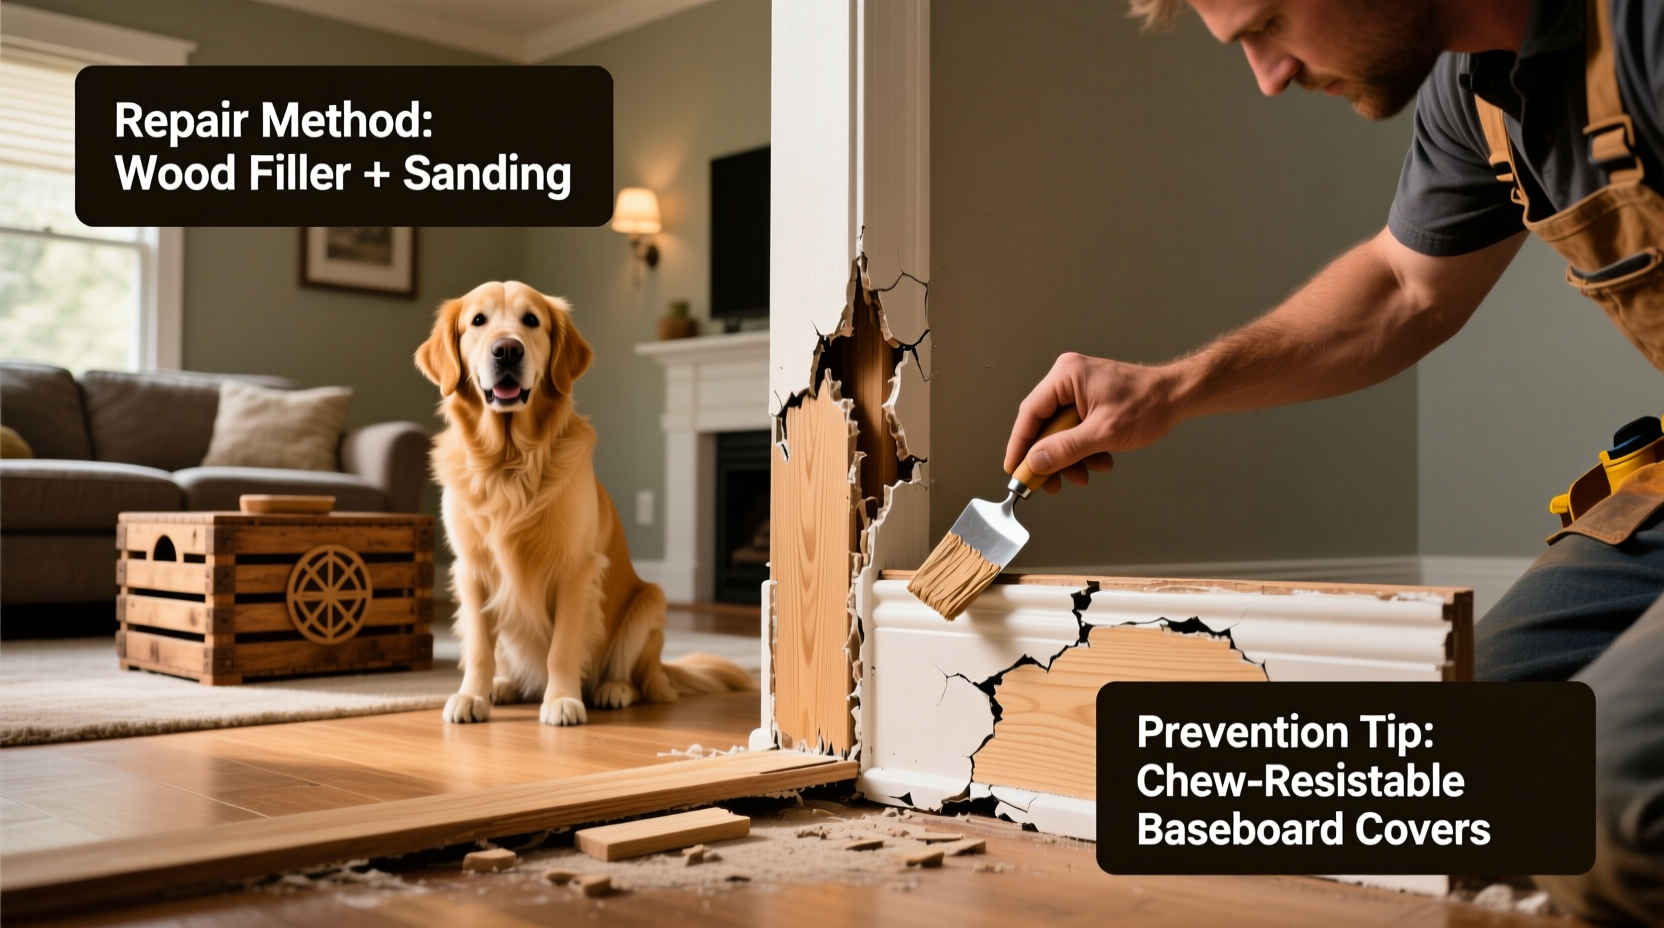
- Fill Gouges with Wood Filler: Apply a high-quality, paintable wood filler using a putty knife. Press it firmly into deep areas and smooth the surface. Allow it to dry completely (typically 2–4 hours).
- Re-Sand and Prime: Lightly sand the filled area with fine-grit paper (220). Wipe away dust and apply a primer to ensure consistent paint adhesion.
- Paint to Match: Use a paint that matches your existing trim. A small artist’s brush helps achieve clean lines. For best results, apply two thin coats.
- Seal with Polyurethane (Optional): To add durability and deter future chewing, finish with a clear satin polyurethane coat.
When Replacement Is Necessary
If more than 30% of a baseboard section is damaged or multiple sections are compromised, replacement may be more efficient than repair. Here’s how to do it properly:
- Carefully remove the damaged piece using a pry bar and utility knife to cut through caulk or paint seals.
- Measure the wall length and cut a new baseboard to size with a miter saw.
- Nail it into wall studs using finishing nails, spacing them every 12–16 inches.
- Apply caulk to seams and nail holes, then sand and paint to match.
For homes with older or custom molding, consider visiting a lumberyard or millwork supplier to find a close match. Alternatively, take a sample piece to ensure compatibility.
Effective Prevention Strategies
Preventing future damage is more sustainable than constant repair. Combine environmental management with behavioral training for long-term success.
1. Provide Appropriate Chew Alternatives
Dogs need to chew. Redirect this instinct by offering durable, appealing toys such as rubber Kongs, nylon bones, or dental chews. Rotate toys weekly to maintain interest.
2. Use Taste Deterrents
Bitter-tasting sprays discourage chewing without harming your pet. Look for pet-safe formulas containing bitter apple, citrus, or pepper extracts. Apply every few days or after cleaning.
3. Install Physical Barriers
Temporary solutions like plastic corner guards, baseboard covers, or adhesive shields can protect vulnerable areas. These are especially useful during puppy teething phases or while training takes effect.
4. Increase Mental and Physical Stimulation
A tired dog is less likely to engage in destructive behavior. Aim for at least 30–60 minutes of daily exercise and incorporate puzzle feeders or obedience drills to keep your dog mentally engaged.
Do’s and Don’ts of Handling Chew Damage
| Do’s | Don’ts |
|---|---|
| Address chewing behavior early | Punish your dog after the fact (they won’t connect the action) |
| Use positive reinforcement for good behavior | Leave your dog unattended in rooms with known chewing triggers |
| Secure electrical cords near baseboards | Use harsh chemicals or toxic substances to deter chewing |
| Consult a trainer for persistent issues | Ignore signs of anxiety or separation distress |
Mini Case Study: The Johnson Family’s Solution
The Johnsons adopted a 5-month-old Labrador named Max, who quickly developed a habit of gnawing on the hallway baseboards. After replacing one section, they noticed new marks appearing nightly. Instead of continuing repairs, they consulted a dog trainer who recommended a three-pronged approach: daily 45-minute walks, frozen peanut butter-filled Kongs, and consistent use of a bitter spray on baseboards.
Within three weeks, Max’s chewing shifted entirely to his toys. The family also installed removable PVC edge guards during the transition period. Six months later, no further damage occurred, and the repaired baseboards remained intact.
Checklist: Preventing and Repairing Dog Chewed Baseboards
- ☐ Inspect baseboards weekly for new damage
- ☐ Sand and fill minor chew marks promptly
- ☐ Prime and repaint repaired sections to blend seamlessly
- ☐ Offer a variety of safe, rotating chew toys
- ☐ Apply pet-safe deterrent spray to vulnerable areas
- ☐ Increase daily exercise and mental stimulation
- ☐ Install protective covers in high-risk zones
- ☐ Consult a professional trainer if chewing persists
Frequently Asked Questions
Can I use regular wood glue instead of wood filler?
Wood glue alone won’t fill large gaps effectively. It works best for reattaching loose pieces. For filling, use a dedicated wood filler that can be sanded and painted.
How long does it take for taste deterrents to work?
Most dogs respond within a few applications, but consistency is key. Reapply after cleaning and continue for at least 2–3 weeks to reinforce the association.
Is it possible my dog is chewing due to anxiety?
Yes. Signs include chewing only when left alone, pacing, excessive barking, or destruction near doors/windows. If suspected, consult a veterinarian or animal behaviorist.
Conclusion
Dealing with dog chewed baseboards requires both immediate repair and long-term prevention. By understanding your dog’s needs and combining practical home fixes with behavioral strategies, you can protect your property and strengthen your bond with your pet. Start today by assessing the damage, implementing deterrents, and enriching your dog’s environment. Small changes now can save hundreds in future repairs—and create a safer, happier home for everyone.


 浙公网安备
33010002000092号
浙公网安备
33010002000092号 浙B2-20120091-4
Comments
No comments yet. Why don't you start the discussion?