
Candlelight creates ambiance, warmth, and a sense of calm in any room. But when a drip runs down the side of a candle and lands on your wall—or worse, when a candle falls over—the result can be stubborn wax residue that threatens both appearance and integrity of your painted or wallpapered surfaces. Removing candle wax improperly can lead to peeling paint, torn wallpaper, or discolored patches. The good news is that with the right tools and techniques, you can eliminate wax safely and effectively, preserving your wall’s finish. This guide walks through proven, damage-free methods tailored to different wall types and wax conditions.
Understanding the Challenge: Why Wax Is Tricky to Remove
Candle wax is designed to melt at relatively low temperatures and harden upon cooling. When it adheres to walls, it bonds with porous surfaces like drywall, paint, or textured wallpaper. Aggressive scraping or using harsh solvents may lift not only the wax but also the top layer of paint or delicate wallpaper fibers. The key is to soften the wax gently, remove as much as possible, then clean any residual stain without abrasion.
Wax removal success depends on three factors: the type of wall surface, the age of the wax (fresh vs. hardened), and the method used. Rushing the process increases the risk of damage. Patience and precision yield the best results.
Step-by-Step Guide: Safe Wax Removal Process
The following sequence outlines a reliable, multi-stage approach to removing candle wax without harming your walls. This method works on both flat paint and standard vinyl-coated wallpaper.
- Let the wax cool completely. If the spill is fresh, allow it to harden. Touching warm wax will only spread it further into the surface.
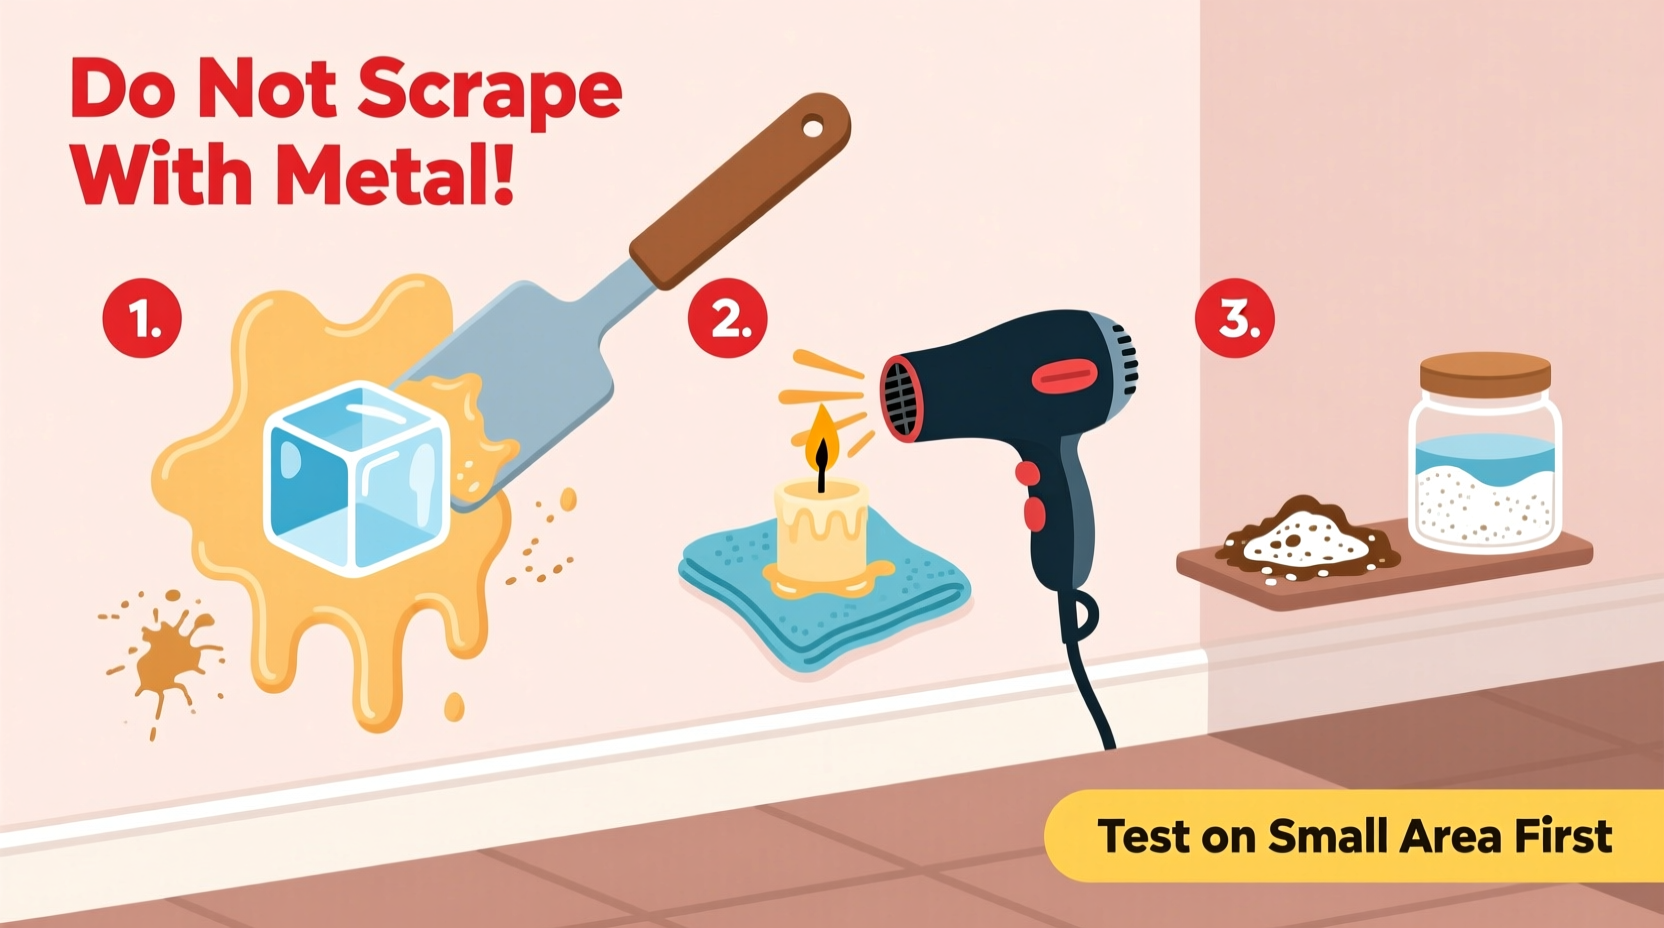
- Gently scrape off excess wax. Use a plastic putty knife or a credit card at a shallow angle to lift large chunks. Apply minimal pressure to avoid scratching.
- Choose a softening method based on wall type: Use heat for paint; blotting for wallpaper.
- Treat any remaining oily residue. A mild cleaning solution removes traces left behind after melting or blotting.
- Rinse and dry thoroughly. Dampen a cloth with clean water, wipe lightly, then dry immediately with a soft towel.
Method 1: Heat and Absorption (Best for Painted Walls)
This technique uses controlled heat to re-melt the wax so it can be absorbed by paper, minimizing contact with the wall surface.
- Place a few layers of paper towels or brown paper bags over the wax spot.
- Set a clothes iron to low or medium heat (no steam).
- Gently press the iron over the paper for 10–15 seconds. The heat melts the wax, which is drawn into the paper.
- Lift the paper carefully. Replace if saturated and repeat until no more wax transfers.
- Wipe the area with a cloth dampened with warm water and a drop of dish soap.
Method 2: Freezing and Scraping (Ideal for Small, Hardened Spots)
For smaller drips that have fully hardened, freezing makes the wax brittle and easier to remove without heat.
- Wrap an ice cube in a thin cloth or use a cold pack.
- Hold it against the wax for 2–3 minutes until it becomes glassy and firm.
- Use a flexible plastic scraper to gently lift the wax off. It should flake away cleanly.
- Wipe the area with a microfiber cloth dampened with isopropyl alcohol (diluted 50/50 with water) to remove residue.
Method 3: Blotting with Solvent-Free Paper (Recommended for Wallpaper)
Wallpaper, especially non-vinyl types, cannot tolerate moisture or heat. Instead, rely on gentle absorption.
- Carefully trim any overhanging wax edges with small scissors to reduce bulk.
- Place folded paper towels over the wax.
- Use a warm (not hot) iron on a pressing cloth barrier (like a thin cotton handkerchief) for 5–10 seconds.
- Check if wax has transferred. Replace paper and repeat if needed.
- Never let the iron touch the wallpaper directly.
“With wallpaper, less is more. Avoid liquids and heat exposure beyond what’s necessary. The goal is to lift wax, not saturate the backing.” — Linda Ruiz, Interior Restoration Specialist
Do’s and Don’ts: Wall-Safe Wax Removal Table
| Do’s | Don’ts |
|---|---|
| Use plastic or wooden tools for scraping | Use metal scrapers or razor blades |
| Test methods on hidden areas first | Apply heat without protective layers |
| Blot melted wax with absorbent paper | Pour hot water or solvents directly on walls |
| Dab with mild soap and water | Scrub aggressively with abrasive pads |
| Work patiently in stages | Rush the process to save time |
Real Example: Fixing a Holiday Mishap
Last December, Sarah hosted a dinner party where a taper candle tipped over near her dining room’s accent wall. The wax ran six inches down the eggshell-finished paint before hardening. She initially tried wiping it with a wet cloth, which only smeared the residue. After reading about heat transfer methods, she placed a brown paper bag over the spot and used her iron on low heat. Within three cycles, the wax had fully transferred to the paper. A final wipe with soapy water removed the faint oily ring, and the wall looked untouched. “I was ready to repaint,” she said later. “But taking it slow saved me hours and kept the color match perfect.”
Checklist: Safe Wax Removal at a Glance
- ✅ Confirm wax is fully cooled
- ✅ Scrape excess with a plastic tool
- ✅ Choose method based on wall type (heat for paint, blotting for wallpaper)
- ✅ Use protective layers (paper towels, cloths) between heat source and wall
- ✅ Clean residue with mild detergent or diluted alcohol
- ✅ Dry immediately to prevent moisture seepage
- ✅ Inspect under natural light to ensure complete removal
Frequently Asked Questions
Can I use a hairdryer instead of an iron?
Yes, but with caution. Set the dryer to low heat and hold it 6–8 inches from the wall. Direct too much heat in one spot, and you risk bubbling paint or scorching wallpaper. Move constantly and test on a small area first.
What if the wax left a greasy stain after removal?
A lingering oily mark can be treated with a paste of baking soda and water. Gently dab it onto the spot with a soft cloth, let sit for 5 minutes, then wipe with a damp sponge. Avoid vigorous rubbing.
Is rubbing alcohol safe for painted walls?
In diluted form (mixed 1:1 with water) and used sparingly, isopropyl alcohol is generally safe for most modern latex paints. However, always test in an inconspicuous area first. Avoid using it on antique or oil-based finishes, which may discolor.
Final Thoughts and Action Steps
Removing candle wax from walls doesn’t require harsh chemicals or risky tools. With careful application of heat, absorption, and gentle cleaning, even large spills can be reversed without refinishing. The key is respecting the fragility of painted and wallpapered surfaces and working methodically. Whether you’re dealing with a recent drip or an old, layered buildup, these strategies restore your walls safely and effectively.


 浙公网安备
33010002000092号
浙公网安备
33010002000092号 浙B2-20120091-4
Comments
No comments yet. Why don't you start the discussion?