
Water exposure is one of the most common causes of smartphone malfunction. Whether it's a spilled drink, a rain-soaked commute, or an accidental drop in the sink, moisture trapped under the screen can lead to distorted touch response, discoloration, or even permanent hardware failure. The good news is that quick, informed action can make all the difference. Knowing how to safely extract water from beneath your phone’s display—without causing further harm—is essential for preserving both functionality and longevity.
Understanding the Problem: Why Water Under the Screen Is Dangerous
Modern smartphones feature tightly sealed displays, but they are not entirely immune to moisture intrusion. When water seeps between the screen layers or into internal components, it creates several risks:
- Short circuits: Even small amounts of liquid can disrupt electrical connections.
- Corrosion: Over time, moisture causes oxidation on metal contacts, especially if left unattended.
- Touchscreen malfunctions: Water alters capacitance, leading to ghost touches or unresponsive areas.
- Display fogging: Condensation between screen layers creates persistent visual haze.
Immediate attention reduces these risks significantly. However, many people make the mistake of panicking and using heat-heavy methods like hairdryers or microwaves—approaches that often do more harm than good.
Step-by-Step Guide to Safely Remove Water from Your Phone Screen
Success depends on acting quickly and following a methodical process. This timeline outlines the best actions to take within the first 60 minutes and beyond.
- Power Off Immediately (0–5 minutes): If your phone is still on, turn it off right away. Never attempt to charge or restart a wet device.
- Remove External Components (5–10 minutes): Take out the SIM card, SD card, and any case. This allows better airflow and prevents trapped moisture.
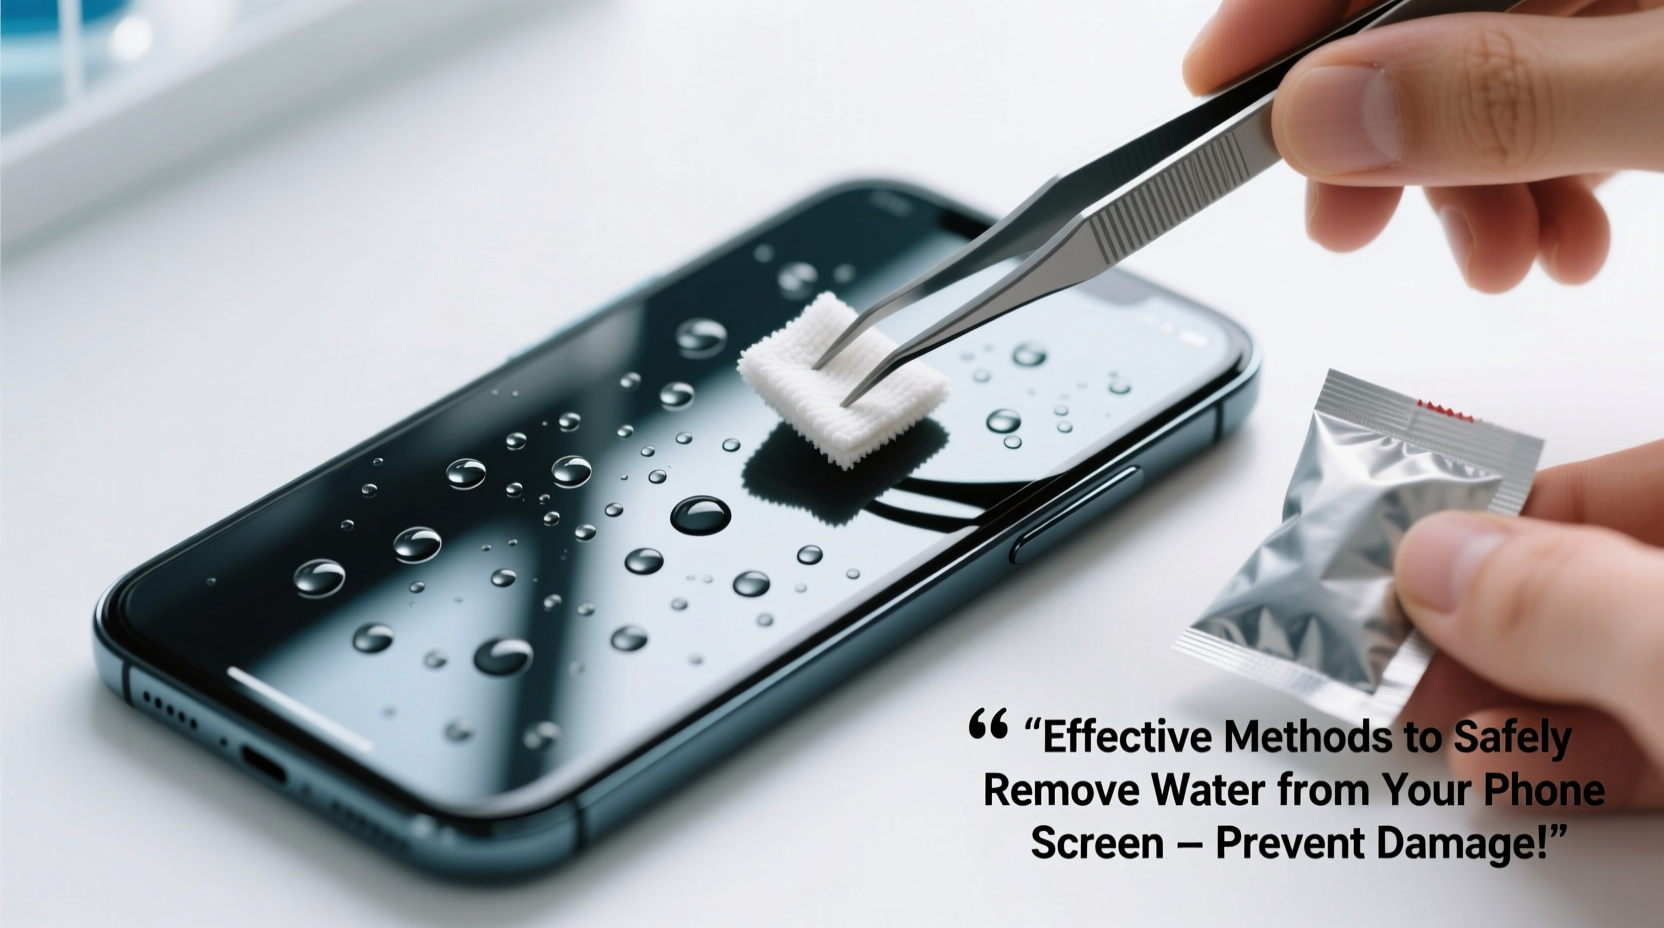
- Dry the Exterior Gently (10–15 minutes): Use a soft, lint-free cloth to wipe down the surface. Avoid rubbing the screen—pat it dry instead.
- Position for Drainage (15–30 minutes): Hold the phone with the charging port facing downward and gently tap the back to encourage water to escape via gravity.
- Use Absorbent Materials (30 minutes onward): Place the phone in a sealed container with silica gel packets—the most effective desiccant. Rice is a common alternative but less efficient and riskier due to starch residue.
- Wait Patiently (Minimum 24–48 hours): Resist the urge to power on the device too soon. Full drying takes at least a day, sometimes longer depending on humidity and exposure level.
What Not to Do
Avoid these common but harmful practices:
| Method | Risk | Better Alternative |
|---|---|---|
| Hairdryer on high heat | Melts adhesives, warps components | Air-dry in a warm, ventilated room |
| Oven or microwave | Fire hazard, destroys circuitry | Never use heat sources |
| Shaking aggressively | Spreads water internally | Gentle tapping only |
| Placing in rice for over 72 hours | Starch may enter ports, attracts pests | Silica gel or controlled air drying |
Real Example: A Near-Fatal Swim in the Bathroom Sink
Consider Sarah, a freelance photographer who dropped her phone while washing hands. She noticed bubbles forming under the screen immediately. Instead of turning it on to check, she powered it off, removed the case, and placed it in a jar filled with silica gel packs saved from old electronics packaging. After 36 hours, she powered it back on—no discoloration, no touch issues. Her camera functioned perfectly. By avoiding rice and resisting the temptation to test the phone early, she preserved its integrity. This case illustrates how patience and proper materials yield better results than outdated myths.
Expert Insight: What Engineers Recommend
According to Dr. Alan Zhou, senior electronics reliability engineer at a major smartphone manufacturer, “The biggest misconception is that devices need heat to dry. In reality, convection and low-humidity environments work far better without risking thermal stress.” He emphasizes passive drying as the safest method.
“Silica gel reduces ambient humidity, allowing moisture to evaporate naturally. Combine that with proper orientation—port-down—and you’ve created optimal conditions for recovery.” — Dr. Alan Zhou, Electronics Reliability Engineer
Zhou also warns against using compressed air cans, which can force moisture deeper or leave behind propellant residue. Instead, he recommends placing the phone near a dehumidifier or in a closet with gentle airflow from a fan—but never directly in the airflow path.
Checklist: Emergency Response to Water Exposure
Keep this checklist handy for quick reference during an incident:
- ✅ Turn off the phone immediately
- ✅ Remove case, SIM tray, and SD card
- ✅ Wipe exterior with microfiber cloth
- ✅ Position phone with port facing down
- ✅ Place in sealed container with silica gel
- ✅ Wait at least 24–48 hours before powering on
- ❌ Do not use heat, rice long-term, or compressed air
- ❌ Do not press buttons repeatedly or charge the device
Frequently Asked Questions
Can water under the screen go away on its own?
In some minor cases, such as light condensation from temperature changes, moisture may dissipate within hours. However, if water entered due to submersion or heavy spillage, intervention is necessary. Passive drying increases the odds of full recovery.
Is waterproof-rated phones completely safe?
No. IP67 or IP68 ratings mean resistance to water under specific lab conditions—not indefinite protection. Seals degrade over time, and exposure to liquids like soda or saltwater increases corrosion risk. Always treat \"water-resistant\" phones as needing post-exposure care.
What if my screen still flickers after drying?
Persistent flickering or dead pixels may indicate residual moisture or hardware damage. Try extending the drying period another 24 hours. If the issue remains, consult a certified repair technician—do not attempt DIY fixes involving disassembly unless experienced.
Prevention: How to Reduce Future Risk
The best way to handle water damage is to avoid it altogether. Consider these preventive measures:
- Use a high-quality waterproof case when near pools, beaches, or kitchens.
- Enable features like water-repellent screen coatings if supported by your model.
- Avoid using your phone with wet hands or in humid environments like bathrooms.
- Regularly inspect seals around ports and speakers for debris or wear.
Additionally, invest in cloud backups. If a water incident leads to irreparable damage, having your data secured ensures you don’t lose precious photos, messages, or documents.
Conclusion: Act Fast, Stay Calm, Save Your Device
Water under your phone’s screen doesn’t have to spell disaster. With prompt action, the right materials, and disciplined patience, you can often restore full functionality. Forget the rice myth—embrace science-backed drying techniques and preventive habits. Your smartphone is a significant investment; protecting it from moisture isn’t just about survival, it’s about maintaining performance over time.


 浙公网安备
33010002000092号
浙公网安备
33010002000092号 浙B2-20120091-4
Comments
No comments yet. Why don't you start the discussion?