
Leather car seat covers enhance both comfort and the aesthetic appeal of a vehicle’s interior. Over time, however, temperature fluctuations, prolonged use, and improper storage can lead to unsightly wrinkles. While some creasing is natural in genuine leather, excessive wrinkling can detract from the luxurious look and feel. The challenge lies in removing these imperfections safely—without drying out the material, cracking the finish, or weakening the seams. Fortunately, with the right techniques and a bit of patience, it’s possible to restore a smooth, refined appearance to your leather seats using non-invasive, damage-free methods.
Understanding Leather Wrinkles: Causes and Types
Not all wrinkles are created equal. Some are temporary folds caused by compression during shipping or storage, while others develop gradually due to environmental stress. Common causes include:
- Temperature changes: Cold weather stiffens leather, making it more prone to creasing when sat upon.
- Improper installation: Stretching or folding during fitting can create deep, stubborn lines.
- Lack of conditioning: Dry leather loses elasticity and retains wrinkles more permanently.
- Pressure points: Body weight concentrated on certain areas leads to localized creasing.
It’s important to distinguish between surface-level folds—which respond well to heat and moisture—and structural deformations that may require professional reshaping. Attempting aggressive treatments on delicate finishes like aniline or semi-aniline leather can result in irreversible damage.
“Wrinkles aren’t always flaws—they’re signs of use and flexibility. The goal isn’t perfection but restoring balance between form and function.” — Daniel Reyes, Automotive Upholstery Specialist with 18 years of experience
Safe and Effective Methods to Smooth Wrinkles
The key to successful wrinkle removal lies in gentle manipulation combined with proper hydration and controlled warmth. Below are five proven techniques, each suited to different levels of wrinkling and leather types.
1. Steam Treatment with a Garment Steamer
Steam softens leather fibers, allowing them to relax and return to their original shape. This method works best for moderate wrinkles and should be approached with caution.
Steps:
- Wipe the seat surface with a dry microfiber cloth to remove dust.
- Hold a garment steamer 6–8 inches away from the leather.
- Move slowly over the wrinkled area in sweeping motions for 10–15 seconds.
- Immediately smooth the area with your palm or a soft cloth, applying light pressure.
- Allow the seat to air-dry completely before use.
Avoid direct contact between the steamer nozzle and leather, as excessive moisture can seep into stitching and cause mold or delamination.
2. Warm Towel Method (Low-Risk Alternative)
This approach uses indirect heat and moisture, minimizing the risk of scalding or over-saturation.
Procedure:
- Dampen a clean cotton towel with warm (not boiling) water.
- Wring it thoroughly so it’s moist but not dripping.
- Lay the towel over the wrinkled section.
- Apply a household iron on the lowest setting—without steam—over the towel for 5–10 seconds at a time.
- Lift the towel and gently massage the warmed leather with your fingers.
- Repeat if necessary, then condition afterward.
This technique mimics professional heat-resurfacing tools but at a safer, DIY-friendly level.
3. Natural Reshaping Through Use and Climate Control
Sometimes, the simplest solution is time and consistent use. Leather naturally conforms to body shape when properly hydrated.
Park the vehicle in a warm garage (above 65°F/18°C) for several days. Sit in the driver’s seat for 20–30 minutes daily, shifting position slightly to distribute pressure. As the leather warms and flexes, many shallow wrinkles will gradually diminish.
Essential Do’s and Don’ts When Treating Leather Wrinkles
| Action | Do | Don't |
|---|---|---|
| Heat Application | Use indirect heat via warm towel or low-steam settings | Never apply direct high heat or hairdryers on high |
| Moisture | Light dampness only; avoid soaking | Don’t spray water directly onto leather |
| Cleaning | Use pH-balanced leather cleaner before treatment | Avoid alcohol-based wipes or household cleaners |
| Pressure | Gently massage with fingertips or soft cloth | Don’t rub aggressively or use abrasive pads |
| Follow-Up | Always condition after heat/moisture exposure | Never leave leather untreated post-treatment |
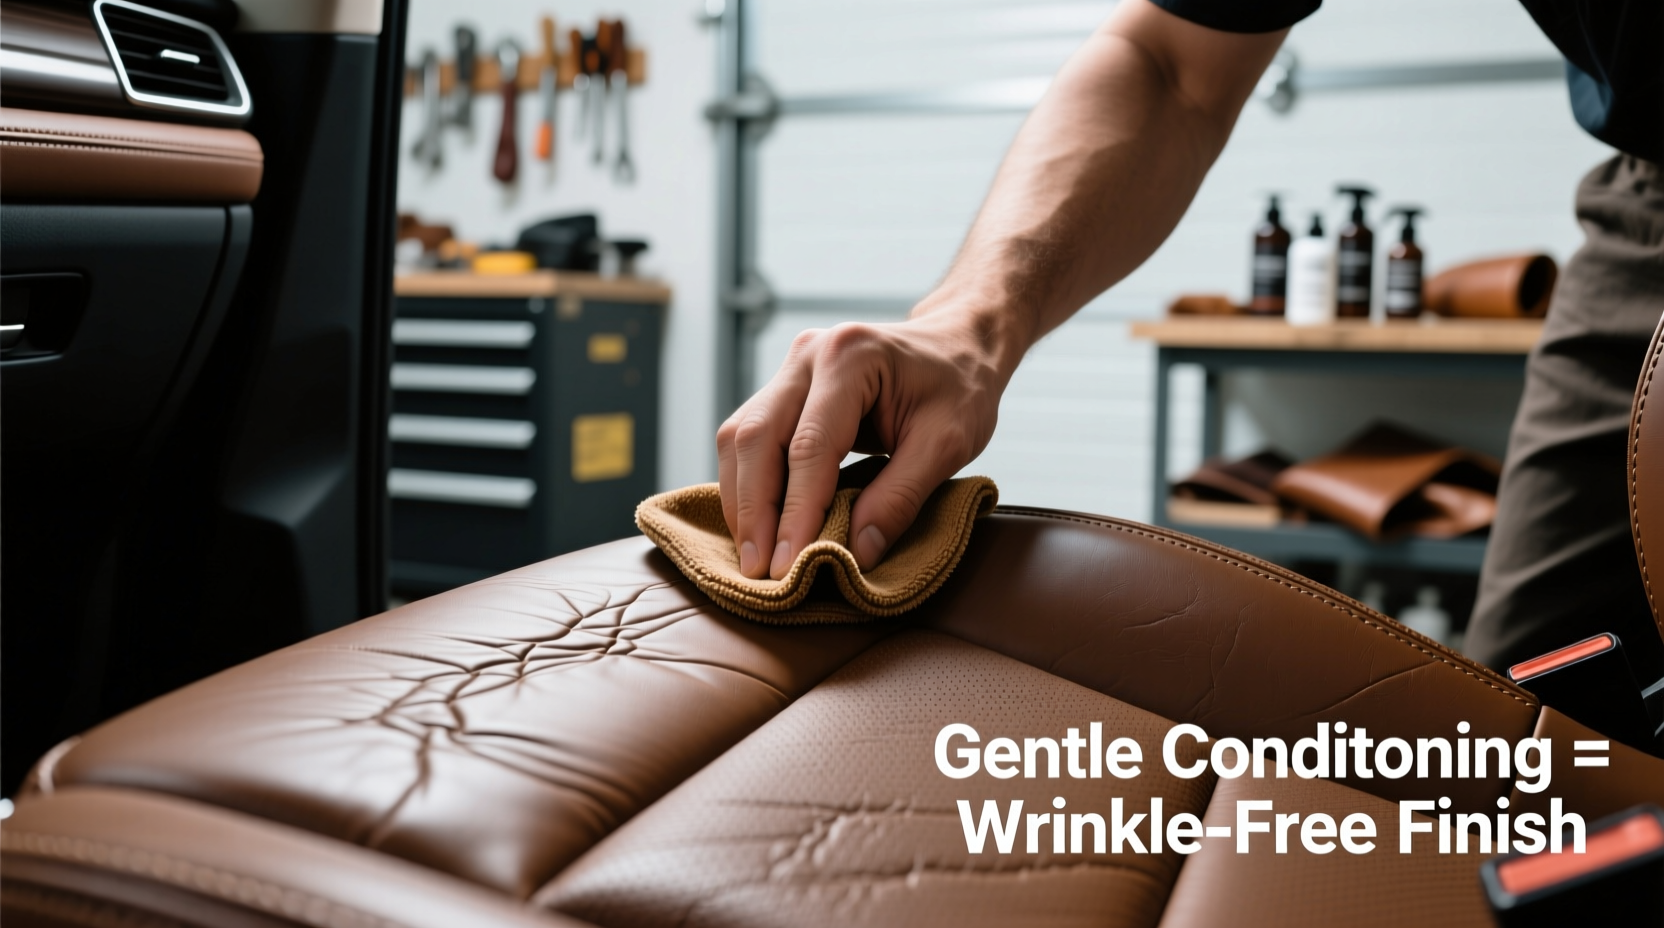
Step-by-Step Conditioning After Wrinkle Removal
After any wrinkle-smoothing process, conditioning is non-negotiable. Heat and moisture strip natural oils, leaving leather vulnerable to cracking.
Recommended Routine:
- Wait until the seat is fully dry (minimum 1 hour after treatment).
- Apply a small amount of high-quality leather conditioner to a microfiber applicator.
- Work in circular motions, focusing on treated areas.
- Allow absorption for 15–20 minutes.
- Buff lightly with a dry section of the cloth to remove residue.
- Repeat every 4–6 weeks for sustained suppleness.
Choose conditioners specifically formulated for automotive leather—many contain UV inhibitors to prevent future fading and stiffness.
Real-World Example: Restoring a Used SUV’s Front Seats
Jessica M., a rideshare driver in Denver, purchased a used SUV with deeply creased front leather seats. After months of cold winters and constant use, the driver’s seat had developed a network of vertical wrinkles near the base.
She began by cleaning the seats with a pH-neutral auto leather wipe. Then, using the warm towel method with a cool iron setting, she applied gentle heat for three consecutive evenings. Each night, she massaged the warmed leather upward from the seat base. By day four, the most prominent folds had softened significantly. She finished with a silicone-free conditioner and noticed further improvement over the next two weeks through regular use. No cracking or discoloration occurred, and passengers commented on the renewed luxury feel.
Her success underscores the importance of patience and consistency—especially in colder climates where leather remains stiff for longer periods.
Frequently Asked Questions
Can I use a hairdryer to remove wrinkles from leather seats?
You can, but with extreme caution. Set the dryer to low heat and hold it at least 12 inches away. Move continuously to avoid concentrating heat in one spot, which can dry or crack the leather. It’s less precise than a garment steamer or warm towel and should be a last resort.
Will smoothing wrinkles shorten the life of my leather cover?
Not if done correctly. Gentle, moisture-assisted methods do not degrade leather integrity. However, repeated aggressive treatments, especially with high heat or harsh chemicals, can accelerate aging. Stick to infrequent, careful interventions and follow up with conditioning.
Are permanent wrinkles a sign of defective leather?
Not necessarily. All full-grain and top-grain leathers develop character over time. Deep, fixed creases may indicate poor initial quality or inadequate maintenance, but light wrinkling is normal. Focus on maintaining flexibility rather than achieving a perfectly flat surface.
Final Checklist: Safe Wrinkle Reduction Process
- ✅ Clean the leather surface before treatment
- ✅ Test method on a hidden area first
- ✅ Use indirect heat and minimal moisture
- ✅ Massage gently while leather is warm
- ✅ Condition thoroughly after smoothing
- ✅ Repeat conditioning monthly for best results
Conclusion: Preserve Beauty Without Compromising Integrity
Smoothing wrinkles in leather car seat covers doesn’t require drastic measures or expensive equipment. With a thoughtful combination of warmth, moisture, and proper aftercare, most creases can be minimized effectively and safely. The true mark of quality care isn’t flawlessness—it’s longevity. By respecting the natural properties of leather and avoiding shortcuts that risk damage, you preserve both the appearance and durability of your vehicle’s interior.


 浙公网安备
33010002000092号
浙公网安备
33010002000092号 浙B2-20120091-4
Comments
No comments yet. Why don't you start the discussion?