
Pop-up windows have long been a point of contention in the digital world. While many are associated with intrusive ads or malicious content, not all pop-ups are harmful. In fact, certain websites rely on pop-ups for essential functions—such as login authentication, payment processing, chat support, or calendar event creation. When browsers block these necessary pop-ups, it can disrupt workflows, hinder productivity, and create confusion. The key is knowing how to selectively allow pop-ups from trusted sources without exposing your system to risk.
This guide outlines practical, secure, and browser-specific techniques to unblock pop-ups when needed. Whether you're using Chrome, Firefox, Safari, or Edge, you’ll learn how to manage pop-up settings effectively while maintaining strong online protection.
Why Pop-Ups Get Blocked (And When to Allow Them)
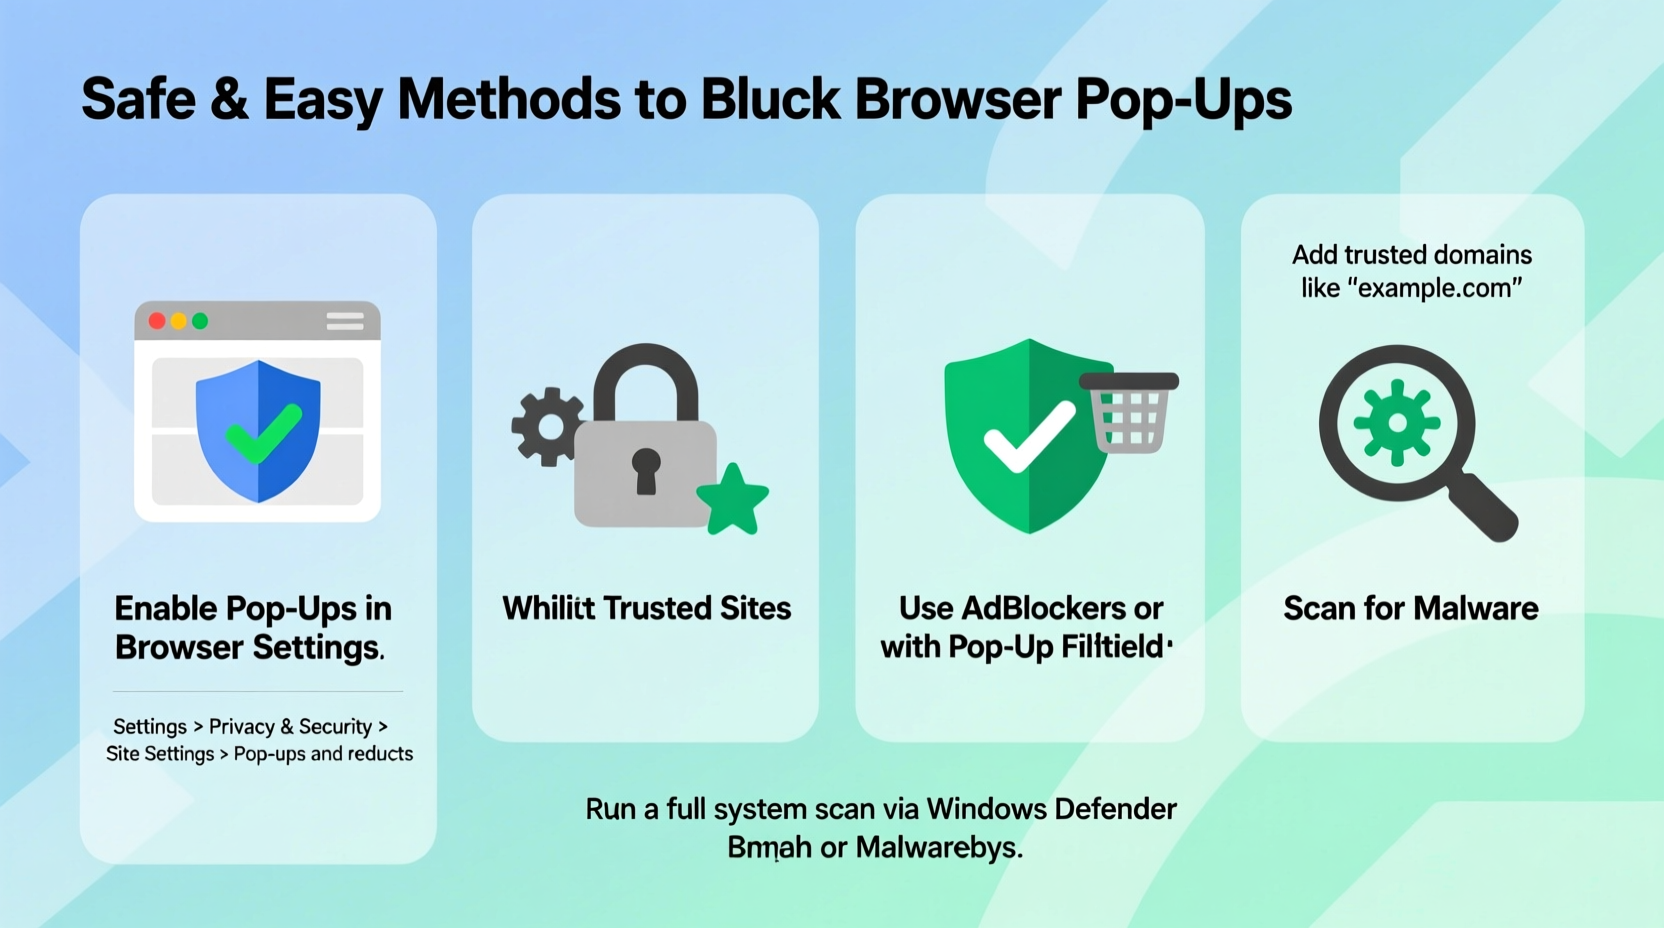
Modern browsers come with built-in pop-up blockers designed to enhance user experience and security. These tools prevent unwanted advertisements, phishing attempts, and malware distribution by default. However, over-blocking can interfere with legitimate site functionality. For example:
- A banking portal might open a secure verification window during login.
- An e-commerce site may launch a shipping calculator in a new window.
- Google Calendar uses pop-ups to create events quickly.
The goal isn’t to disable pop-up blocking entirely but to configure exceptions for sites you trust. This balanced approach ensures both usability and safety.
Step-by-Step Guide: How to Unblock Pop-Ups by Browser
Different browsers handle pop-up permissions differently. Below are detailed instructions for the most widely used platforms.
Google Chrome
- Navigate to the website where pop-ups are being blocked.
- Click the lock icon or info symbol (🔒 or ⓘ) located in the address bar.
- Select “Site Settings” from the dropdown menu.
- Scroll down to find “Pop-ups and redirects.”
- Change the setting from “Blocked” to “Allowed.”
- Reload the page. Future pop-ups from this site will now appear.
To manage global pop-up settings: Go to Settings > Privacy and Security > Site Settings > Pop-ups and redirects. From here, you can view and edit allowed or blocked sites.
Mozilla Firefox
- Visit the site that needs pop-up access.
- Click the shield icon in the address bar (indicating tracking protection).
- If pop-ups are blocked, Firefox will notify you. Click “Options” next to the pop-up alert.
- In the Permissions section, locate “Block pop-up windows” and uncheck the box—or add an exception.
- Alternatively, go to Settings > Privacy & Security > Permissions > Block pop-up windows, then click “Exceptions” to whitelist specific URLs.
Microsoft Edge
- Open Edge and navigate to the desired website.
- Click the lock icon in the address bar.
- Choose “Permissions” from the menu.
- Find “Pop-ups and redirects” and set it to “Allow.”
- For broader control: Go to Settings > Cookies and site permissions > Pop-ups and redirects, then manage allowed sites under “Allow.”
Apple Safari (macOS)
- Open Safari and visit the site requiring pop-up access.
- Go to Safari > Settings > Websites > Pop-up Windows.
- In the left panel, find the current site or manually add it.
- Set its behavior to “Allow.”
- Note: Safari does not allow per-session changes via the address bar; adjustments must be made in settings.
Best Practices for Safe Pop-Up Management
Allowing pop-ups introduces potential risks if done carelessly. Follow these best practices to maintain security while improving functionality.
| Do’s | Don’ts |
|---|---|
| Whitelist only verified, frequently used websites (e.g., email, banking, productivity tools). | Never allow pop-ups on public or shared computers. |
| Regularly review your list of allowed sites and remove outdated entries. | Disable pop-up blocking globally—it increases exposure to scams. |
| Use private browsing mode when visiting unfamiliar sites to keep settings isolated. | Ignore pop-up warnings during sensitive tasks like online payments. |
“Selective permission models give users control without sacrificing security. Allowing pop-ups should always be an informed decision, not a blanket setting.” — Dr. Lena Patel, Cybersecurity Researcher at OpenWeb Institute
Real Example: Resolving Login Issues on a Work Portal
Consider Sarah, a remote employee who uses a cloud-based HR platform to submit time-off requests. One Monday morning, she logs in but finds that clicking “Request Leave” does nothing. After checking her browser, she notices a small pop-up blocker icon in the corner of Chrome indicating that content was blocked.
She clicks the icon, selects “Always allow pop-ups from this site,” and refreshes the page. This time, when she clicks the button, a new window opens with the leave form. By taking one simple step, she restored full functionality without disabling protections across other sites.
This scenario illustrates how targeted adjustments solve real-world problems efficiently and securely.
Troubleshooting Common Pop-Up Problems
Sometimes, even after allowing pop-ups, they still don’t appear. Here’s what to check:
- Ad blockers or extensions: Tools like uBlock Origin or AdBlock Plus may override browser settings. Temporarily disable them to test.
- Multiple permission layers: Some enterprise environments enforce network-wide restrictions. Contact IT if settings aren’t sticking.
- Cached permissions: Clear site data or restart the browser if changes don’t take effect immediately.
- JavaScript disabled: Pop-ups often require JavaScript. Ensure it’s enabled under site settings.
https://www.google.com/calendar/ and trying to create a new event.
FAQ
Can allowing pop-ups make my computer vulnerable?
Only if done recklessly. Allowing pop-ups from reputable, encrypted (HTTPS) websites poses minimal risk. The danger arises when you enable them for untrusted or phishing sites. Always verify the domain before granting permission.
Why do some pop-ups still get blocked even after I allowed them?
This can happen due to third-party extensions, strict corporate policies, or incorrect URL matching (e.g., allowing site.com but accessing app.site.com). Double-check the exact domain and subdomain in your permissions list.
Is there a way to allow pop-ups temporarily without adding permanent exceptions?
Yes. Most browsers display a small banner at the top of the screen when a pop-up is blocked. Clicking “Allow” on that banner permits pop-ups just for that session, offering a middle ground between convenience and control.
Conclusion
Pop-up blockers are a vital layer of defense, but they shouldn’t stand in the way of essential web interactions. By understanding how to safely unblock pop-ups on a per-site basis, you regain access to important features without weakening your overall security posture. The process is quick, reversible, and highly customizable across all major browsers.
Take a few minutes today to review your current pop-up settings. Identify any trusted sites that might be unnecessarily restricted, and apply precise allowances. With smart configuration, you can enjoy seamless browsing and peace of mind—without compromising safety.


 浙公网安备
33010002000092号
浙公网安备
33010002000092号 浙B2-20120091-4
Comments
No comments yet. Why don't you start the discussion?