
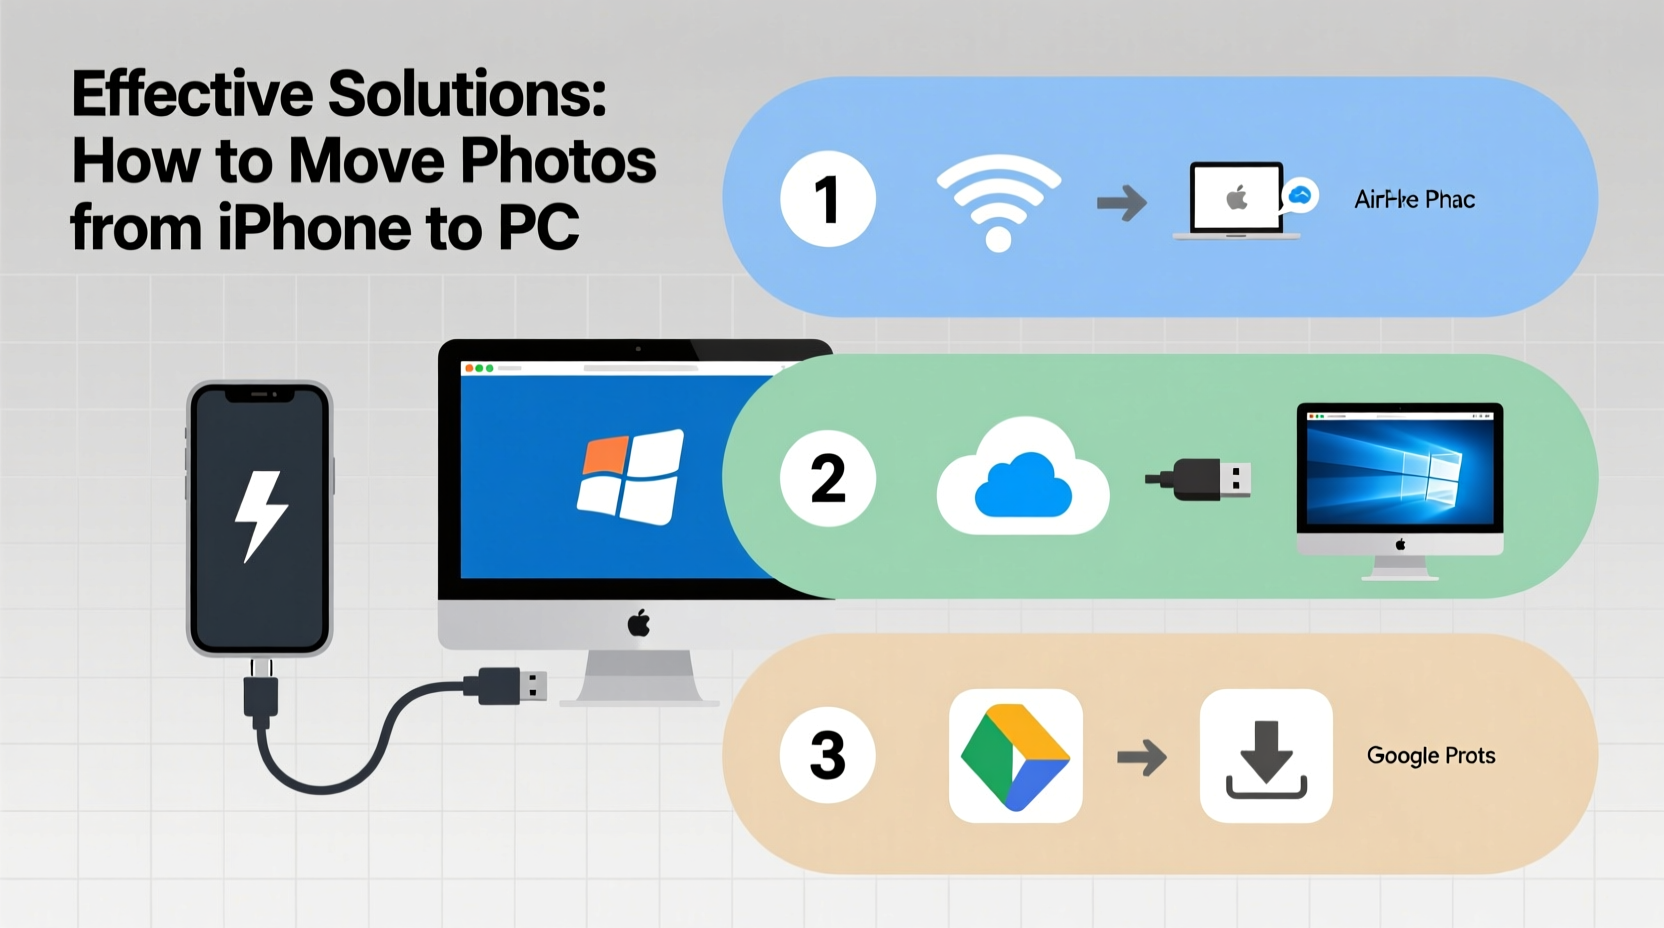
Moving photos from an iPhone to a PC is a routine task for many users, yet it often becomes frustrating due to connectivity issues, file size limitations, or confusion over available tools. Whether you're freeing up space on your iPhone, backing up precious memories, or preparing images for editing, choosing the right method matters. The ideal solution balances speed, reliability, ease of use, and data integrity. This guide explores proven techniques—from wired transfers to cloud syncing—so you can confidently select the best approach for your needs.
Why Transferring Photos Can Be Tricky
iOS and Windows operate on different ecosystems, which means seamless photo migration isn’t always automatic. Apple’s HEIC image format, used by default on iPhones for its compression efficiency, isn’t natively supported by older versions of Windows. Additionally, large libraries with thousands of photos can overwhelm slow transfer methods or unreliable connections. Users also face risks like accidental deletion, incomplete syncs, or corrupted files if processes are interrupted.
“Many people lose photos not because they don’t back them up, but because they rely on inconsistent or partial transfer methods.” — David Lin, Digital Archiving Specialist
To avoid these pitfalls, understanding both the technical landscape and practical workflows is essential.
Wired Transfer Using USB Cable
One of the most reliable and universally compatible methods involves connecting your iPhone directly to your PC via a Lightning-to-USB cable. This approach ensures fast transfer speeds and full control over which photos are moved.
Step-by-Step Guide: Transfer via File Explorer
- Unlock your iPhone and connect it to your PC using a certified USB cable.
- On your iPhone, tap “Trust This Computer” when prompted and enter your passcode.
- On your PC, open File Explorer and locate your device under “This PC” or “Devices and drives.”
- Navigate to Internal Storage > DCIM, where all camera photos are stored.
- Select individual folders or use Ctrl+A to highlight all desired images.
- Copy (Ctrl+C) and paste (Ctrl+V) them into a designated folder on your computer.
This method preserves original quality and metadata, including timestamps and location data. It works even without iCloud or third-party apps, making it ideal for one-time bulk transfers.
Using iCloud for Seamless Syncing
If you prefer automation and regular backups, iCloud offers a hands-off solution. When enabled, it uploads your entire photo library to the cloud and can sync across devices—including Windows PCs via the iCloud app.
Setting Up iCloud Photos on PC
- Download and install the official iCloud for Windows app from Apple’s website.
- Sign in with your Apple ID.
- Check the box next to “Photos” and click “Apply.”
- In the Photos settings, select “Download new photos and videos to my PC.”
Once configured, any photo taken on your iPhone will automatically appear in the iCloud Photos folder on your computer. You can access this at C:\\Users\\[YourName]\\Pictures\\iCloud Photos\\Downloads.
However, this method requires sufficient iCloud storage. The free tier offers only 5GB, so heavy photographers may need to upgrade to 50GB ($0.99/month) or higher plans.
Wireless Options: AirDrop Alternatives for PC
AirDrop works seamlessly between Apple devices but isn’t available on Windows. However, several alternative wireless methods bridge this gap.
Email and Messaging Apps (For Small Batches)
Sending a few photos via email or messaging services like WhatsApp is quick but impractical for large volumes due to attachment limits and compression.
Third-Party File Transfer Tools
Applications like Send Anywhere, Feem, or Portal by Pushbullet allow direct phone-to-PC transfers over Wi-Fi without cloud dependency.
“We use Portal in our studio to pull high-res shots from iPhones directly to editing stations—no cables, no delays.” — Maya Tran, Freelance Photographer
These tools generate temporary links or QR codes that enable instant transfers within the same network. They preserve file integrity and support batch sending, making them excellent for creative professionals.
Comparison of Transfer Methods
| Method | Speed | Security | Best For | Limits |
|---|---|---|---|---|
| USB Cable | Fast | High (direct connection) | Bulk transfers, full backups | Requires cable; manual selection |
| iCloud | Moderate (depends on upload speed) | High (end-to-end encryption) | Ongoing sync, automatic backup | Storage costs; internet required |
| Third-Party Apps (e.g., Portal) | Fast (local Wi-Fi) | Medium (varies by app) | Quick sharing, no cables | Both devices must be on same network |
| Email/Messaging | Slow | Low (compression, size limits) | 1–5 photos occasionally | Poor quality; not scalable |
Mini Case Study: Preserving Family Memories
Sarah Thompson, a teacher from Ohio, inherited her late father’s iPhone containing over 3,000 unbacked-up photos spanning two decades. Fearing data loss during transfer, she initially tried emailing batches, only to find many were compressed or failed to send. After researching options, she connected the iPhone to her Windows laptop via USB and used File Explorer to copy the entire DCIM folder. She then renamed each subfolder by year and event (“Vacation_2008,” “Graduation_2015”) and stored copies on an external drive and Google Drive. The process took under two hours and preserved every original file. Today, she prints select photos yearly as keepsakes.
Checklist: Moving Photos Safely and Efficiently
- ✅ Back up your iPhone before starting (Settings > Apple ID > iCloud > Back Up Now)
- ✅ Use a high-quality USB cable to prevent disconnections
- ✅ Verify that your PC recognizes the iPhone (check under “This PC”)
- ✅ Convert HEIC files to JPG if needed (via iCloud settings or online converters)
- ✅ Create organized folders on your PC before transferring
- ✅ Confirm all photos copied correctly by comparing counts and spot-checking thumbnails
- ✅ Store transferred photos in at least two locations (e.g., PC + external drive or cloud)
Frequently Asked Questions
Why aren’t my iPhone photos showing up on my PC?
This usually happens because the iPhone wasn’t trusted, the cable is faulty, or the phone is locked. Ensure you tap “Trust This Computer,” unlock the device, and try a different USB port or cable. Also, restart both devices if necessary.
Can I transfer photos without losing quality?
Yes. Using a USB cable or iCloud preserves original resolution and format. Avoid email, social media uploads, or low-quality cloud compressors. If your PC doesn’t support HEIC, convert files using Apple’s built-in tools or reputable converters like iMazing HEIC Converter.
Is it safe to delete photos from iPhone after transferring?
Only delete photos after confirming they’ve been successfully saved on your PC and backed up elsewhere. Accidental deletions cannot always be recovered, especially if iCloud Photos isn’t enabled.
Final Thoughts and Action Steps
Moving pictures from your iPhone to your PC doesn’t have to be complicated. The best method depends on your priorities: speed, automation, volume, or simplicity. For one-time migrations, a USB cable remains the gold standard. For ongoing peace of mind, iCloud provides continuous protection. Wireless tools offer flexibility for modern, cable-free workflows.
No matter which path you choose, consistency is key. Schedule monthly transfers or enable automatic syncing to protect irreplaceable moments. Technology evolves, but memories shouldn’t be left vulnerable to device failure or accidental loss.


 浙公网安备
33010002000092号
浙公网安备
33010002000092号 浙B2-20120091-4
Comments
No comments yet. Why don't you start the discussion?