
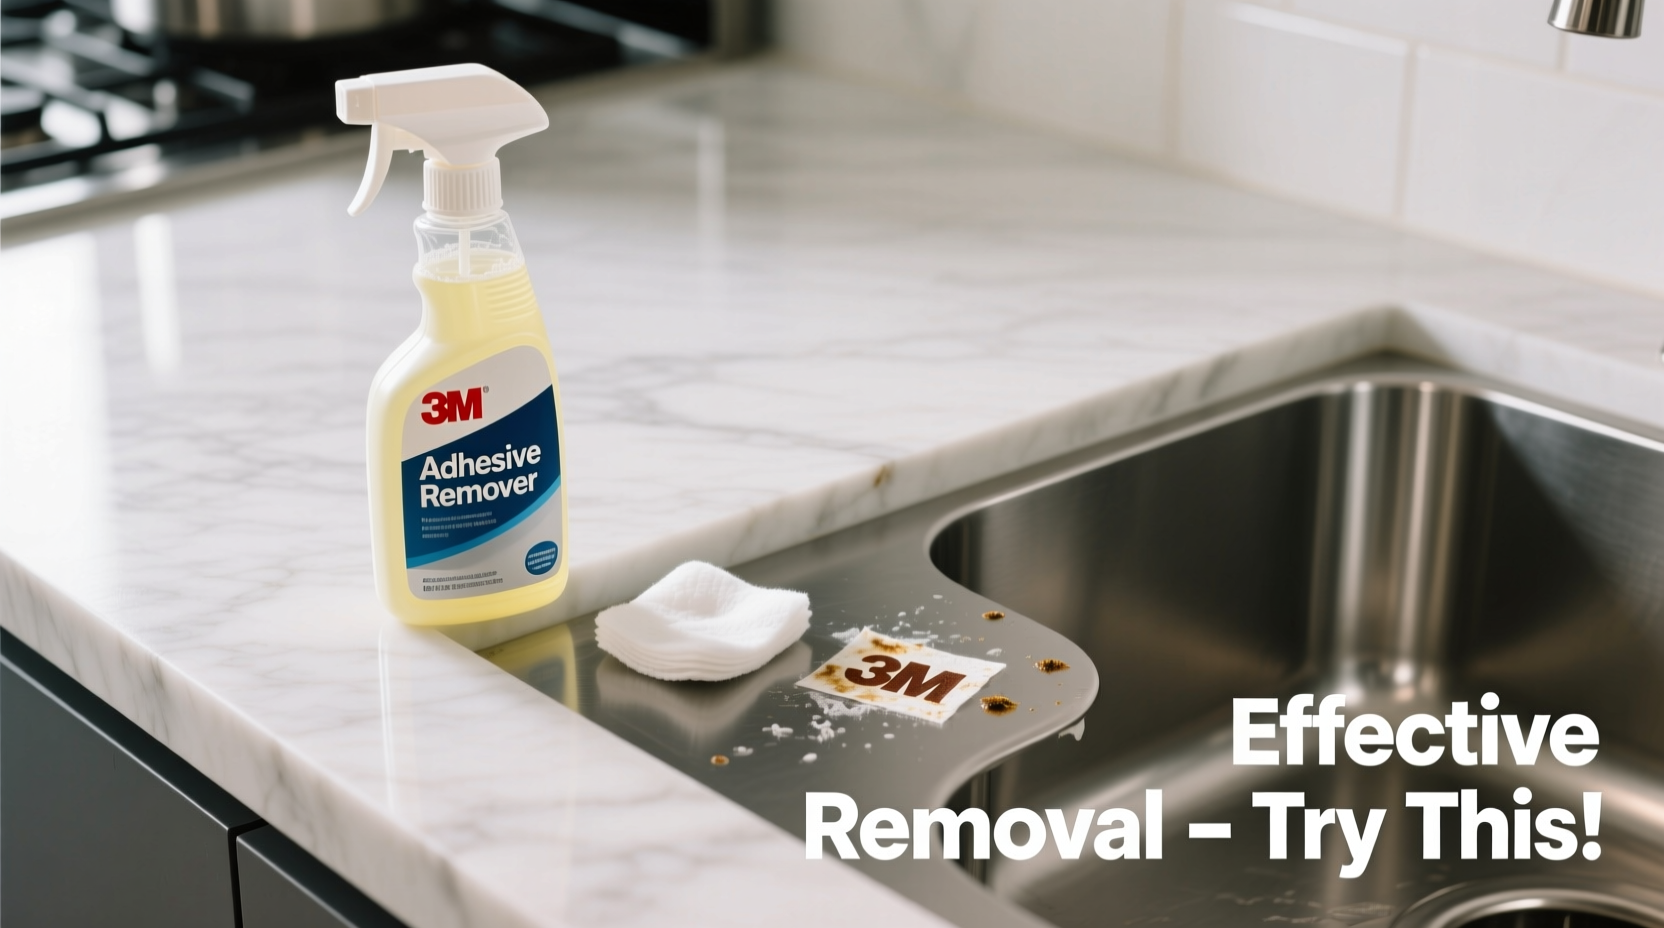
Removing 3M adhesive residue can be a frustrating challenge, especially when it’s left behind by tapes, mounting strips, or labels. Whether it's clinging to glass, painted walls, wood, or electronics, this stubborn residue often resists basic cleaning. However, with the right techniques and materials, you can eliminate it safely and effectively—without damaging the underlying surface. This guide provides tested, practical solutions backed by chemistry and real-world use.
Understanding 3M Adhesive Residue
3M adhesives, including those used in Scotch tape, Command strips, and industrial-grade bonding products, are designed to be strong yet removable under specific conditions. Their residue is typically pressure-sensitive and rubber- or acrylic-based, which means it responds well to solvents and heat. The key to successful removal lies in breaking down the polymer bonds without harming the substrate.
Different surfaces require different approaches. For example, acetone may dissolve adhesive on metal but can ruin plastic or painted finishes. Always identify the surface material before choosing a method.
Step-by-Step Guide to Removing 3M Adhesive Residue
The following sequence outlines a systematic approach that maximizes effectiveness while minimizing risk:
- Peel off visible remnants: Use tweezers or a plastic scraper to lift as much of the bulk adhesive as possible without scratching the surface.
- Apply heat (optional): Use a hairdryer on medium heat to soften the residue. Hold it 6–8 inches away and warm the area for 30–60 seconds. Softened adhesive wipes away more easily.
- Select an appropriate solvent: Based on the surface type, choose from rubbing alcohol, WD-40, Goo Gone, or diluted dish soap.
- Apply the solvent: Dampen a microfiber cloth or cotton ball and gently rub the residue in circular motions.
- Wipe clean: Once the adhesive dissolves, use a clean, damp cloth to remove any leftover solvent and residue.
- Dry thoroughly: Buff the surface dry with a lint-free cloth to prevent water spots or streaks.
Best Solvents for Different Surfaces
Not all solvents work universally. The table below compares common options based on surface compatibility and safety:
| Solvent | Glass | Metal | Painted Walls | Plastic | Wood |
|---|---|---|---|---|---|
| Rubbing Alcohol (70%+ isopropyl) | ✅ Safe | ✅ Safe | ⚠️ Test first | ⚠️ Risk of clouding | ✅ Safe (short contact) |
| WD-40 | ✅ Effective | ✅ Excellent | ❌ Damaging | ⚠️ May degrade some plastics | ❌ Not recommended |
| Goo Gone (original formula) | ✅ Works well | ✅ Good | ⚠️ Can stain paint | ⚠️ Use sparingly | ✅ With caution |
| Acetone/Nail Polish Remover | ✅ Powerful | ✅ Strong effect | ❌ Strips paint | ❌ Melts many plastics | ❌ Damages finish |
| Dish Soap + Warm Water | ✅ Gentle | ✅ Safe | ✅ Ideal | ✅ Non-damaging | ✅ Suitable |
Real-World Example: Removing Command Strip Residue from Bathroom Tile
A homeowner installed several Command bathroom hooks to hold towels and loofahs. After six months, they decided to reposition them. While the strips came off cleanly, each left a sticky patch on the ceramic tile.
Instead of scrubbing aggressively, they applied a small amount of Goo Gone to a folded paper towel, placed it over one residue spot, and let it sit for two minutes. Using a plastic razor blade at a low angle, they gently scraped the softened adhesive. The residue lifted completely. They repeated the process for the remaining spots and finished by wiping the tiles with soapy water. No scratches or film remained.
This case demonstrates how patience and proper tools yield better results than force.
Expert Insight on Adhesive Removal
“Adhesives are engineered to bond, not to destroy. The goal isn’t to overpower them, but to reverse their bonding mechanism. Heat and selective solvents do this elegantly.” — Dr. Alan Reyes, Materials Scientist at Midwest Polymer Research Lab
Dr. Reyes emphasizes that aggressive scraping or harsh chemicals often do more harm than good. Instead, he recommends targeting the adhesive’s chemical structure with precision.
Checklist: Safe and Effective Adhesive Removal
- Identify the surface material before starting
- Remove bulk adhesive with a plastic scraper or fingernail
- Warm the area with a hairdryer if residue is stiff
- Choose a compatible solvent from the table above
- Test solvent on a hidden spot first
- Apply solvent with a cloth—never pour directly
- Use gentle circular motions to dissolve residue
- Clean the area with mild soap and water afterward
- Dry completely with a microfiber cloth
- Dispose of rags properly—some solvents are flammable
Frequently Asked Questions
Can I use vinegar to remove 3M adhesive residue?
Vinegar alone is generally ineffective on modern synthetic adhesives. While mildly acidic, it lacks the solvent strength needed to break down polymer chains. However, a mixture of vinegar and baking soda may help lift light residue from non-porous surfaces like glass, though it’s slower than dedicated solvents.
Will olive oil remove adhesive residue?
Yes, in limited cases. Olive oil can soften certain pressure-sensitive adhesives due to its lipid content. Apply a few drops, wait 5–10 minutes, then wipe with a cloth. It works best on metals or sealed surfaces but may leave an oily film. Follow up with dish soap to degrease the area.
Is it safe to use rubbing alcohol on car interiors?
Use caution. Rubbing alcohol can remove adhesive from vinyl or dashboard trim, but prolonged exposure may dry out or crack the material. Always dilute with water (50/50), apply sparingly with a cotton pad, and condition the surface afterward with a UV-protective interior cleaner.
Conclusion: Take Action with Confidence
Removing 3M adhesive residue doesn’t have to mean scratching surfaces or using toxic chemicals. With the right knowledge, even the stickiest leftovers can be cleared efficiently and safely. Start with the gentlest method—warm soapy water—and escalate only if needed. Remember to match your solvent to the surface, test first, and work patiently.


 浙公网安备
33010002000092号
浙公网安备
33010002000092号 浙B2-20120091-4
Comments
No comments yet. Why don't you start the discussion?