
Internet Explorer, though largely superseded by Microsoft Edge, remains in use across certain business environments and legacy systems. Over time, accumulated temporary files, cached data, and cookies can significantly slow down its performance. A cluttered cache may cause pages to load slowly, display outdated content, or even trigger crashes. Clearing the cache is a simple yet powerful maintenance task that restores responsiveness and ensures smoother browsing. This guide outlines proven methods to completely clear Internet Explorer’s cache, backed by practical tips and expert insights.
Why Clearing Cache Improves Performance
The browser cache stores copies of web pages, images, scripts, and other resources to speed up repeat visits to websites. While this mechanism is designed to enhance efficiency, it becomes counterproductive when outdated or corrupted files accumulate. Over time, an overloaded cache consumes disk space, increases memory usage, and can conflict with updated website versions.
Clearing the cache forces Internet Explorer to fetch fresh content from servers, resolving issues like:
- Pages loading incorrectly or displaying broken elements
- Slow response times despite a stable internet connection
- Forms not submitting due to stale JavaScript
- Security risks from stored session data on shared computers
“Regular cache maintenance is as essential as defragmenting a hard drive. It prevents digital decay that silently degrades user experience.” — Dr. Alan Reyes, Senior Systems Analyst at TechFront Solutions
Step-by-Step Guide to Clear Internet Explorer Cache
Follow these detailed steps to perform a thorough cleanup of Internet Explorer’s temporary files, history, cookies, and related data.
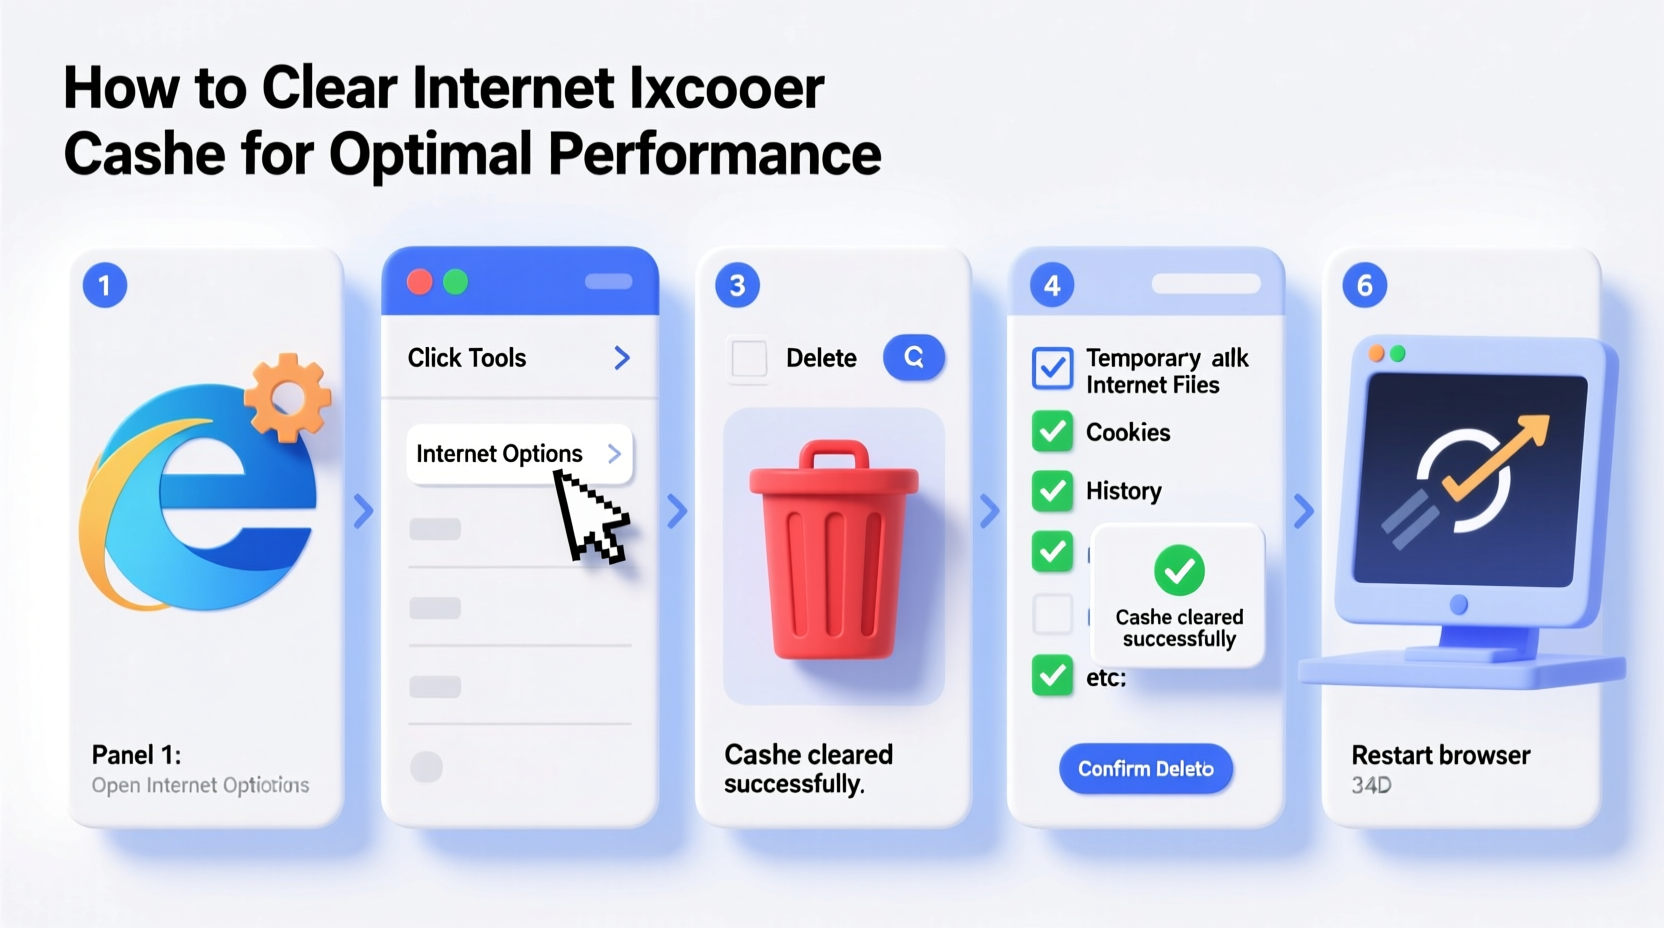
- Open Internet Explorer: Launch the browser from your desktop, taskbar, or Start menu.
- Access the Tools Menu: Click the gear icon (⚙️) in the top-right corner to open the “Tools” dropdown menu.
- Select 'Internet Options': From the menu, choose “Internet Options” to open the settings panel.
- Navigate to the 'General' Tab: Ensure you're on the General tab, where browsing history settings are located.
- Click 'Delete' under Browsing History: This opens a new dialog box with multiple data types.
- Select All Relevant Data Types: Check the following boxes:
- Temporary Internet Files and website files
- Cookies and website data
- History
- Download history
- Form data
- Passwords
- ActiveX Filtering and Tracking Protection data
- Confirm Deletion: Click the “Delete” button. Wait for the process to complete—this may take several seconds depending on cache size.
- Clear Cache Again via Settings (Optional): Return to the same window and click “Settings” under “Browsing history,” then “View files.” Manually select all files (Ctrl+A), delete them, and close the folder.
- Reset Internet Explorer (If Issues Persist): Go back to “Internet Options,” click the “Advanced” tab, and press “Reset.” Confirm to restore default settings and remove add-ons.
Advanced Cache Management Techniques
Beyond the standard deletion method, advanced users can leverage additional tools and configurations for deeper control over caching behavior.
Modify Disk Space Allocation for Temporary Files
By default, Internet Explorer limits cached files to a percentage of your hard drive. Increasing or resetting this value can prevent premature overflow.
- In “Internet Options,” go to the “General” tab.
- Under “Browsing history,” click “Settings.”
- In the “Disk space to use” field, adjust the slider to increase available space (e.g., 512 MB or 1 GB).
- Click “OK” to save changes.
Use Command Line for Automated Cleanup
For IT administrators managing multiple machines, batch scripts can automate cache deletion.
Run the following command in Command Prompt (as Administrator):
RunDll32.exe InetCpl.cpl,ClearMyTracksByProcess 8
This clears only temporary files. To delete all data, use:
RunDll32.exe InetCpl.cpl,ClearMyTracksByProcess 255
This method integrates well into scheduled tasks for unattended maintenance.
Checklist: Complete Internet Explorer Cache Cleanup
Use this checklist to ensure no step is missed during your maintenance routine:
- ✅ Open Internet Explorer and access “Internet Options”
- ✅ Delete Temporary Internet Files
- ✅ Remove Cookies and saved website data
- ✅ Clear browsing and download history
- ✅ Erase saved form data and passwords
- ✅ Manually verify file deletion via “View files”
- ✅ Reset Internet Explorer settings if necessary
- ✅ Restart the browser and test performance
Do’s and Don’ts of Cache Management
| Do’s | Don’ts |
|---|---|
| Clear cache regularly, especially before critical online tasks | Ignore persistent slowdowns without checking cache size |
| Backup important passwords before clearing form data | Delete cache while actively using the browser |
| Use the reset function if browser errors persist post-cleanup | Store sensitive login information on public or shared devices |
| Combine cache clearing with malware scans for optimal security | Assume clearing cache will fix hardware-related performance issues |
Real Example: Resolving Corporate Login Failures
A financial services firm reported recurring authentication failures on their internal portal, accessible only through Internet Explorer. Employees were unable to log in despite correct credentials, receiving “session expired” messages repeatedly.
IT support investigated and ruled out server-side issues. Upon inspecting client machines, they discovered outdated authentication tokens stored in the browser cache. After issuing instructions to clear cache and cookies across affected workstations, 95% of users regained immediate access. The remaining cases required a full browser reset due to corrupted settings.
This case highlights how stale cached data can disrupt even mission-critical operations—and how a simple cache purge resolves complex-seeming problems.
Frequently Asked Questions
Will clearing the cache log me out of websites?
Yes. Since cookies containing login sessions are deleted, you’ll need to re-enter usernames and passwords for most sites. Consider using a password manager to streamline re-authentication.
How often should I clear my Internet Explorer cache?
For regular users, once a month is sufficient. If you notice performance drops, visual glitches, or login issues, clear it immediately. In high-security or shared environments, do so after each session.
Does clearing cache improve computer speed overall?
Indirectly, yes. Removing gigabytes of obsolete temporary files frees up disk space and reduces background memory pressure. While the impact varies, systems with limited storage benefit noticeably from regular cleanup.
Conclusion: Take Control of Your Browser’s Health
Clearing Internet Explorer’s cache isn’t just a troubleshooting trick—it’s a fundamental part of digital hygiene. Whether you're dealing with slow load times, rendering errors, or security concerns, a clean cache restores reliability and efficiency. The steps outlined here empower both individual users and IT professionals to maintain peak browser performance with minimal effort.


 浙公网安备
33010002000092号
浙公网安备
33010002000092号 浙B2-20120091-4
Comments
No comments yet. Why don't you start the discussion?