
Broken screens are among the most common issues faced by smartphone, tablet, and laptop users. Whether it’s a spiderweb of cracks or a completely unresponsive display, a damaged screen can severely disrupt daily use. While many assume replacement means a costly trip to a service center, skilled individuals can often repair screens themselves using affordable parts and proper techniques. This guide provides a detailed, practical roadmap for diagnosing and repairing screen damage safely and effectively.
Understanding Screen Damage: LCD vs. Digitizer vs. OLED
Before attempting any repair, it's crucial to understand what part of the screen is actually damaged. Many modern devices integrate multiple layers into one assembly, but traditionally, screens consist of three key components:
- LCD (Liquid Crystal Display): The layer responsible for generating the visual image.
- Digitizer: The touch-sensitive layer that translates finger input.
- OLED (Organic Light-Emitting Diode): A newer display technology that doesn’t require a backlight and offers deeper blacks and better contrast.
A cracked outer glass may not affect display quality, while internal LCD damage results in discoloration, lines, or black spots. A malfunctioning digitizer causes unresponsiveness even if the image appears fine. Misdiagnosis leads to wasted time and money—always test functionality before disassembly.
Essential Tools and Safety Precautions
Successful screen repair depends as much on preparation as technical skill. Using improper tools can damage internal components or cause personal injury. Below is a checklist of recommended equipment:
- Precision screwdriver set (Phillips #000, Pentalobe, Tri-wing)
- Plastic pry tools or spudgers
- Suction cup (for smartphones)
- Torx and flathead drivers
- Heat gun or hairdryer (for adhesive softening)
- Anti-static wrist strap
- Microfiber cloth and isopropyl alcohol (90% or higher)
- Replacement screen assembly (OEM or high-quality aftermarket)
Work in a clean, well-lit area with minimal airflow to prevent dust from entering the device. Lay out all screws systematically—use a magnetic mat or labeled containers to avoid mixing them up. Never force components; if something resists, recheck for hidden fasteners or connectors.
“Over 60% of DIY screen replacements fail due to overlooked ribbon cables or static discharge. Patience and precision matter more than speed.” — Carlos Mendez, Mobile Repair Technician with 12 years of experience
Step-by-Step Guide to Replacing a Smartphone Screen
This procedure applies primarily to modern smartphones with glass fronts and adhesive-based assemblies. Adjustments may be needed for models with modular designs like certain Fairphone or older Samsung variants.
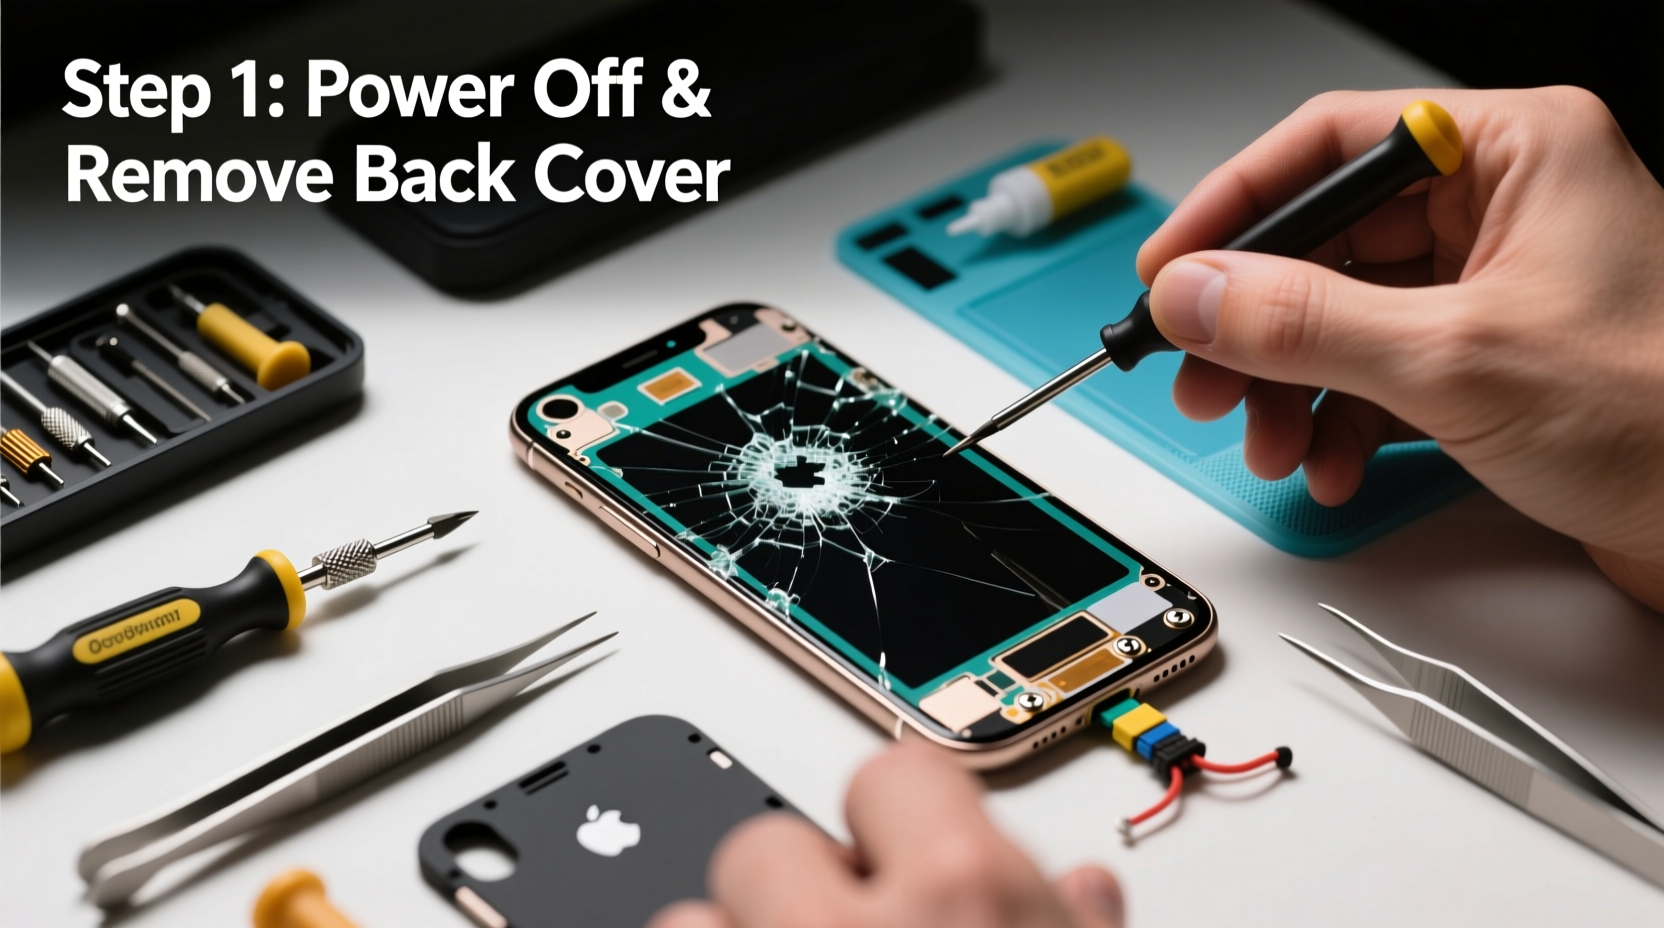
- Power off the device completely. This prevents short circuits during disassembly.
- Apply heat to the edges. Use a heat gun on low setting or a hairdryer to warm the frame for 60–90 seconds. This softens the adhesive holding the front panel.
- Attach the suction cup near the bottom bezel. Gently pull upward while inserting a plastic tool into the gap to begin separating the screen.
- Carefully run the pry tool around the perimeter. Work slowly to avoid cracking the back glass or damaging internal brackets.
- Open the device like a book. Once loose, prop it open at a 90-degree angle to access internal components.
- Remove screws securing the battery and display connectors. Note their positions—they vary by model.
- Disconnect the old screen’s ribbon cables. Use the spudger to gently lift the connectors from their sockets.
- Install the new screen. Align it carefully and reconnect each cable securely. Reattach screws.
- Test before sealing. Power on the device to verify touch response and display clarity.
- Reapply adhesive and press the front panel evenly. Clamp lightly for 15 minutes or follow manufacturer cure time.
Do’s and Don’ts of DIY Screen Repair
| Do’s | Don’ts |
|---|---|
| Label screws and take photos during disassembly | Use metal tools near battery or circuitry |
| Ground yourself with an anti-static wristband | Rush through the process under time pressure |
| Purchase compatible replacement parts from reputable suppliers | Ignore firmware updates that affect display calibration |
| Double-check all connections before powering on | Reuse degraded adhesive strips |
Real-World Example: Repairing a Cracked iPad Mini Display
Sophia, a freelance graphic designer, dropped her iPad Mini 5 on a hardwood floor. The screen shattered, and touch response became erratic in the lower quadrant. Rather than pay $279 for an Apple repair, she ordered a high-quality third-party display module for $68 online. After watching two tutorial videos specific to her model, she gathered her toolkit and began.
She used a heat pad to loosen the edge adhesive and applied steady pressure with a suction handle. When removing the digitizer cable, she noticed the connector was slightly misaligned—a common pitfall. She realigned it gently with a spudger and secured it properly. After reassembly, the screen worked flawlessly, saving her over $200 and extending her device’s life by several years.
This case highlights the importance of model-specific research and attention to detail—even experienced users can make small mistakes that compromise success.
Frequently Asked Questions
Can I fix just the glass without replacing the entire screen?
In some cases, yes—specialized repair shops use \"glass-only\" replacement machines that separate the outer layer from the LCD. However, this requires advanced equipment and carries a high risk of damaging the underlying display. For most consumers, full assembly replacement is safer and more reliable.
Why does my new screen have dead pixels or uneven brightness?
This usually indicates a defective unit or poor connection. First, power cycle the device and reseat the ribbon cables. If the issue persists, the replacement screen may be low quality or damaged in transit. Purchase from vendors offering warranties on parts.
Is it worth repairing an older device?
It depends on usage and cost. If the device still meets your performance needs and the repair costs less than half the price of a new model, it’s typically worthwhile. Consider environmental impact too—repairing reduces e-waste significantly.
Final Thoughts and Next Steps
Fixing a broken screen is a rewarding skill that saves money, reduces electronic waste, and fosters a deeper understanding of the devices we rely on daily. With the right tools, patience, and attention to detail, most screen replacements are achievable at home—even for beginners. Start with simpler models, document every step, and never hesitate to pause and consult trusted repair guides when uncertain.
As technology evolves, so do repair methods. Staying informed about new adhesives, modular designs, and right-to-repair legislation ensures long-term success. Every repaired device is a small victory against planned obsolescence and unnecessary consumption.


 浙公网安备
33010002000092号
浙公网安备
33010002000092号 浙B2-20120091-4
Comments
No comments yet. Why don't you start the discussion?