
Grilling chicken on the stove may not involve open flames or charcoal, but it can deliver restaurant-quality results when done right. With controlled heat, proper prep, and a few expert techniques, you can achieve tender, flavorful grilled chicken that rivals outdoor grilling. Whether you're using a cast-iron skillet, grill pan, or non-stick surface, mastering indoor grilling elevates your weeknight dinners and meal prep game. This guide breaks down the most effective methods, common pitfalls, and pro tips to ensure your chicken comes out perfectly seared, moist, and full of flavor—every single time.
Why Stovetop Grilling Works
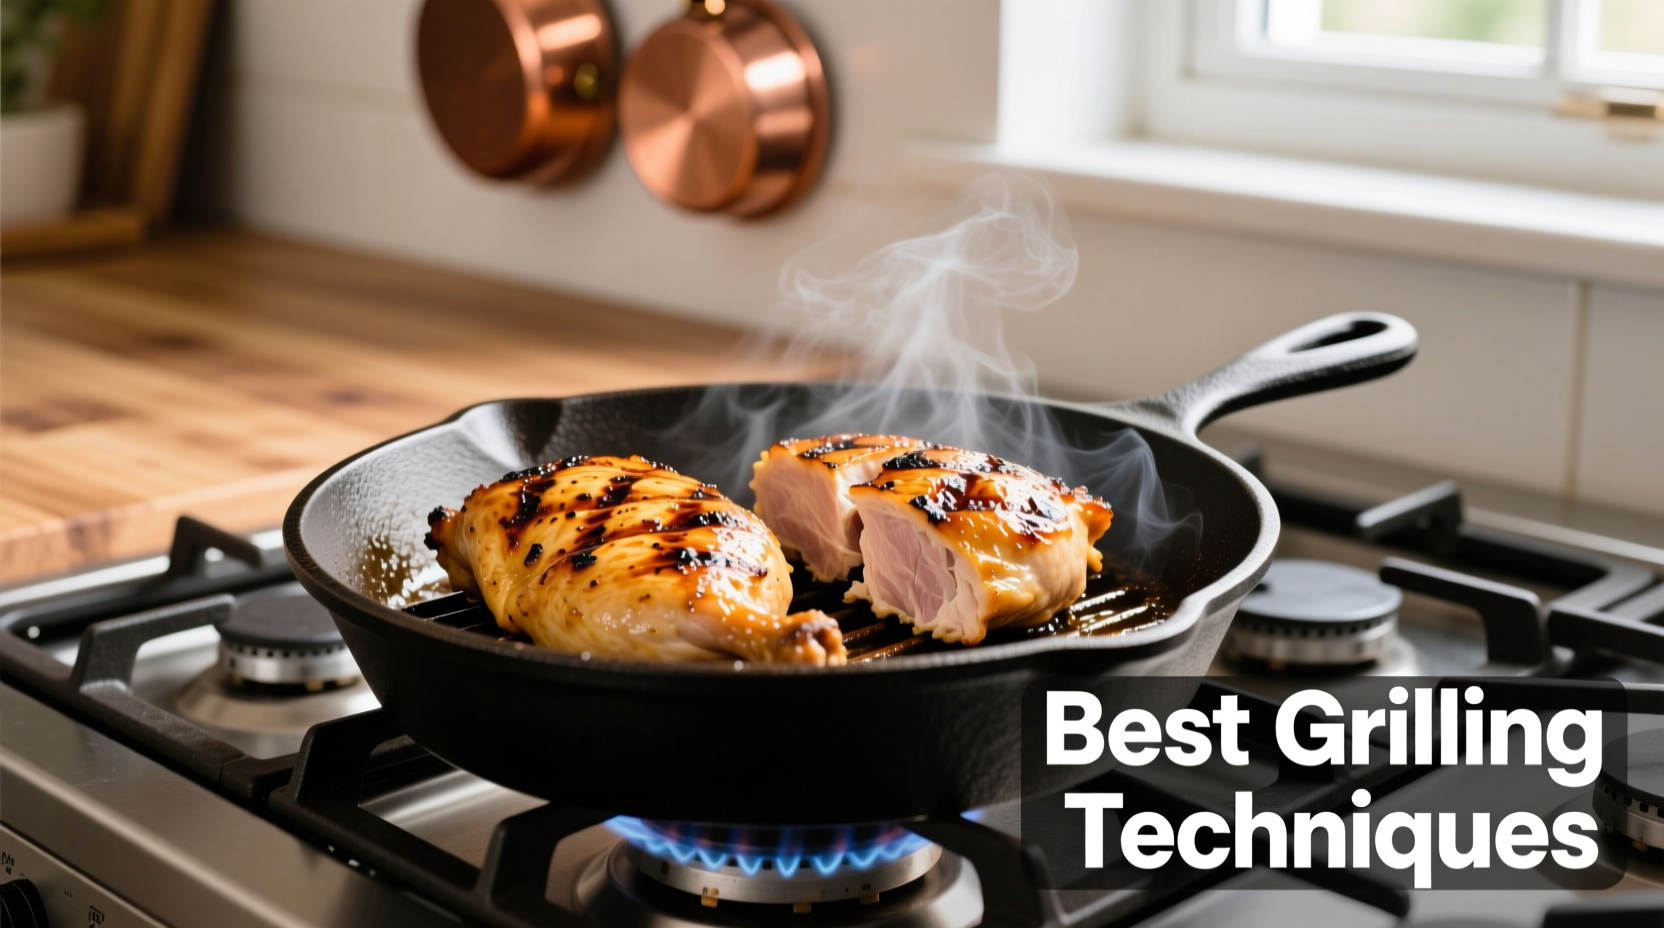
Stovetop grilling is ideal for those without outdoor space, during colder months, or when you need quick, reliable results. A well-heated grill pan replicates the char and sear of an outdoor grill while offering superior temperature control. Unlike baking, which can dry out chicken, stovetop grilling locks in juices through high-heat searing, creating a caramelized crust that enhances taste and texture.
The key lies in mimicking outdoor conditions: intense direct heat, minimal flipping, and proper resting. Indoor grilling also reduces cleanup compared to charcoal grills and avoids smoke alarms—when done correctly.
Choosing the Right Equipment
Not all pans are created equal when it comes to stovetop grilling. The goal is to achieve distinct grill marks and even cooking without sticking or uneven browning.
- Cast-iron grill pans: Retain heat exceptionally well and develop a natural non-stick surface over time. Ideal for achieving deep sear marks.
- Carbon steel grill pans: Lightweight alternative to cast iron, heats quickly and responds well to temperature changes.
- Non-stick grill pans: Convenient for beginners but often can't withstand the high heat needed for true grilling. Avoid metal utensils to prevent damage.
Avoid flat frying pans if you want authentic grill marks. The raised ridges on a grill pan elevate the chicken slightly, allowing fat to drip away and creating those desirable char lines.
Equipment Comparison Table
| Pan Type | Heat Retention | Best For | Lifespan |
|---|---|---|---|
| Cast Iron | Excellent | High-heat searing, frequent use | 10+ years (with care) |
| Carbon Steel | Very Good | Balanced performance, lighter weight | 5–8 years |
| Non-Stick Grill Pan | Fair | Beginners, low-oil cooking | 1–3 years |
Step-by-Step Guide to Perfectly Grilled Chicken
- Choose the right cut: Boneless, skinless chicken breasts or thighs work best. Breasts cook faster but dry out easily; thighs are more forgiving due to higher fat content.
- Pat dry: Use paper towels to remove surface moisture. Wet chicken steams instead of sears.
- Season generously: Salt at least 15 minutes before cooking (or up to 24 hours in advance) to enhance flavor and moisture retention. Add pepper, garlic powder, paprika, or herbs as desired.
- Preheat the pan: Place the grill pan over medium-high heat for 5 minutes. Test readiness by flicking a few drops of water—if they sizzle and evaporate instantly, it’s ready.
- Oil the chicken, not the pan: Lightly coat the chicken with high-smoke-point oil like avocado, grapeseed, or refined olive oil. This prevents sticking and promotes even browning.
- Sear without moving: Place chicken on the hot pan at a 45-degree angle to the ridges for optimal mark formation. Cook undisturbed for 5–7 minutes (depending on thickness).
- Flip once: Rotate chicken 90 degrees for crosshatch marks (optional), then flip and cook another 5–7 minutes until internal temperature reaches 165°F (74°C).
- Rest before slicing: Transfer to a plate, tent loosely with foil, and let rest for 5–10 minutes. This allows juices to redistribute.
Common Mistakes and How to Avoid Them
- Overcrowding the pan: Leads to steaming instead of searing. Cook in batches if necessary.
- Flipping too early: Chicken sticks if not properly seared. Wait until it releases naturally from the pan.
- Skipping the rest: Cutting immediately after cooking causes juices to spill out, resulting in dry meat.
- Using low heat: Fails to create a proper crust. Medium-high is essential for Maillard reaction (browning).
- Marinating without drying: Even marinated chicken should be patted dry before grilling to avoid steaming.
Do’s and Don’ts Summary
| Do | Don’t |
|---|---|
| Pat chicken dry before cooking | Cook cold chicken straight from the fridge |
| Preheat the pan thoroughly | Add oil directly to a cold pan |
| Use tongs to flip once | Poke or press the chicken repeatedly |
| Let chicken rest after cooking | Slice immediately after removing from heat |
Expert Insight
“The secret to juicy grilled chicken indoors isn’t just heat—it’s patience. Let the pan do the work. Resist the urge to move the chicken around, and you’ll get restaurant-style sear marks and flavor.” — Chef Marcus Rivera, Culinary Instructor at Metro Cooking School
Real Example: From Dry to Delicious
Sophia, a home cook from Denver, used to struggle with rubbery, bland chicken breasts. She’d season them lightly, throw them in a cold non-stick pan, and flip every two minutes. After learning about preheating and dry-brining, she started salting her chicken 30 minutes ahead, patting it dry, and using a preheated cast-iron grill pan. The result? Juicier meat, better browning, and her family now requests “that grilled chicken” twice a week. Her only regret? Not trying it sooner.
Frequently Asked Questions
Can I grill frozen chicken on the stove?
No. Cooking frozen chicken leads to uneven results—burnt outside, undercooked inside. Always thaw chicken in the refrigerator overnight or use the cold-water method before grilling.
How do I prevent chicken from sticking?
Ensure the pan is fully preheated, the chicken is dry, and you’ve oiled the meat—not just the pan. Also, avoid moving it too soon. It will release naturally once a crust forms.
What’s the best way to add smoky flavor indoors?
Use smoked paprika in your rub, or add a few drops of liquid smoke to your marinade. Some chefs also recommend finishing with a sprinkle of chipotle powder for depth.
Checklist: Master Your Stovetop Grill Game
- ☐ Choose boneless, skinless breasts or thighs
- ☐ Pat chicken completely dry
- ☐ Season with salt at least 15 minutes in advance
- ☐ Preheat grill pan over medium-high heat for 5+ minutes
- ☐ Lightly oil the chicken, not the pan
- ☐ Place chicken at an angle, sear without moving
- ☐ Flip once, cook to 165°F internally
- ☐ Rest for 5–10 minutes before serving
Conclusion
Grilling chicken on the stove isn’t just convenient—it’s a skill that transforms everyday meals. With the right tools, technique, and attention to detail, you can produce juicy, flavorful chicken with professional-grade sear marks any day of the year. Forget dry, overcooked results. Embrace the power of heat control, proper prep, and patience. Once you master these fundamentals, you’ll wonder why you ever settled for less.


 浙公网安备
33010002000092号
浙公网安备
33010002000092号 浙B2-20120091-4
Comments
No comments yet. Why don't you start the discussion?