
In today’s digital world, high-quality images are essential—whether for social media, marketing materials, or personal archives. Blurry, pixelated, or poorly lit photos can diminish credibility and visual impact. Fortunately, modern tools and methods make it possible to significantly improve image clarity and overall quality. From basic adjustments to advanced software features, the right approach can transform a low-resolution snapshot into a crisp, professional-grade photograph.
Understanding Image Quality Fundamentals
Before diving into enhancement techniques, it's crucial to understand what determines image quality. Three primary factors influence how clear and sharp a photo appears: resolution, noise, and dynamic range.
- Resolution refers to the number of pixels in an image. Higher resolution means more detail and better potential for enlargement without loss of clarity.
- Noise is the grainy or speckled appearance often seen in low-light photos. It degrades smoothness and color accuracy.
- Dynamic range describes the spectrum between the darkest shadows and brightest highlights. A wider dynamic range preserves more detail across lighting extremes.
While you can't add real detail beyond the original capture, post-processing can optimize existing data and simulate improvements through intelligent algorithms.
Step-by-Step Guide to Enhancing Image Clarity
Improving image quality isn’t about applying filters randomly; it’s a structured process that respects the integrity of the original while maximizing its potential.
- Start with proper exposure correction. Use brightness and contrast sliders to balance the overall tone. Avoid over-brightening, which amplifies noise.
- Adjust white balance. Correct color casts caused by incorrect lighting settings ensure natural skin tones and accurate colors.
- Reduce noise. Apply luminance and color noise reduction carefully. Overuse can result in a plastic or smudged look.
- Sharpen strategically. Use unsharp mask or smart sharpen tools to enhance edges. Focus on key areas like eyes or architectural lines.
- Enhance details with local adjustments. Use dodge and burn, clarity, or texture sliders to bring out depth in specific regions.
- Resize thoughtfully. When enlarging, use AI-based upscaling tools rather than standard interpolation to preserve sharpness.
This sequence ensures each adjustment builds upon the last without compounding errors.
Top Tools and Software for Photo Enhancement
Different tools offer varying levels of control and automation. Choosing the right one depends on your skill level and desired outcome.
| Tool | Best For | Key Features | Learning Curve |
|---|---|---|---|
| Adobe Photoshop | Advanced editing and restoration | Content-Aware Fill, High Pass Sharpening, Frequency Separation | High |
| Adobe Lightroom | Batch processing and tonal adjustments | Profiles, Noise Reduction, Lens Corrections | Medium |
| Topaz Photo AI | AI-powered upscaling and denoising | Subject-aware sharpening, automatic blur correction | Low to Medium |
| GIMP (Free) | Budget-conscious users | Layer-based editing, plugin support | Medium |
| Fotor / Snapseed (Mobile) | Quick fixes on the go | One-tap enhancements, selective edits | Low |
Professional photographers often combine multiple tools—using Lightroom for global adjustments and Photoshop for targeted corrections.
“Modern AI tools have revolutionized image enhancement. They don’t just sharpen—they understand context, preserving skin texture while fixing motion blur.” — Dr. Alan Reyes, Digital Imaging Researcher at MIT Media Lab
Practical Tips for Common Image Issues
Every photographer encounters problem images. Here’s how to address frequent challenges effectively:
Fixing Blurry Photos
Blurriness may stem from camera shake, poor focus, or small file size. While true optical blur cannot be reversed, perceived sharpness can be improved. Use the Unsharp Mask filter with a low radius (0.5–1.0) and moderate amount (50–80%). Alternatively, apply High Pass filtering in overlay mode for edge definition.
Rescuing Low-Light Images
Dark photos often suffer from excessive noise and flat contrast. Begin by lifting shadows slightly, then increase clarity and texture. Apply selective noise reduction only to shadow areas to maintain detail in brighter zones.
Upscaling Small Images
Standard resizing distorts when enlarging beyond 120%. Instead, use AI upscalers like Topaz Gigapixel AI or Adobe’s Super Resolution feature. These analyze patterns and intelligently generate new pixels based on learned image structures.
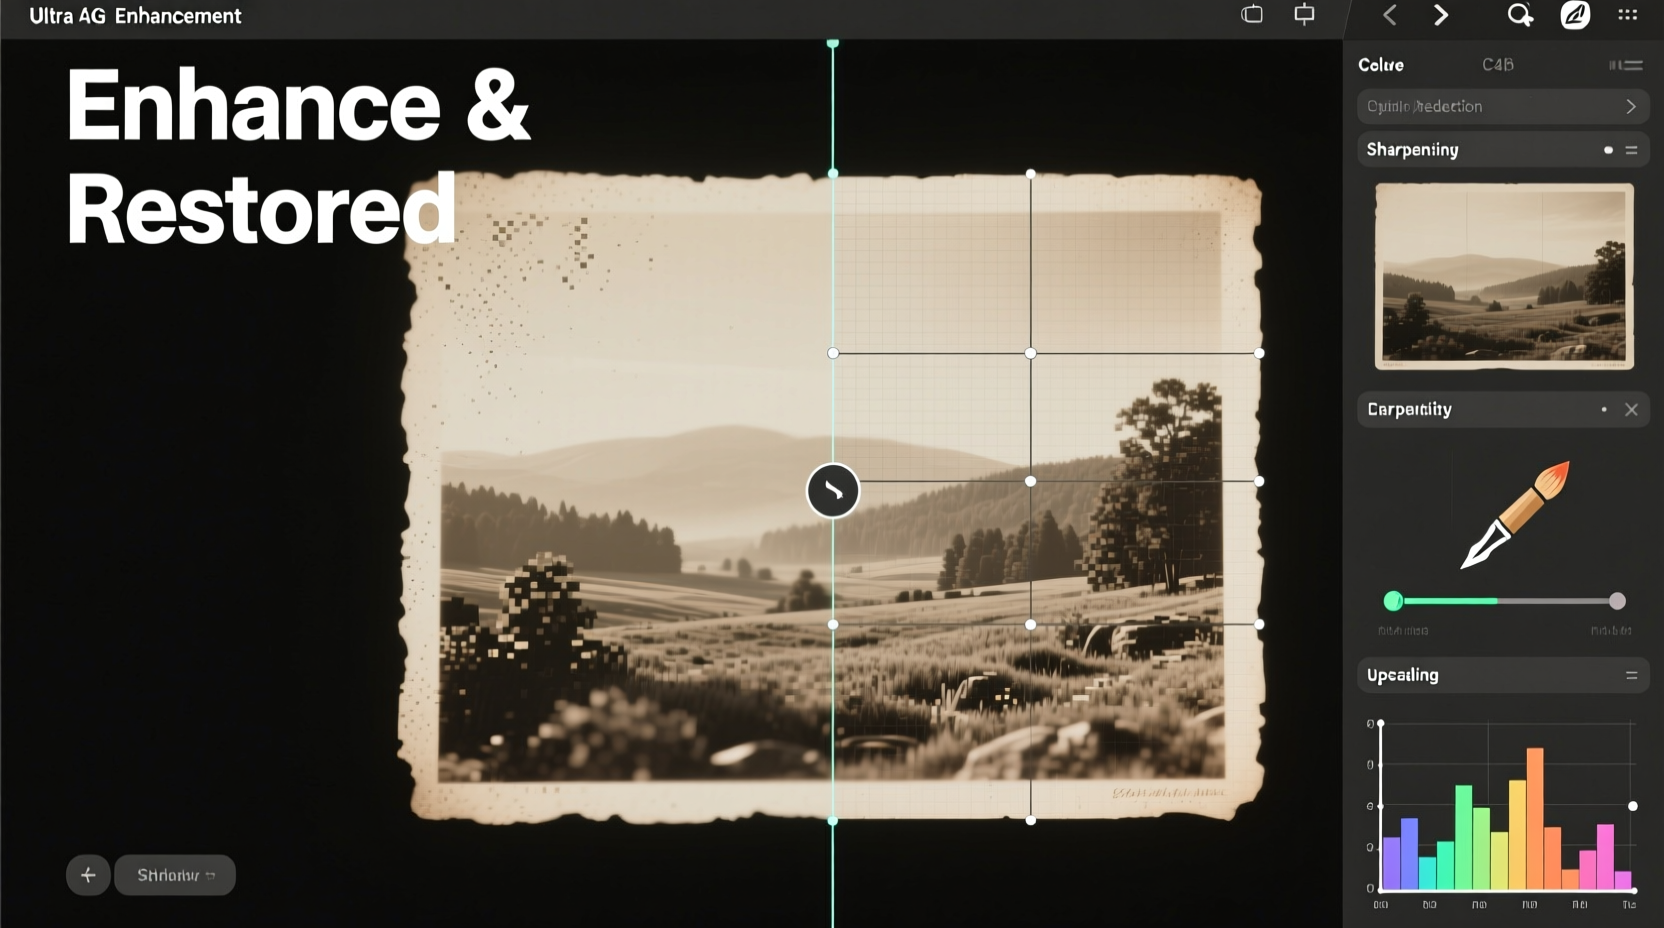
Mini Case Study: Restoring a Vintage Family Portrait
A client brought a scanned 1940s family portrait—faded, scratched, and only 72 DPI. The goal was to print it at 8x10 inches without visible degradation.
The process began with dust and scratch removal using Lightroom’s spot healing brush. Color fading was corrected via manual white balance and vibrance adjustments. Next, Topaz Photo AI reduced film grain and applied subject-aware sharpening, particularly around facial features. Finally, the image was upscaled 300% using Gigapixel AI before final sharpening in Photoshop.
The result? A print-ready image indistinguishable from a modern digital photo—yet retaining the emotional authenticity of the original.
Checklist: Essential Steps to Clear Up Any Image
- ✅ Open the original high-quality file (RAW or high-res JPEG)
- ✅ Correct exposure and white balance
- ✅ Remove noise using luminance and color sliders
- ✅ Apply sharpening selectively (avoid overdoing it)
- ✅ Use AI tools for upscaling if needed
- ✅ Make local adjustments to highlight key areas
- ✅ Save a layered version and export a clean final copy
FAQ
Can I fix a severely blurry photo completely?
No tool can fully restore an out-of-focus image. However, AI-based sharpening can enhance perceived clarity, especially when combined with contrast and texture adjustments. Success depends on the degree of blur and content type.
Is it better to edit on desktop or mobile?
Desktop software offers greater precision, non-destructive editing, and access to advanced features like layers and masks. Mobile apps are ideal for quick touch-ups but lack fine control. For serious enhancement, desktop remains superior.
Does enhancing a compressed JPEG reduce quality further?
Each time a JPEG is saved, compression artifacts accumulate. To minimize damage, convert to a non-lossy format (like TIFF or PSD) during editing and save the final JPEG only once at high quality (90–100%).
Conclusion: Elevate Your Visual Storytelling
Clear, high-quality images command attention and convey professionalism. Whether you're revitalizing old memories or refining new content, mastering image enhancement empowers you to present your vision with confidence. The techniques outlined here—from foundational adjustments to AI-driven restoration—are accessible to anyone willing to learn and practice.


 浙公网安备
33010002000092号
浙公网安备
33010002000092号 浙B2-20120091-4
Comments
No comments yet. Why don't you start the discussion?