
In the digital age, image quality is more than just aesthetic—it’s functional. Whether you're a photographer, designer, or content creator, preserving fine details while enhancing resolution and clarity is essential. Many common tools and methods degrade image fidelity during resizing, compression, or enhancement. The goal isn’t simply to make an image “look better” but to elevate its technical quality while safeguarding texture, edges, and subtle tonal variations. This guide explores practical, professional-grade approaches to achieving high-quality images without compromising detail.
Understanding Image Quality and Detail Preservation
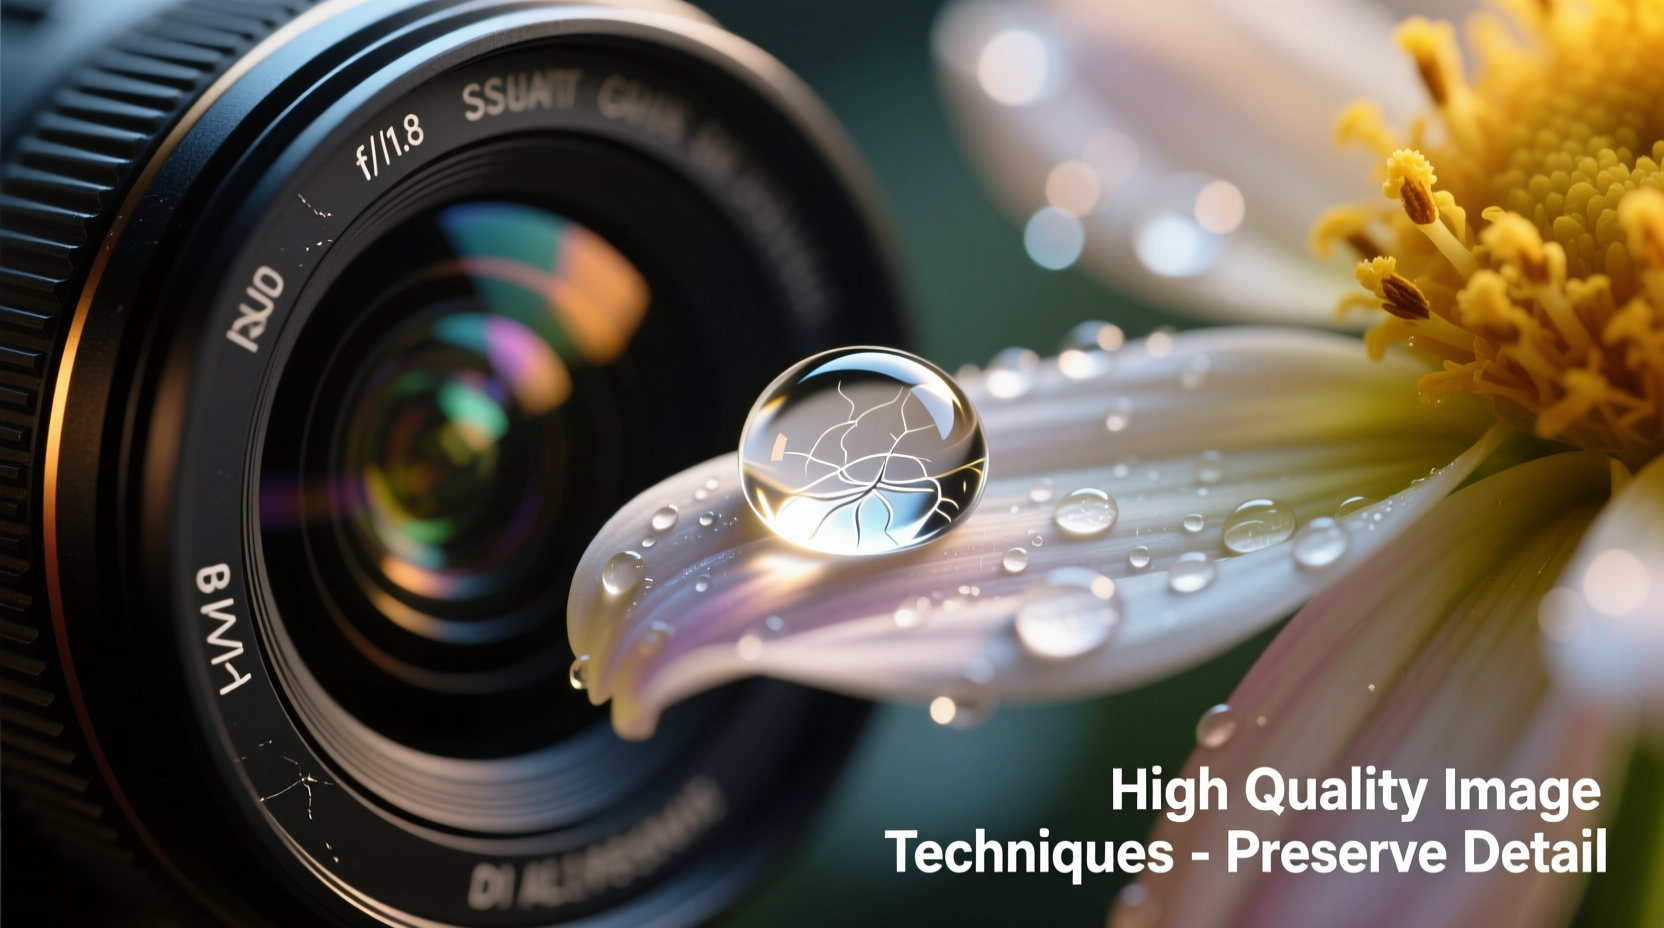
Image quality refers to sharpness, color accuracy, noise levels, and resolution. Detail preservation means maintaining micro-textures—such as skin pores, fabric weaves, or leaf veins—that give an image realism and depth. When an image is upscaled or compressed poorly, these features often blur or vanish due to interpolation errors or data loss.
The challenge lies in balancing enhancement with integrity. Increasing resolution doesn’t automatically improve quality; it can amplify flaws if not done correctly. Similarly, sharpening filters may introduce halos or artifacts if overapplied. True high quality comes from intelligent processing that respects the original data while strategically enhancing what’s already there.
“Detail isn’t something you add—it’s something you reveal. The best enhancements work like a skilled restorer cleaning a painting: removing haze without altering brushstrokes.” — Dr. Lena Park, Digital Imaging Researcher, MIT Media Lab
Key Techniques for Enhancing Images Without Losing Detail
1. Use AI-Powered Upscaling Tools
Traditional upscaling methods like bicubic interpolation stretch pixels, leading to softness. Modern AI-based tools analyze patterns in the image to predict and generate new pixels intelligently. These models learn from millions of high-resolution images, enabling them to reconstruct plausible textures rather than merely blurring or repeating existing ones.
- Top Tools: Topaz Gigapixel AI, Adobe Super Resolution (in Lightroom), Let’s Enhance, Waifu2x (especially for line art)
- Best Practices: Apply AI upscaling early in your workflow. Avoid chaining multiple AI processes, which can compound artifacts.
2. Apply Smart Sharpening with Masking
Sharpening enhances edge contrast but risks amplifying noise. To preserve detail safely, use selective sharpening guided by luminance masks or edge detection.
- Duplicate your image layer.
- Apply Gaussian Blur (1–2 px) to create a base for comparison.
- Use the \"High Pass\" filter (set to 1–3 px) to isolate edges.
- Change the layer blending mode to \"Overlay\" or \"Soft Light.\"
- Add a layer mask and paint over areas needing emphasis (e.g., eyes, architecture lines).
This method avoids sharpening flat areas like skies or walls, where noise would become visible.
3. Optimize Bit Depth and Color Space
Working in 16-bit or 32-bit color depth prevents banding and preserves smooth gradients during adjustments. Convert to sRGB only at export for web use; otherwise, stick with ProPhoto RGB or Adobe RGB for editing.
| Aspect | Recommended Setting | Risk of Lower Quality |
|---|---|---|
| Bit Depth | 16-bit per channel | Posterization, gradient banding |
| Color Space | ProPhoto RGB (editing), sRGB (web) | Color clipping, inaccurate tones |
| File Format | TIFF or PNG (lossless), JPEG 95–100% (if necessary) | Data loss, compression artifacts |
A Real-World Example: Restoring a Vintage Portrait
Photographer Marcus Tran was tasked with digitizing a 1940s family portrait damaged by creases and fading. His objective: enlarge it for a wall display without losing facial details.
He began by scanning the photo at 1200 PPI in 16-bit TIFF format. Using Topaz Studio, he applied denoising with structure preservation enabled, then used AI upscaling to increase size by 300%. Finally, he manually masked the subject’s face and applied subtle High Pass sharpening.
The result was a print-ready image at 24x36 inches, where individual eyelashes and fabric stitching remained visible. “The AI didn’t invent detail,” Marcus noted. “It enhanced what was latent in the shadows and edges.”
Common Mistakes That Degrade Image Detail
Even experienced editors fall into traps that compromise image quality. Avoid these pitfalls:
- Over-compressing JPEGs: Settings below 80% quality discard chroma data and blur fine textures.
- Upscaling after heavy edits: Adjustments like exposure correction reduce dynamic range; upscaling afterward magnifies imperfections.
- Using unsharp mask blindly: Default settings often oversharpen, creating white halos around edges.
- Saving repeatedly in lossy formats: Each JPEG save degrades quality cumulatively.
Step-by-Step Workflow for Maximum Detail Retention
Follow this sequence to ensure optimal results when enhancing image quality:
- Start with the highest quality source: Prefer RAW, TIFF, or PNG over JPEG.
- Correct exposure and white balance: Use non-destructive adjustments in software like Lightroom or Capture One.
- Reduce noise selectively: Target shadow areas using luminance masking; preserve texture in midtones.
- Apply AI upscaling: Choose a reputable tool and limit enlargement to 2–4x original size.
- Sharpen with precision: Use high-pass filtering or deconvolution sharpening on specific layers.
- Export carefully: For print, use TIFF at 300 DPI; for web, use PNG or high-quality JPEG (95–100%) with metadata stripped.
Frequently Asked Questions
Can I recover lost detail from a low-quality JPEG?
Limited recovery is possible. AI tools can reconstruct some textures, but they cannot restore data that was permanently discarded during compression. Prevention—using high-quality originals—is always better than remediation.
Is it safe to upscale an image multiple times?
No. Repeated upscaling compounds interpolation errors and creates artificial patterns. Perform upscaling once, ideally as the final step before detailed retouching.
Does higher resolution always mean better quality?
Not necessarily. A 4K image with poor lighting, motion blur, or noise will look worse than a well-shot 1080p image. Resolution is one component; dynamic range, focus accuracy, and bit depth are equally important.
Checklist: Ensuring High-Quality Output Without Detail Loss
- ✅ Begin with the highest resolution and bit depth available
- ✅ Edit in a wide-gamut color space (e.g., ProPhoto RGB)
- ✅ Use AI upscaling tools instead of traditional interpolation
- ✅ Apply sharpening only after resizing and through masked layers
- ✅ Avoid repeated saves in lossy formats like JPEG
- ✅ Export using appropriate settings for the intended medium (print vs. screen)
- ✅ Audit your output at 100% zoom to inspect for artifacts
Final Thoughts: Quality Is a Process, Not a Filter
There is no single button or plugin that guarantees perfect image quality. Excellence emerges from a disciplined workflow—one that honors the original capture while applying intelligent enhancements. By combining modern AI capabilities with foundational principles of digital imaging, you can produce images that are not only larger or sharper but richer in truth and texture.


 浙公网安备
33010002000092号
浙公网安备
33010002000092号 浙B2-20120091-4
Comments
No comments yet. Why don't you start the discussion?