
A scratch on your car’s surface can feel more than just cosmetic—it disrupts the pride of ownership, diminishes resale value, and exposes the metal beneath to potential rust. But not all scratches require a trip to the body shop. With the right knowledge and tools, many imperfections can be addressed at home, saving time and money while delivering professional-level results.
The key lies in understanding the depth of the damage and selecting the appropriate method. From surface scuffs to deep gouges, this guide breaks down proven techniques that empower you to restore your vehicle's finish with confidence.
Understanding Car Scratch Types
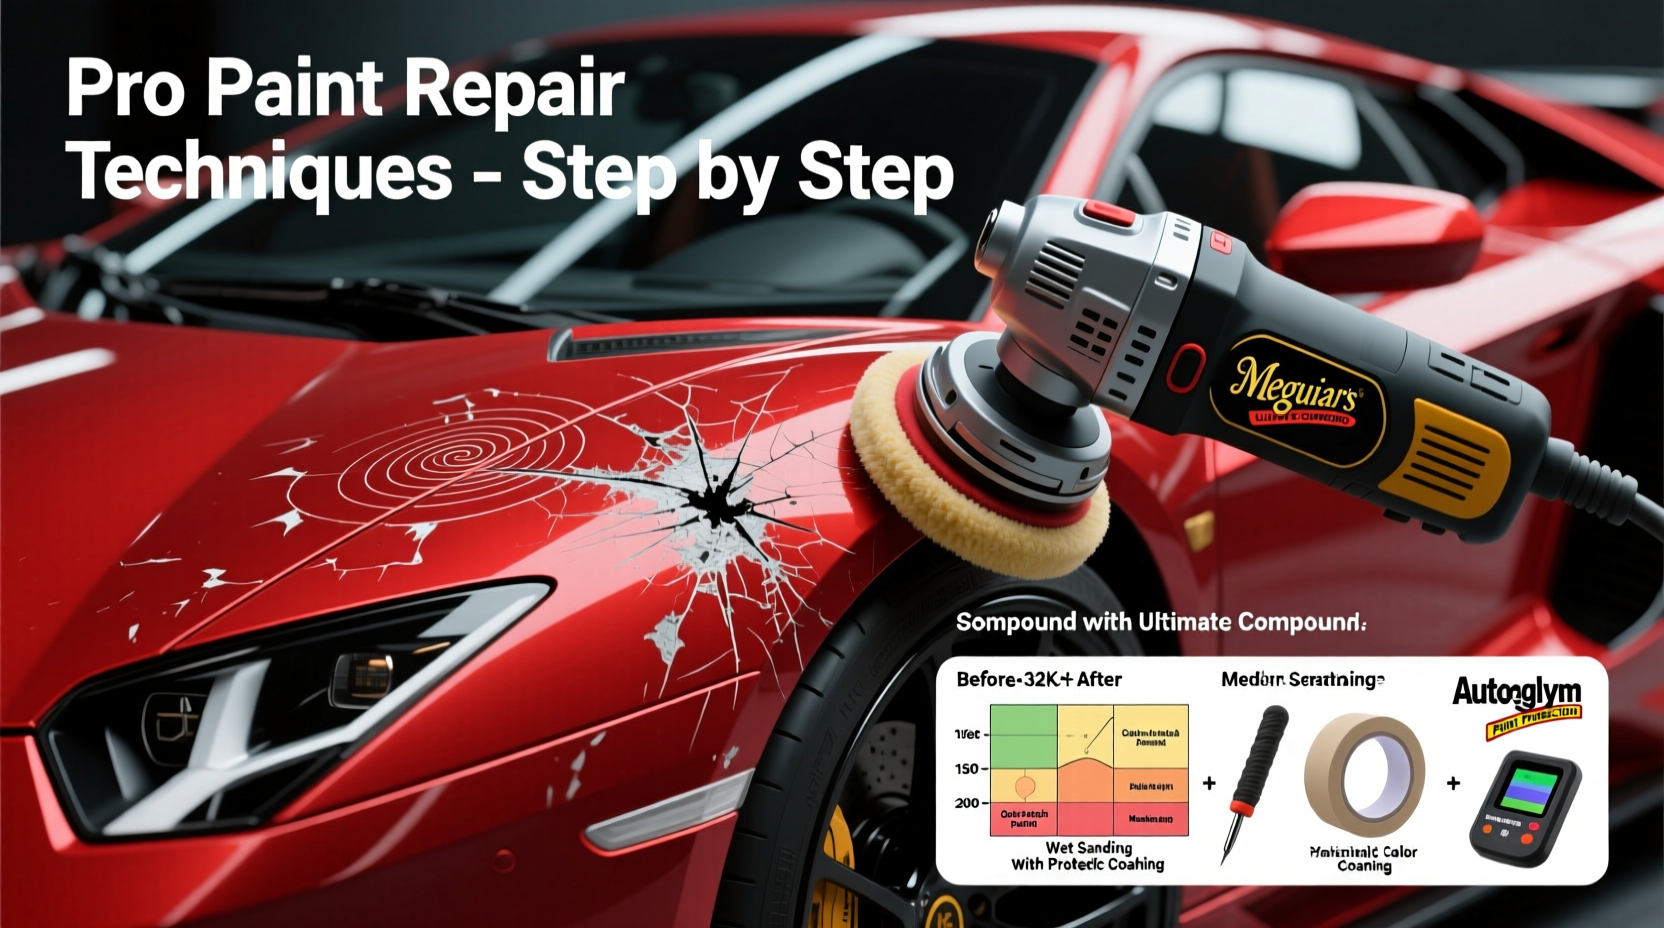
Before attempting any repair, it’s crucial to identify what kind of scratch you're dealing with. Misdiagnosing the depth can lead to wasted effort or further damage.
| Scratch Type | Description | Visible Indicators | Repair Method |
|---|---|---|---|
| Surface (Clear Coat) | Afflicts only the top clear coat layer | Light marks, often visible under sunlight | Cleaning, polishing, or touch-up pen |
| Moderate (Base Coat) | Penetrates through clear coat into color layer | Color is exposed; may catch fingernail slightly | Sanding, paint touch-up, clear coat sealing |
| Deep (Primer/Metal) | Reaches primer or bare metal | Fingernail catches easily; silver or gray base visible | Precision sanding, primer application, repainting |
Use a flashlight at a low angle to inspect the scratch. If light reflects off the groove, it’s likely deeper than it appears. For shallow marks, simple remedies suffice. Deeper ones demand layered correction.
Step-by-Step Guide to Repairing Light Scratches
Most everyday scratches fall into the surface category—caused by keys, shopping carts, or improper wiping. These can often be resolved in under an hour.
- Wash the Area: Use automotive shampoo and a microfiber cloth to clean the scratched zone. Rinse and dry completely.
- Apply Scratch Remover: Choose a compound designed for clear coat protection. Apply a small amount to a foam applicator pad.
- Buff in Circular Motions: Work the product gently over the scratch using moderate pressure. Continue for 30–60 seconds.
- Wipe Clean: Remove residue with a clean microfiber towel.
- Inspect and Repeat: If the scratch persists, repeat once. Over-buffing can thin the clear coat.
- Seal with Wax: Finish with a high-quality carnauba wax to protect the repaired area.
This method works best on vertical surfaces where debris doesn’t settle. Horizontal panels like hoods and roofs are more prone to embedded contaminants, so extra cleaning may be needed.
Restoring Moderate to Deep Scratches
When the scratch breaches the color layer, a more involved process is necessary. The goal is to rebuild the paint layers while blending seamlessly with the surrounding finish.
Materials Needed:
- Fine-grade sandpaper (1500–3000 grit)
- Touch-up paint matching your VIN code
- Primer (if metal is exposed)
- Clear coat spray
- Masking tape and plastic sheeting
- Microfiber cloths and isopropyl alcohol
Process:
- Clean the area and surrounding panel with alcohol to remove oils.
- Lightly sand around the scratch using 1500-grit paper to smooth edges and prep for paint adhesion.
- If bare metal is visible, apply a rust-inhibiting primer and allow it to cure per manufacturer instructions.
- Apply touch-up paint in thin layers using a fine brush. Let each coat dry for 10–15 minutes before adding the next. Three to four coats usually suffice.
- After 24 hours, wet-sand the area with 2000-grit paper to level the paint.
- Apply 2–3 light mist coats of clear coat, allowing flash-drying time between applications.
- Let the repair cure for 48–72 hours before polishing with a non-abrasive compound.
Patience is essential. Rushing drying times leads to runs, cracking, or poor adhesion. Work in a shaded, dust-free environment to avoid airborne particles settling on wet paint.
“Proper layering and curing are what separate a temporary fix from a lasting repair. Most DIY failures come from skipping dry times.” — Marcus Reed, Automotive Paint Technician with 18 years of experience
Checklist: DIY Car Scratch Repair Success
DIY Scratch Repair Checklist:
- ✅ Identify scratch depth accurately
- ✅ Wash and decontaminate the panel
- ✅ Use correct grit sandpaper for smoothing
- ✅ Match paint precisely (use VIN-based color codes)
- ✅ Apply thin, even paint layers with proper drying intervals
- ✅ Seal with clear coat and allow full cure time
- ✅ Polish gently to blend with surrounding finish
- ✅ Protect with wax or ceramic coating afterward
Real-World Example: Fixing a Door Edge Gouge
Consider Sarah, who returned to her sedan to find a 3-inch scratch along the driver’s door edge—likely from a shopping cart. At first glance, it looked severe, but inspection revealed no metal exposure. She followed these steps:
She washed the door, then used a dual-action polisher with a mild abrasive compound. After two passes, the scratch faded significantly. A final polish with a finishing compound and a coat of synthetic wax erased nearly all traces. Total time: 90 minutes. Cost: under $30. Result: indistinguishable from factory finish.
Her success came from correctly identifying the scratch as clear-coat level and avoiding unnecessary sanding or painting. Had she jumped straight to touch-up paint, she might have created a more noticeable blemish.
Common Mistakes That Worsen Scratches
Even well-intentioned efforts can backfire. Avoid these frequent errors:
- Using household cleaners: Products like Windex or dish soap strip protective coatings and leave residues.
- Over-sanding: Aggressive sanding removes too much clear coat, creating a depression that won’t polish out.
- Skipping primer: On deep scratches, applying paint directly to metal invites rust within weeks.
- Rushing the cure time: Clear coat needs days to harden. Washing or waxing too soon compromises durability.
- Poor paint matching: Using generic “universal” touch-up paint often results in a visible patch.
FAQ
Can toothpaste really remove car scratches?
Toothpaste contains mild abrasives that may reduce very fine swirl marks in the clear coat. However, it lacks the formulation stability of dedicated automotive compounds and can leave residue. It’s not recommended for anything beyond temporary cosmetic improvement.
How long should I wait before washing my car after a paint repair?
Wait at least 72 hours after applying clear coat before exposing the area to water. This allows full chemical curing. Premature washing can soften the finish and introduce water spots or contamination.
Will insurance cover minor scratch repairs?
Typically, no. Minor scratches are considered cosmetic wear and fall under maintenance. Filing a claim for such damage may raise premiums without providing real benefit. Reserve insurance for major incidents.
Final Thoughts
Restoring your car’s paintwork doesn’t require a professional garage or expensive equipment. With careful assessment, the right materials, and disciplined execution, most scratches can be corrected at home to near-factory standards. The savings add up quickly—especially when maintaining multiple vehicles or preparing for resale.
Mastering these techniques builds not just a cleaner car, but confidence in your ability to care for it comprehensively. Every scratch repaired is a step toward greater self-reliance and pride in ownership.


 浙公网安备
33010002000092号
浙公网安备
33010002000092号 浙B2-20120091-4
Comments
No comments yet. Why don't you start the discussion?