
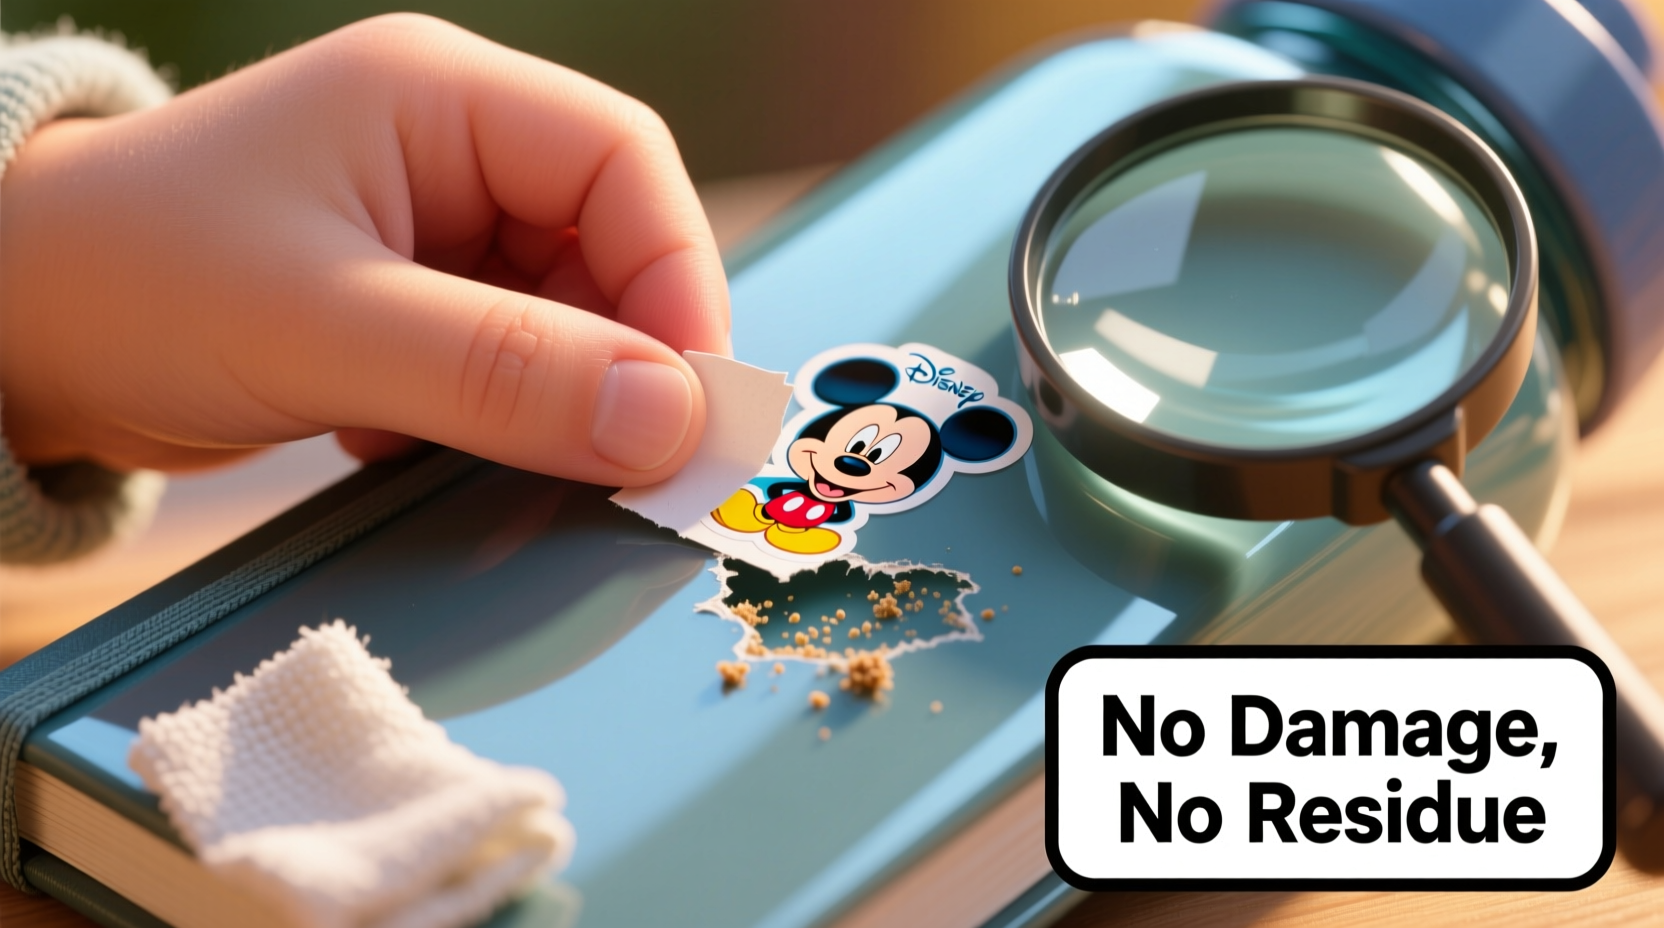
Disney reward stickers—often found on merchandise, luggage tags, or collectible items—are a fun way to commemorate special experiences. However, when it comes time to remove them, many people face the challenge of sticky residue, surface damage, or discoloration. Whether you're restoring a vintage pin, prepping a suitcase for resale, or preserving a keepsake, removing these stickers safely is essential. The good news: with the right tools and techniques, you can lift adhesive cleanly from most surfaces without harm.
Understanding Disney Reward Stickers
Disney reward stickers typically use pressure-sensitive adhesives designed for durability. They’re meant to last through travel, handling, and occasional moisture exposure. While this makes them resilient, it also means they don’t peel off easily. The adhesive can bond strongly to plastics, metals, glass, and even painted surfaces. Attempting removal with sharp tools or harsh chemicals risks scratches, clouding, or permanent marks.
The key is using gentle, controlled methods that break down the adhesive’s grip without compromising the underlying material. Different surfaces require different approaches, so identifying what you’re working with is the first step toward a flawless result.
Step-by-Step Guide to Safe Sticker Removal
Follow this structured approach to remove Disney reward stickers effectively while minimizing risk:
- Assess the Surface: Determine if the item is made of plastic, metal, glass, fabric, or painted material. This influences your method choice.
- Warm the Sticker: Use a hairdryer on low heat to gently warm the sticker for 30–60 seconds. Heat softens the adhesive, making it easier to lift.
- Lift an Edge Carefully: Use a plastic card (like an old credit card) or fingernail to slowly peel back one corner. Avoid metal tools that could scratch.
- Continue Peeling Slowly: Pull the sticker at a low angle (about 45 degrees) while applying heat intermittently. This reduces strain on the surface.
- Treat Residue Immediately: If adhesive remains, apply a mild solvent or oil-based remover using a soft cloth.
- Clean and Dry: Wipe the area with isopropyl alcohol (70%) or soapy water, then dry thoroughly.
This process works well on smooth, non-porous surfaces like acrylic pins, luggage tags, or drinkware. For delicate finishes, extra caution is required.
Best Methods for Residue Removal by Surface Type
Not all materials respond the same way to cleaning agents. Below is a comparison of effective techniques based on common surfaces where Disney stickers are found:
| Surface Type | Recommended Method | Avoid |
|---|---|---|
| Plastic (e.g., luggage tags) | Heat + olive oil + microfiber cloth | Acetone, scrubbing with steel wool |
| Metal (pins, keychains) | Isopropyl alcohol + cotton swab | Bleach, vinegar (can corrode) |
| Glass (mugs, displays) | Razor blade (at shallow angle) + soapy water | Ammonia-based cleaners on coated glass |
| Fabric (backpacks, clothing) | Iron over parchment paper + cold peel | Direct heat, aggressive rubbing |
| Painted Surfaces | Dish soap + warm water soak | Alcohol, citrus degreasers (may strip paint) |
For porous materials like wood or unsealed canvas, mechanical removal should be avoided entirely. Instead, focus on minimizing visibility rather than complete removal.
Expert-Approved Solutions for Stubborn Adhesive
When standard peeling fails, specialized solvents can help dissolve the glue without harming the base material. These options are backed by restoration professionals and collectors alike.
- WD-40 Specialist® Degreaser: Effective on metal and hard plastics. Spray lightly, wait 1–2 minutes, wipe with a lint-free cloth. Rinse afterward to prevent long-term residue buildup.
- Goo Gone Original: A citrus-based formula ideal for glass and smooth surfaces. Apply sparingly, let sit for 30 seconds, then rub in circular motions.
- Coconut Oil or Baby Oil: Natural alternatives that soften adhesive over time. Dab on, cover with plastic wrap, and wait 10–15 minutes before wiping clean.
- 3M Adhesive Remover: Used by automotive detailers, this product lifts strong adhesives safely from most non-porous surfaces.
“With vintage collectibles, patience is more important than power. Gentle oils and slow heating preserve value better than aggressive scraping.” — Daniel Reyes, Memorabilia Restoration Specialist
Mini Case Study: Removing a Decade-Old Sticker from a Limited-Edition Pin
A collector in Orlando recently acquired a limited-edition Disney Parks 50th Anniversary pin that still had its original reward sticker attached. Despite being over ten years old, the adhesive remained stubbornly intact. Using only a hairdryer and a plastic spudger tool, he warmed the sticker in 20-second intervals, gradually lifting one edge. After full removal, faint residue lingered. He applied a drop of coconut oil, waited five minutes, and wiped it clean with a microfiber cloth. The pin’s finish was unharmed, and its resale value preserved. This case highlights how low-risk methods can succeed even with aged adhesives.
Checklist: Safe Disney Sticker Removal in 6 Steps
Use this checklist before starting any removal project:
- ✅ Identify the surface material
- ✅ Gather tools: hairdryer, plastic scraper, microfiber cloths, chosen solvent
- ✅ Test solvent on hidden area
- ✅ Warm sticker evenly with low-heat setting
- ✅ Peel slowly at a 45-degree angle
- ✅ Clean residue and dry completely
Following these steps ensures consistency and reduces the chance of accidental damage.
Frequently Asked Questions
Can I use nail polish remover to take off Disney stickers?
Only if it’s acetone-free. Regular nail polish remover containing acetone can melt plastic, cloud acrylic, or dull painted finishes. If you must use it, dilute with water and apply minimally with a cotton swab.
Will heat damage my item when removing a sticker?
Not if used carefully. Low-heat settings on a hairdryer (under 150°F) are generally safe for most consumer goods. Avoid prolonged exposure and never use open flames. Items with glued seams or decals may be sensitive to heat.
What if the sticker breaks during removal?
If fragments remain, reapply heat and try again. For small pieces, dab with a sticky eraser or tape to lift remnants. Do not scrape aggressively—this increases the risk of surface marring.
Final Thoughts and Actionable Advice
Removing Disney reward stickers doesn’t have to mean sacrificing the condition of your cherished items. By combining gentle heat, appropriate solvents, and careful technique, you can achieve a clean, residue-free result every time. The goal isn’t just removal—it’s preservation. Whether you’re preparing a gift, restoring a collection, or simply organizing memorabilia, taking the time to do it right protects both appearance and value.
Start small. Practice on a less valuable item to build confidence. Document your results. Share what works—because behind every perfectly cleaned pin or sticker-free suitcase is someone who cared enough to get it right.


 浙公网安备
33010002000092号
浙公网安备
33010002000092号 浙B2-20120091-4
Comments
No comments yet. Why don't you start the discussion?