
Putty stains on clothing can be frustratingly persistent. Whether it's modeling putty from a child’s craft project or plumber’s putty transferred during a home repair, these adhesive substances cling tightly to fabric fibers. Unlike water-based stains, putty is oil- or polymer-based, making it resistant to standard washing. Improper removal attempts—like aggressive scrubbing or using harsh solvents—can damage delicate fabrics or set the stain permanently. However, with the right approach, most putty stains can be safely and effectively removed without harming the material.
Understanding Putty Stains and Fabric Types
Before attempting removal, it’s essential to identify both the type of putty and the fabric involved. Common types include:
- Plumber’s putty: Oil-based, dense, and designed to remain pliable; often contains limestone and fish oil.
- Modeling putty (e.g., Blu Tack): Pressure-sensitive adhesive, reusable, and typically non-drying.
- Painter’s caulk or glazing putty: Hardens over time and may contain linseed oil or synthetic resins.
Fabric composition plays a crucial role in determining which removal method is safe. Delicate materials like silk, wool, or rayon require gentler treatment than sturdy cotton or denim. Always check the garment’s care label before applying any chemical or mechanical action.
“Attempting to peel dried putty off fabric can pull fibers apart. The key is softening the adhesive first to minimize physical stress on the material.” — Dr. Lena Patel, Textile Restoration Specialist
Step-by-Step Guide to Remove Fresh and Dried Putty Stains
The age and condition of the stain determine the best course of action. Follow this timeline-based approach for optimal results.
- Act quickly: As soon as you notice the stain, avoid rubbing or spreading it further.
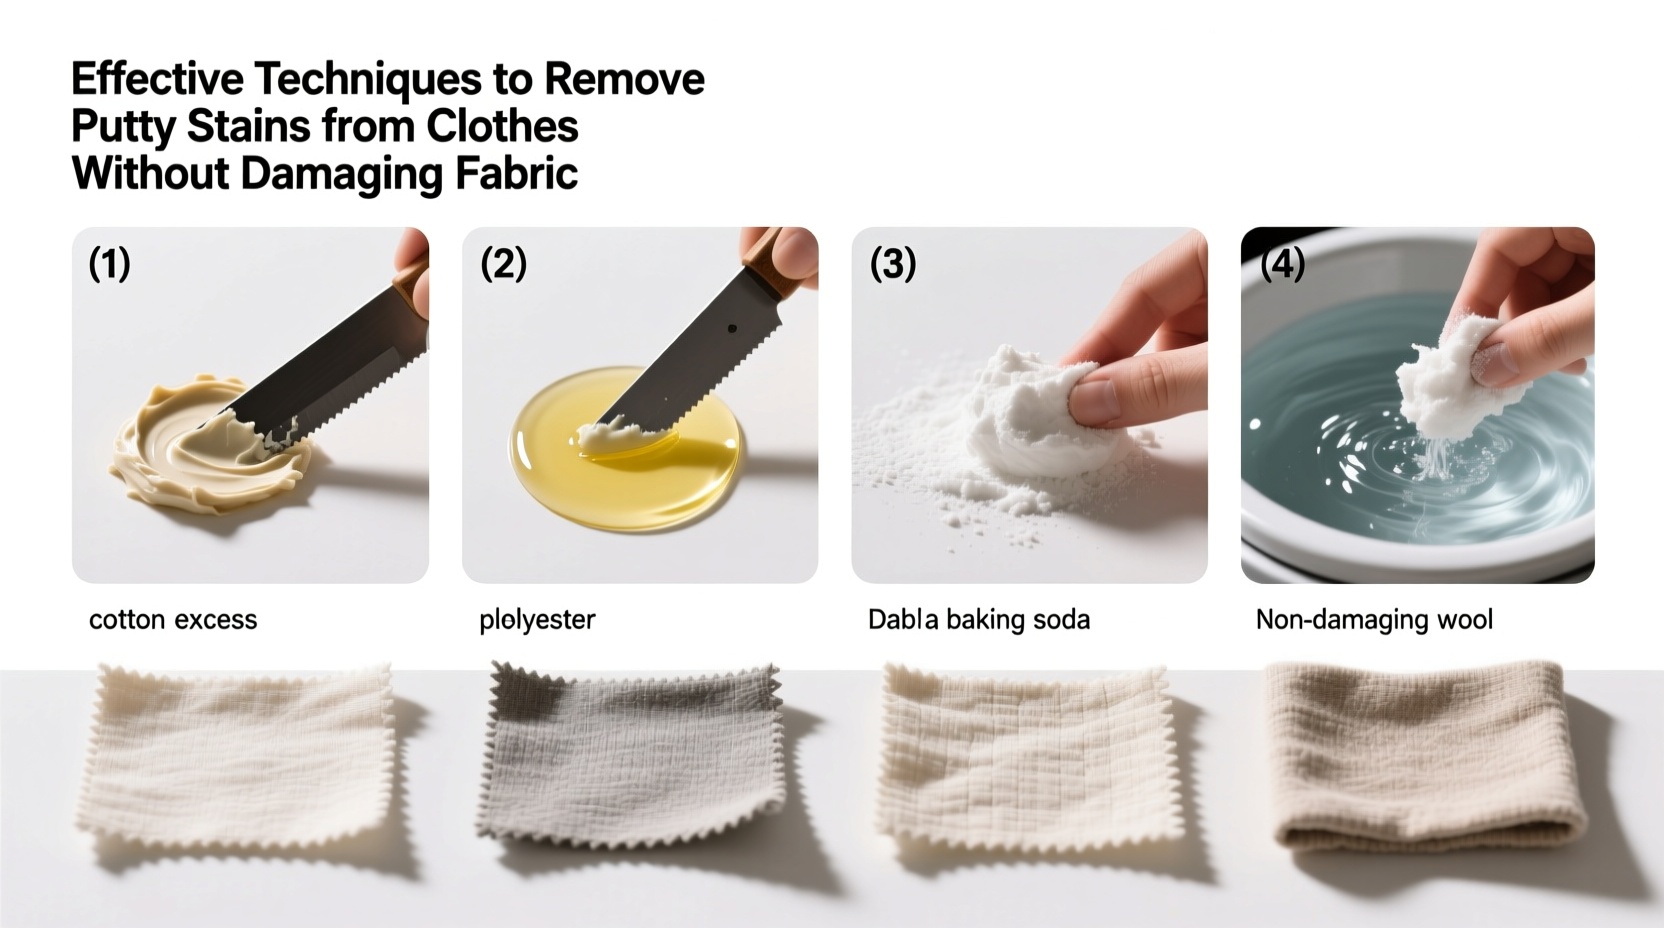
- Scrape off excess: Use a dull knife or spoon edge to gently lift bulk putty from the fabric surface. Work from the outside inward to prevent spreading.
- Chill the stain (for modeling putty): Place the garment in the freezer for 1–2 hours. Cold temperatures harden soft putty, making it easier to flake off.
- Apply a solvent: Choose an appropriate agent based on fabric type (see table below).
- Blot, don’t rub: Use a clean cloth to dab the area, lifting dissolved residue.
- Rinse and launder: Wash the garment according to care instructions after treatment.
- Inspect before drying: Heat can set residual stains. Air-dry first and repeat treatment if needed.
Solvent Comparison: Choosing the Right Remover
Different solvents work better depending on putty chemistry and fabric resilience. The table below outlines safe and effective options.
| Solvent | Best For | Fabrics to Avoid | Notes |
|---|---|---|---|
| Isopropyl alcohol (70%) | Modeling putty, fresh residues | Silk, acetate, some synthetics | Test on hidden seam first; evaporates quickly |
| Mineral spirits | Plumber’s putty, hardened glazing putty | Delicate knits, wool | Ventilate well; use sparingly |
| Dish soap (degreasing) | Light oil-based stains | None (safe for most washables) | Mix with warm water; excellent pre-treatment |
| Citrus-based degreaser | Stubborn, greasy putty | Unwashed natural fibers | Eco-friendly alternative; may bleach dark fabrics |
| Hairspray (alcohol-based) | Emergency removal of Blu Tack | Velvet, suede | Use only if no other option; rinse thoroughly |
Real Example: Removing Plumber’s Putty from Denim Overalls
A homeowner repairing a sink noticed a large smear of plumber’s putty on their favorite pair of denim overalls. Initially, they tried rinsing it under hot water, which only spread the oily residue. After consulting a local dry cleaner, they followed a structured process:
- Scraped off excess with a butter knife.
- Applied a few drops of dish soap directly to the stain and let it sit for 15 minutes.
- Used a soft-bristled toothbrush to gently agitate the area.
- Rinsed with cold water, then applied mineral spirits with a cotton pad.
- Washed in cold water with heavy-duty laundry detergent.
The stain lifted completely after one cycle. The fabric remained intact, and no discoloration occurred. This case highlights the importance of avoiding heat and using layered cleaning agents suited to the stain type.
Do’s and Don’ts When Treating Putty Stains
To prevent irreversible damage, follow this checklist of recommended actions and common mistakes.
| Do’s | Don’ts |
|---|---|
| Test solvents on an inconspicuous area first | Use bleach or ammonia-based cleaners |
| Work from the back of the fabric to push stain out | Place stained clothing in a dryer before the stain is fully gone |
| Use cold water throughout the process | Rub aggressively with rough cloths or brushes |
| Launder normally after successful treatment | Ignore care labels or assume all cotton is durable |
| Repeat treatment if necessary | Soak delicate fabrics in strong solvents for extended periods |
FAQ: Common Questions About Putty Stain Removal
Can I use WD-40 to remove putty from clothes?
While WD-40 can break down oil-based adhesives, it leaves its own oily residue and may contain propellants that damage fabric dyes. If used, apply sparingly, blot immediately, and follow with a thorough wash using degreasing detergent. Not recommended for colored or delicate garments.
What if the putty has already dried and hardened?
Dried putty requires softening before removal. For modeling putty, freezing works well. For oil-based putties, apply a small amount of mineral spirits or citrus degreaser and cover with plastic wrap for 10–15 minutes to prevent evaporation. Then gently scrape and blot.
Will vinegar remove putty stains?
Vinegar alone is not effective against most putty types due to its weak solvent properties. However, it can help remove residual odor or mild discoloration after primary treatment. Combine with baking soda only on sturdy fabrics, as abrasion may weaken fibers.
Final Checklist for Safe and Effective Removal
Follow this concise action plan to maximize your chances of complete stain removal:
- ✅ Identify the putty type and fabric composition
- ✅ Scrape off excess gently with a dull tool
- ✅ Chill modeling putty if soft and sticky
- ✅ Apply appropriate solvent with a cotton pad—do not saturate
- ✅ Blot from the outer edges toward the center
- ✅ Rinse with cold water or wipe clean
- ✅ Launder according to care instructions
- ✅ Inspect before drying; repeat if needed
Conclusion: Preserve Your Clothes with Smart Stain Response
Removing putty stains doesn’t require expensive products or professional services in most cases. With patience, the right tools, and attention to fabric safety, you can restore garments to their original condition. The key is acting promptly, choosing solvents wisely, and avoiding heat until the stain is fully gone. Every piece of clothing saved extends its usable life and reduces waste—a win for both your wardrobe and the environment.


 浙公网安备
33010002000092号
浙公网安备
33010002000092号 浙B2-20120091-4
Comments
No comments yet. Why don't you start the discussion?