
3D minifigure keychains have become more than just accessories—they’re collectibles, expressions of fandom, and personal mementos. Whether it’s a favorite superhero, a nostalgic character from childhood, or a custom-designed figure, these small but meaningful items often endure daily wear and tear. When a limb snaps, the head cracks, or the connection to the keyring fails, it doesn’t mean the end of its story. With the right tools and techniques, most damage can be repaired effectively, restoring both function and appearance.
This guide walks through proven methods for diagnosing common breakages, selecting appropriate materials, and executing precise repairs that last. From simple glue fixes to structural reinforcement and cosmetic touch-ups, you’ll learn how to bring your damaged minifigure back to life—without needing professional equipment or years of experience.
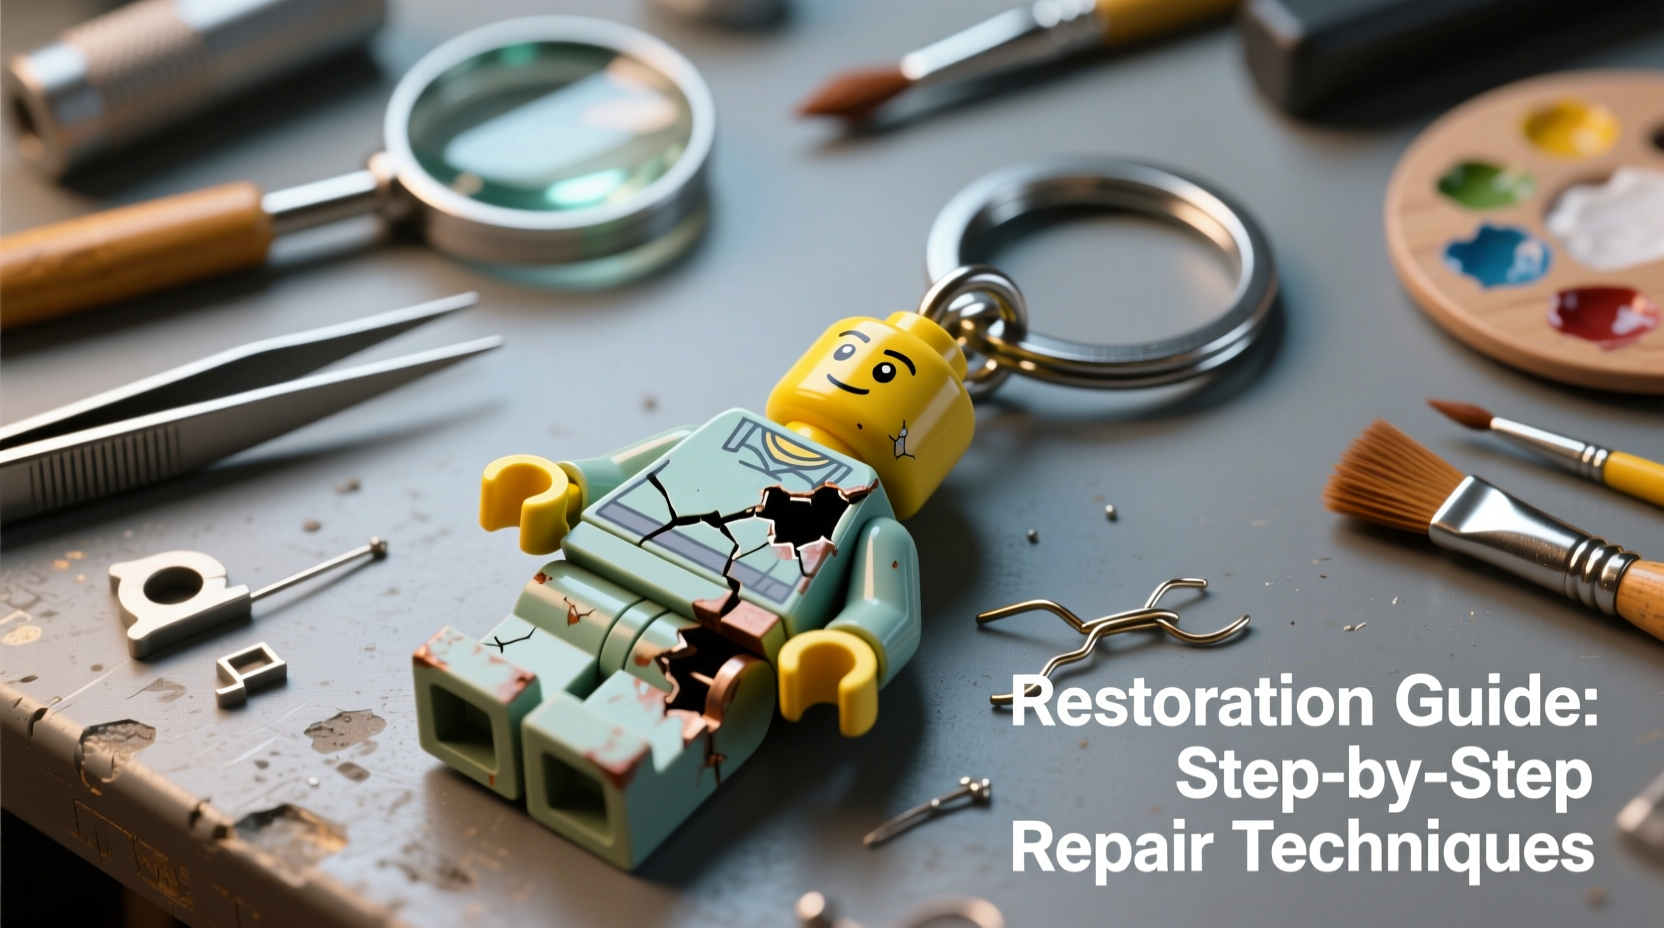
Diagnose the Damage: Types of Common Breaks
Before any repair begins, accurately identifying the type and severity of damage is crucial. Different fractures require different approaches. The most frequent issues include:
- Limb detachment: Arms or legs breaking off at the joint due to stress or impact.
- Head separation: The neck peg snapping or the head cracking around the collar area.
- Cracks in the torso: Often caused by dropping or excessive pressure.
- Keyring attachment failure: The loop or connector breaking from the figure’s body or accessory.
- Surface chipping: Cosmetic damage affecting paint or texture without structural compromise.
Minor breaks like loose limbs may only need adhesive reinforcement, while deep cracks or shattered pieces might require filling, pinning, or even replacement parts. Assess whether the broken piece is still intact and clean—if so, reattachment is straightforward. If fragments are missing, consider sculpting a patch or using a donor part from a similar model.
Choosing the Right Adhesive and Tools
Not all glues work equally well on plastic miniatures. Using the wrong type can lead to weak bonds, clouding, or even melting of the material. Below is a comparison of commonly used adhesives and their suitability for 3D minifigure repairs.
| Adhesive Type | Best For | Pros | Cons |
|---|---|---|---|
| Plastic Cement (e.g., Testors) | Fusing ABS plastic pieces | Creates chemical weld; strong, seamless bond | Requires ventilation; not for non-plastic parts |
| Super Glue (Cyanoacrylate) | Quick fixes, small joints | Fast-drying, widely available | Brittle over time; can fog surfaces |
| Epoxy Resin (2-part) | Heavy-duty repairs, filling gaps | Durable, gap-filling, sandable | Long cure time; messy application |
| UV-Activated Resin | Precision bonding with curing lamp | Clear, strong, controllable cure | Requires UV light; costlier |
For most minifigure repairs, a combination works best: use plastic cement for reattaching original ABS plastic parts, and two-part epoxy to reinforce stress points or fill missing sections. Always work in a well-ventilated space and protect your hands with nitrile gloves.
Step-by-Step Repair Process
Follow this sequence to ensure a durable, visually clean repair:
- Clean the broken surfaces: Remove dust, oils, or old adhesive residue with 90% isopropyl alcohol and a cotton swab.
- Dry-fit the pieces: Align the parts without glue to confirm fit. Mark alignment points with a fine pencil if needed.
- Apply adhesive: Use a toothpick or precision applicator to place a thin layer on one surface. Avoid excess, which can seep out and create bumps.
- Join and clamp: Press pieces together firmly. Hold for 30–60 seconds. For larger breaks, use rubber bands or a third-hand tool to stabilize during curing.
- Cure completely: Allow 24 hours for full strength development, especially with epoxy.
- Sand and smooth: Once dry, lightly sand seams with 400–600 grit paper for a flush finish.
- Paint (if necessary): Match colors with acrylic model paints and a fine brush to cover scuffs or glue marks.
If a piece is missing—such as a broken hand or weapon—consider building it up with modeling putty like Green Stuff or Milliput. Shape the putty, let it cure, then sand and paint to match.
“Many collectors underestimate how much longevity proper adhesives add. A well-glued minifigure can survive years of handling.” — Daniel Reyes, Miniature Restoration Specialist
Reinforcing Weak Points and Preventing Future Breaks
Even after successful repair, certain areas remain vulnerable. The hip joint, neck post, and hands are natural stress zones. Proactive reinforcement can prevent repeat failures.
Inserting a metal pin into high-stress joints significantly increases durability. For example, a thin brass rod (0.5–1mm) inserted into the leg or arm joint before gluing creates an internal skeleton. Cut the wire slightly longer than the joint depth, apply epoxy inside the hole, insert the pin, then attach the limb. This method is common in professional model-making and adds minimal weight.
Mini Case Study: Restoring a Dropped Batman Minifigure
A collector accidentally dropped their Batman 3D keychain, snapping off both legs at the hips. The original pegs were intact, but the sockets in the torso had cracked. Simply gluing the legs back would risk another failure.
The solution involved drilling 1mm holes into the hip pegs and corresponding torso sockets, inserting short brass pins coated in epoxy, then reassembling. After curing, the seam was sanded and touched up with black acrylic paint. The restored figure has since survived six months of daily use without issue—proving that structural reinforcement makes a critical difference.
Essential Repair Checklist
Use this checklist before starting any repair job:
- ✔ Identify the type and location of damage
- ✔ Gather all broken fragments
- ✔ Choose the correct adhesive (plastic cement for ABS, epoxy for gaps)
- ✔ Prepare workspace: clean, dry, well-lit, ventilated
- ✔ Clean fracture surfaces with isopropyl alcohol
- ✔ Dry-fit pieces to check alignment
- ✔ Apply adhesive sparingly and join carefully
- ✔ Clamp or hold until initial set
- ✔ Cure fully (up to 24 hours)
- ✔ Sand, fill, and repaint as needed
- ✔ Consider adding internal pins for high-stress joints
FAQ
Can I use regular craft glue for minifigure repairs?
No. Standard white or school glue lacks the tensile strength and adhesion required for small plastic parts. It will likely fail under minor stress. Use plastic-specific cement or cyanoacrylate instead.
What if the head keeps falling off?
This usually means the neck post is worn or cracked. If the post is intact, lightly roughen both surfaces with sandpaper and use a small drop of super glue. If the post is damaged, replace it with a new one or reinforce with epoxy and a micro-pin.
How do I fix a broken keyring loop?
If the loop is attached to a separate piece (like a backpack), reattach it with epoxy. If the loop is molded into the figure and broken, drill a small hole nearby and thread a new metal split ring through, securing it with a dab of glue to prevent movement.
Conclusion
Repairing a broken 3D minifigure keychain isn’t just about fixing plastic—it’s about preserving value, memory, and craftsmanship. With careful assessment, the right materials, and attention to detail, most damages can be reversed effectively. Structural reinforcement, proper adhesives, and preventive care extend the life of your keychain far beyond its expected lifespan.


 浙公网安备
33010002000092号
浙公网安备
33010002000092号 浙B2-20120091-4
Comments
No comments yet. Why don't you start the discussion?