
Screws are fundamental in construction, repair, and assembly work, but they can become a major obstacle when they seize, strip, or corrode. A stuck screw doesn’t just delay your progress—it risks ruining the material you’re working on, whether it’s wood, metal, plastic, or drywall. The key to overcoming this common frustration lies not in brute force, but in using the right technique at the right time. With patience and precision, most stuck screws can be removed cleanly and safely, preserving both the integrity of your project and your tools.
Understanding Why Screws Get Stuck
Screws become difficult to remove for several reasons: corrosion from moisture, over-tightening that strips the head, paint or debris filling the slot, or thermal expansion in metal joints. Wood screws may bind due to swelling from humidity, while outdoor fixtures often suffer from rust. Recognizing the cause helps determine the best removal strategy.
In many cases, the problem begins with using the wrong driver bit or applying uneven pressure, which damages the screw head and makes extraction harder. Once the drive recess is compromised—whether Phillips, flathead, or Torx—the standard tool loses grip, requiring alternative approaches.
Step-by-Step Guide to Removing a Stuck Screw
Follow this systematic approach to increase your chances of success while minimizing damage:
- Assess the situation: Determine the screw material, head condition, and surrounding surface. Is it rusted? Stripped? Embedded in wood or metal?
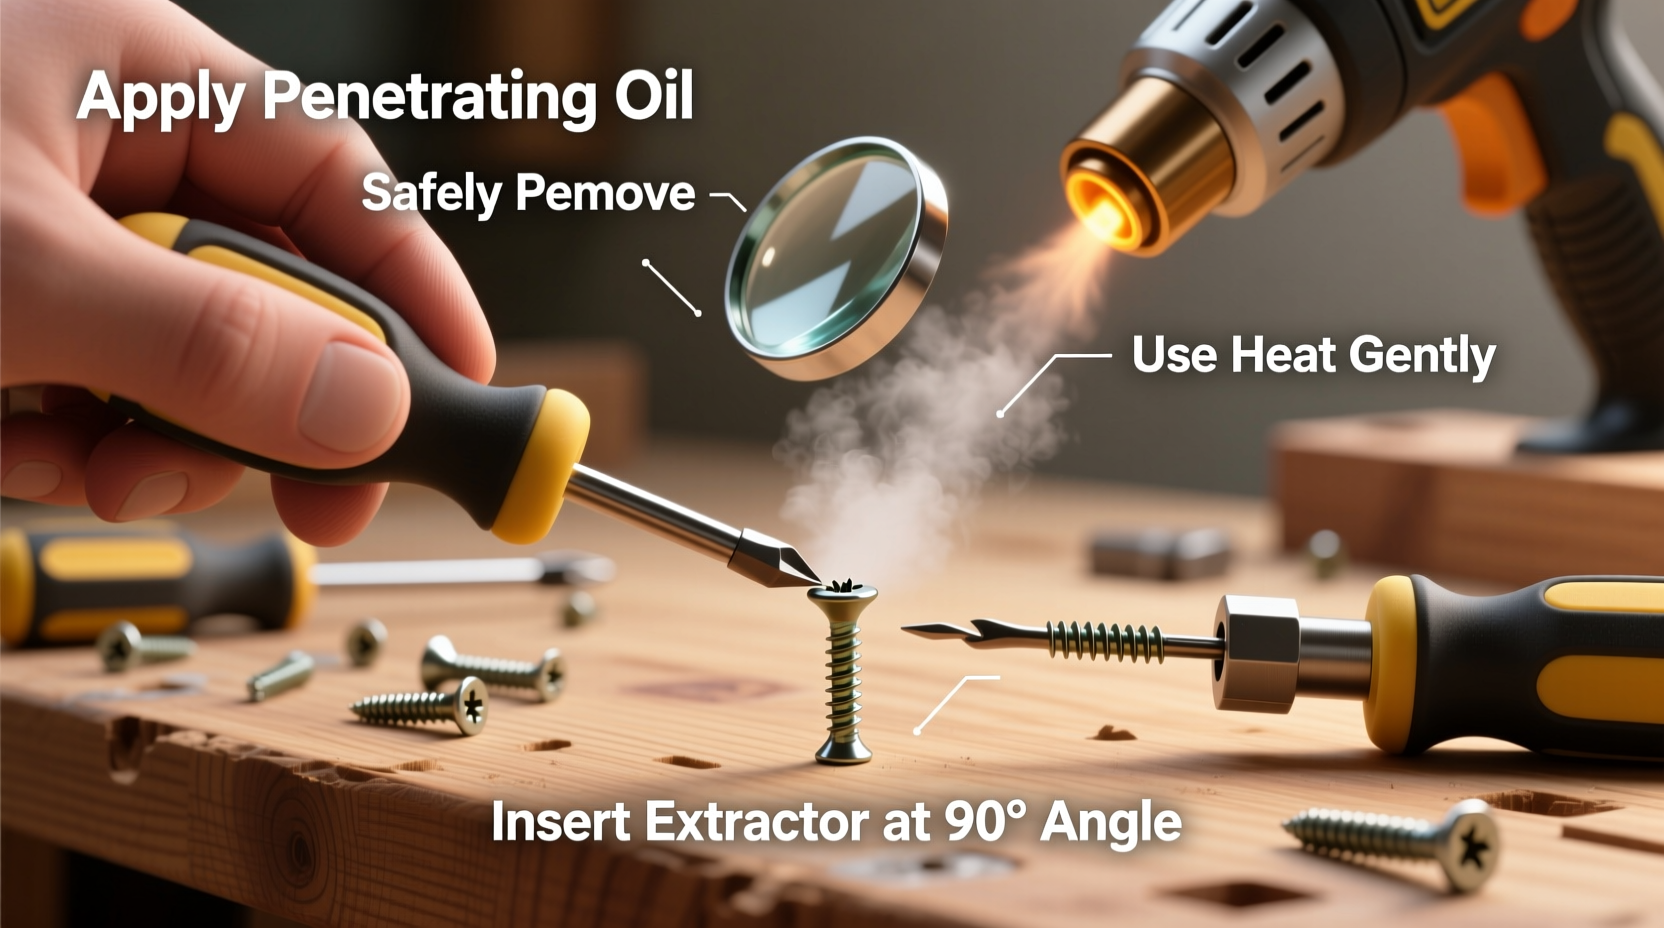
- Apply penetrating oil: Use a quality lubricant like WD-40 Specialist Penetrant or PB Blaster. Spray it directly into the threads and let it sit for 10–15 minutes (longer for severe rust).
- Gently tap the screw: Lightly strike the screw head with a hammer and punch. This can break loose corrosion and improve oil penetration.
- Use the correct driver with steady pressure: Apply firm downward pressure while turning counterclockwise. Avoid jerking motions.
- If the screw turns slightly, reverse direction: Alternate between tightening and loosening to gradually free the threads.
- If initial attempts fail, escalate carefully: Move to advanced techniques only after exhausting basic methods.
Advanced Removal Techniques
When standard methods don’t work, these proven strategies can rescue your project:
1. Rubber Band Trick for Stripped Heads
Place a wide rubber band between the screwdriver and the damaged screw head. The added friction can restore grip. Press down firmly and turn slowly.
2. Use a Screw Extractor Set
These left-handed drill bits are designed to bite into damaged screws and back them out. Drill a small pilot hole first, then insert the extractor and reverse-drill.
3. Drill Around the Screw (Last Resort)
In soft materials like wood or drywall, drill a hole around the screw shaft to isolate it, then use pliers to twist it free. This preserves the surface if you plan to re-fasten nearby.
4. Left-Handed Drill Bits
Sometimes, simply reversing the drill’s rotation with a sharp bit will catch the screw and back it out before it drills through.
5. Heat Application for Metal Joints
Using a soldering iron or heat gun, gently warm the area around a rusted metal screw. Thermal expansion can break the bond. Caution: avoid flammable materials.
“Many people ruin projects by rushing. A stuck screw requires calm, methodical effort. Nine times out of ten, patience beats power.” — Daniel Reeves, Master Carpenter & Workshop Instructor
Do’s and Don’ts: Best Practices Table
| Do’s | Don’ts |
|---|---|
| Use penetrating oil and allow dwell time | Force the screw aggressively with worn tools |
| Apply steady downward pressure when turning | Use a mismatched or damaged driver bit |
| Tap the screw head to loosen corrosion | Ignore signs of head stripping |
| Try the rubber band trick early on stripped heads | Heat near flammable materials or plastics |
| Work in reverse increments to free threads | Drill out the screw without considering alternatives |
Mini Case Study: Restoring an Antique Wooden Cabinet
A woodworking enthusiast attempted to disassemble a 1920s oak cabinet for refinishing. Two brass screws near the hinge were completely seized, their heads partially stripped from prior attempts. After applying penetrating oil and tapping with a center punch, the screws still wouldn’t budge. The restorer then placed a wide rubber band over the screw head and used a hardened Phillips #2 bit with a ratcheting handle. Applying firm downward pressure, he slowly turned counterclockwise—and the first screw released after three full rotations. The second required a screw extractor, but both were removed without splitting the wood or requiring patchwork. The project continued smoothly, preserving the cabinet’s original hardware.
Essential Tools Checklist
Keep these tools on hand for any stuck screw scenario:
- High-quality screwdriver set with multiple tip types (Phillips, flathead, Torx, square)
- Precision bit holder with magnetic retention
- Penetrating oil (e.g., PB Blaster, Kroil, or Liquid Wrench)
- Rubber bands (wide and thick)
- Screw extractor kit (left-hand bits and pilot drills)
- Center punch and small ball-peen hammer
- Variable-speed cordless drill/driver
- Needle-nose vise grips or locking pliers
- Safety glasses and gloves
Frequently Asked Questions
Can I remove a stripped screw without drilling?
Yes, in many cases. The rubber band method, combined with a high-torque manual driver, works well for mildly stripped screws. Applying penetrating oil and using a better-fitting bit can also restore enough grip to extract the screw intact.
What should I do if the screw breaks off during removal?
If the screw shank snaps below the surface, use a screw extractor bit designed for broken screws. Drill a small guide hole into the remaining shaft, then insert the extractor. If the break is flush or below the material, consider filling and redrilling at a new location to avoid structural weakness.
Is heat safe for removing stuck screws in electronics or appliances?
No. Heating electrical components or plastic housings can damage circuits, insulation, or casings. Instead, use a precision screw extractor or apply a micro-dose of penetrating oil with a fine applicator tip. Work slowly to avoid further damage.
Prevention: Avoiding Future Issues
Once you’ve successfully removed a problematic screw, take steps to prevent recurrence. Apply anti-seize compound on metal threads exposed to moisture. For wood, ensure screws are the correct length and driven straight. Periodically inspect outdoor fixtures and lubricate hinges or fasteners before corrosion sets in.
When reinstalling screws, especially in hardwood or metal, pre-drill pilot holes slightly smaller than the screw diameter. This reduces binding and thread resistance. Also, avoid over-tightening—stop when the screw is snug. Overtightening is a leading cause of stripped heads and cracked materials.
“Half the battle is preparation. A well-driven screw rarely becomes a stuck one.” — Lena Patel, Industrial Maintenance Technician
Conclusion
Removing a stuck screw doesn’t have to mean sacrificing your project. With the right tools, techniques, and mindset, you can overcome even the most stubborn fasteners safely and efficiently. From simple tricks like the rubber band method to more advanced solutions like screw extractors, each step builds toward a clean resolution. Remember: patience and precision matter far more than power.


 浙公网安备
33010002000092号
浙公网安备
33010002000092号 浙B2-20120091-4
Comments
No comments yet. Why don't you start the discussion?