
New leather ankle booties often promise elegance, durability, and a sharp look—but too often come with the hidden cost of discomfort. Stiff uppers, tight heel counters, and unyielding soles can turn what should be a stylish addition to your wardrobe into a painful ordeal. The good news is that breaking in leather booties doesn’t have to mean blisters or weeks of suffering. With thoughtful, gradual techniques, you can soften the leather while preserving the structure and longevity of the shoe. This guide outlines practical, non-damaging methods to ease stiffness, conform the fit to your foot, and enjoy your booties from day one onward.
Why Proper Break-In Matters
Leather is a natural material that molds over time, but rushing the process risks creasing, cracking, or warping the shape. When booties are forced to stretch too quickly—through aggressive wear or improper methods—the structural integrity weakens. A well-broken-in pair maintains its silhouette while adapting to the unique contours of your foot, offering both support and flexibility. Done correctly, the break-in period enhances breathability, reduces pressure points, and prevents long-term damage to both footwear and feet.
“Leather isn’t meant to be rigid forever. It’s alive in a way—it responds to warmth, movement, and care. Respect the material, and it will reward you with years of comfort.” — Marcus Reed, Shoemaker & Leathercraft Artisan
Step-by-Step Guide to Gentle Break-In
Breaking in leather ankle booties should be a slow, intentional process. Rushing leads to pain and premature wear. Follow this timeline-based approach to ensure optimal results without compromising quality.
- Day 1–3: Indoor Wear (No Socks)
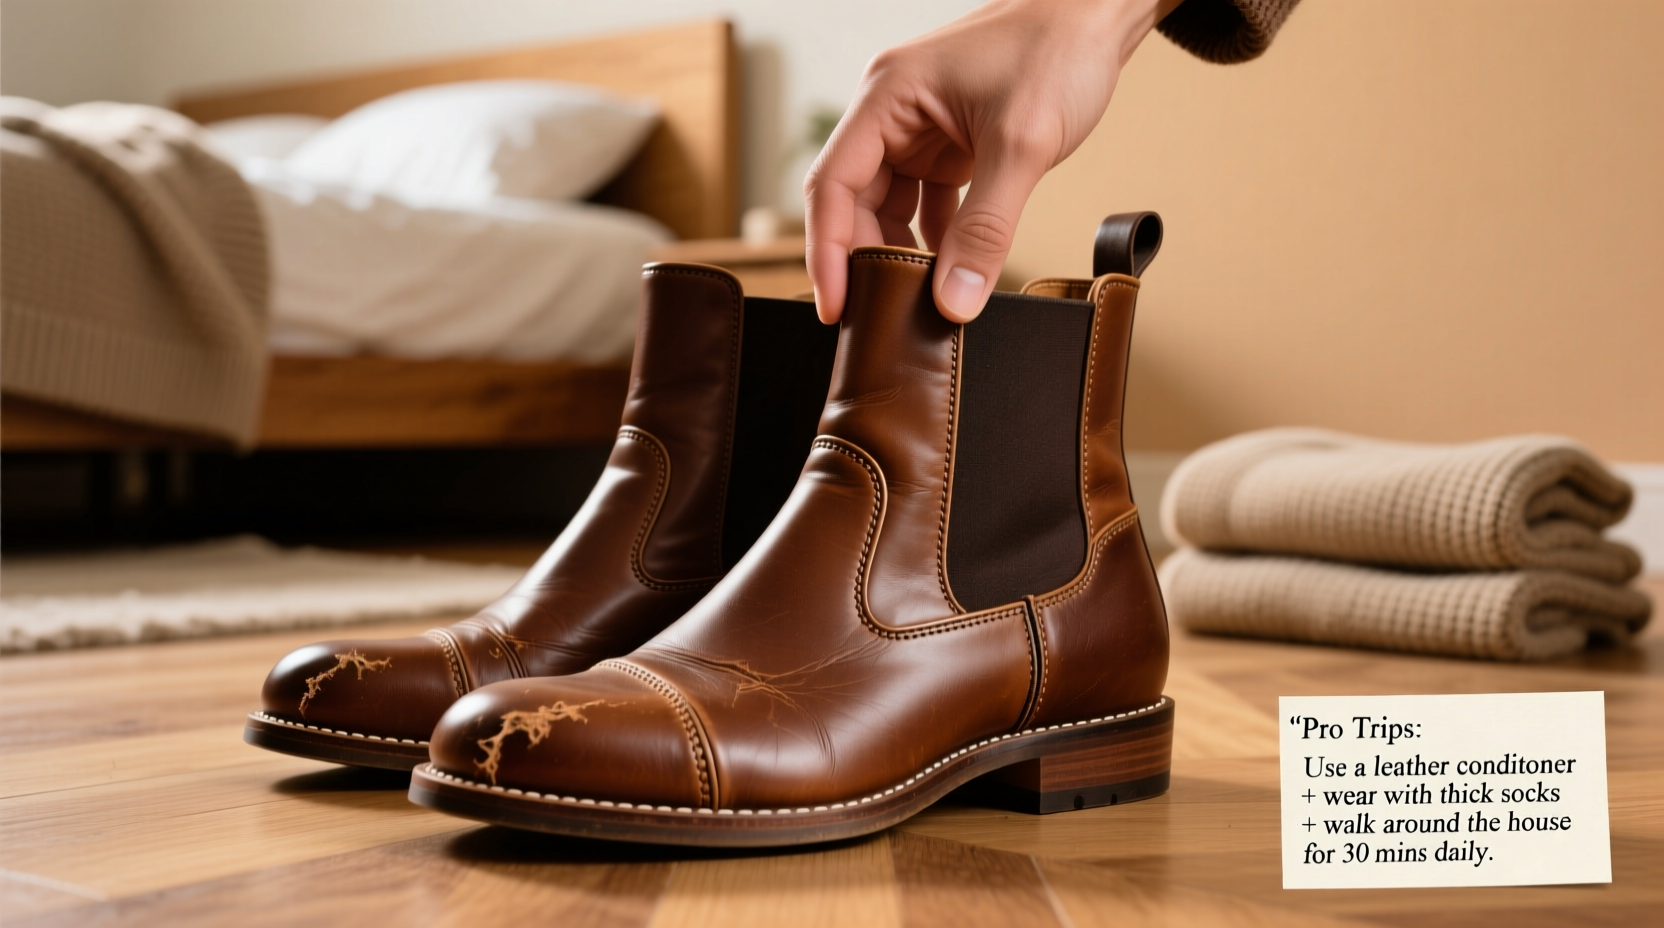
Wear the booties around the house for 30–60 minutes daily. Walk on carpeted surfaces to encourage gentle flexing. This helps the leather begin conforming to your foot’s shape without external friction. - Day 4–7: Add Thin Socks & Increase Duration
Wear them with thin cotton socks for 2–3 hours at home or on short errands. Focus on bending your ankles and shifting weight to loosen the shaft and toe box. - Week 2: Controlled Outdoor Use
Take them on walks of 20–30 minutes. Stick to flat terrain. Pay attention to any pinch points—these indicate areas needing targeted softening. - Week 3+: Gradual Full Integration
By now, the leather should feel noticeably more pliable. Extend wear time gradually, monitoring comfort. Avoid full-day use until there’s no residual stiffness.
Targeted Softening Techniques for Problem Areas
Even with gradual wear, certain zones—like the heel collar, instep, and toe cap—may remain stubbornly stiff. Apply these focused methods to relieve pressure without damaging the leather.
- Heel Grip Relief: Fill a resealable plastic bag with water, seal it tightly, and place it inside the bootie around the heel area. Freeze overnight. As the water expands, it gently stretches tight spots. Remove ice and let the boot dry at room temperature before wearing.
- Ankle Flex Zone: Use a hairdryer on low heat to warm the shaft where it bends around the ankle. While warm, flex the boot repeatedly by hand and wear it for 15 minutes with socks. Repeat over 2–3 days.
- Toe Box Softening: Insert a shoe stretcher with a toe knob or use a rounded wooden object wrapped in cloth. Leave it inside overnight to gently expand the front without creating unsightly bulges.
Do’s and Don’ts of Leather Break-In
| Do’s | Don’ts |
|---|---|
| Use leather conditioner after the first week to maintain suppleness | Soak leather in water or use excessive moisture |
| Wear thicker socks to apply gentle outward pressure | Wear ill-fitting socks that cause internal friction |
| Store booties with shoe trees to preserve shape | Leave them crumpled or stuffed with paper long-term |
| Apply heat briefly and indirectly to flexible zones | Hold a blow dryer directly on leather for extended periods |
| Use rubbing alcohol and water (50/50) to reduce interior slipperiness | Apply oils or greasy conditioners to the inside lining |
Real-Life Example: Breaking In Handcrafted Italian Booties
Sophia, a graphic designer in Portland, purchased a pair of olive suede-and-leather ankle booties online. Despite accurate sizing, they pinched across the top of her foot and rubbed the back of her heel. Instead of forcing all-day wear, she followed a disciplined two-week routine: 45 minutes of indoor wear daily, alternating with stretching using frozen water bags at the heel. She applied a light coat of leather balm to the exterior after five days. By day ten, she walked two miles comfortably. “I was skeptical,” she said, “but taking it slow made all the difference. Now they’re my most comfortable pair.”
Essential Care Checklist After Break-In
Once your booties feel comfortable, ongoing maintenance ensures lasting softness and protection. Use this checklist weekly to extend their life.
- ✅ Wipe down exterior with a damp cloth after each wear
- ✅ Condition leather every 4–6 weeks with a pH-balanced product
- ✅ Use cedar shoe trees when not wearing to absorb moisture and retain shape
- ✅ Rotate wear with other shoes to avoid fatigue in materials
- ✅ Store in breathable fabric bags away from direct sunlight or heat sources
- ✅ Reapply waterproofing spray every 2–3 months, especially in wet climates
Frequently Asked Questions
Can I speed up the break-in process safely?
Yes, but only moderately. Combining controlled heat (from a hairdryer), targeted stretching tools, and thick sock wear can shorten the process by a few days. However, exceeding three hours of continuous wear in the first week increases the risk of irreversible creasing or blisters. Patience yields better long-term comfort.
Should I condition new leather before wearing?
It’s generally safe to apply a light conditioning treatment to the exterior before the first wear, especially if the leather feels overly dry. However, avoid saturating the inside lining, as this can weaken adhesives and create slipping issues. Use a small amount and buff gently with a soft cloth.
What if my booties still hurt after two weeks?
Persistent pain suggests either a poor fit or an unresolved pressure point. Consider visiting a cobbler for professional stretching—many offer machine-assisted expansion in specific zones. If the arch support is inadequate, adding a custom orthotic insert may resolve discomfort without altering the shoe.
Final Thoughts: Comfort Is Earned, Not Forced
The allure of new leather ankle booties lies not just in their appearance, but in the promise of becoming a seamless part of your daily life. True comfort isn’t achieved through endurance, but through intention. By respecting the natural properties of leather and allowing time for adaptation, you protect both your investment and your well-being. These shoes aren’t meant to change you—they’re meant to change with you.


 浙公网安备
33010002000092号
浙公网安备
33010002000092号 浙B2-20120091-4
Comments
No comments yet. Why don't you start the discussion?