
Paper tissue boxes are a staple in homes, offices, and public spaces due to their convenience and affordability. However, they are inherently vulnerable to moisture, which can lead to sogginess, tearing, mold growth, and structural collapse—especially in humid areas like bathrooms or kitchens. Waterproofing a paper tissue box not only extends its lifespan but also enhances hygiene and functionality. While many assume this isn’t possible without switching to plastic or metal containers, several practical, low-cost methods can effectively shield paper from water damage using accessible materials and simple techniques.
Why Waterproof a Paper Tissue Box?
The primary reason to waterproof a paper tissue box is durability. Exposure to humidity, accidental spills, or damp surfaces can quickly degrade the cardboard structure, leading to premature disposal. In high-traffic areas such as restrooms, daycare centers, or outdoor events, moisture resistance becomes even more critical. Beyond longevity, waterproofing improves cleanliness by preventing mold and bacterial growth that thrive in wet paper fibers. It also allows decorative or branded tissue boxes to maintain their appearance longer, making them ideal for hospitality or retail settings.
Materials and Methods for Effective Waterproofing
Several household or craft-grade materials can be used to create a moisture-resistant barrier on paper tissue boxes. The key is selecting a method that preserves the box’s function while adding protection. Below are four proven approaches, ranked by ease of application and effectiveness.
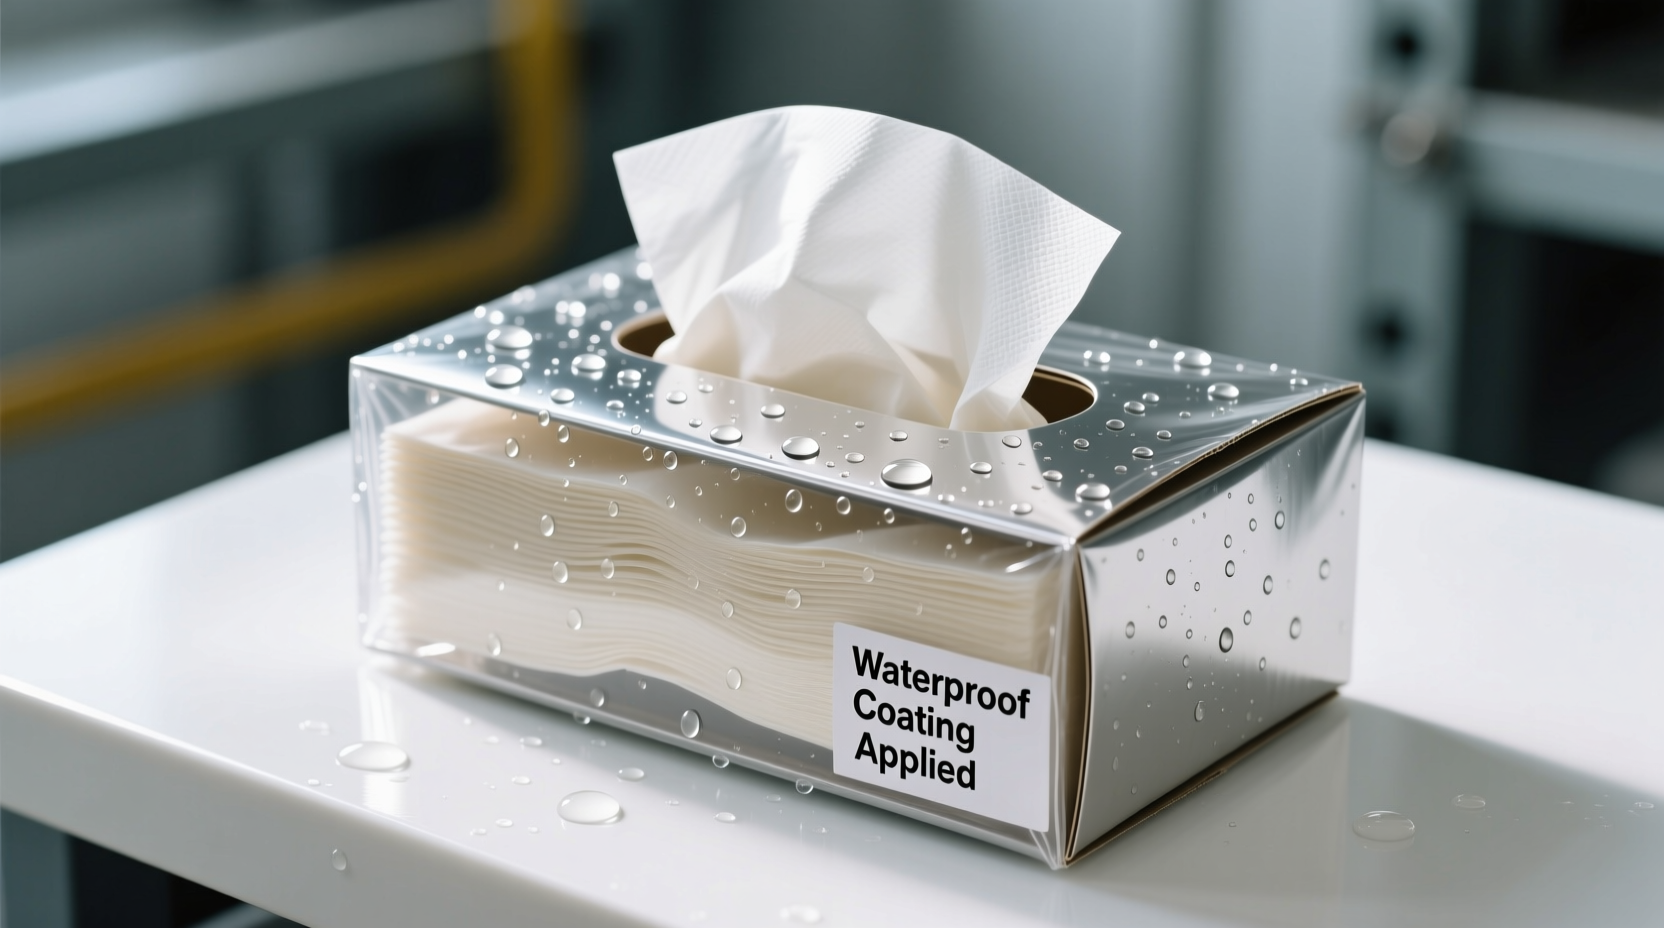
- Clear Packing Tape (Sealant Method): Apply transparent packing tape along all seams, edges, and corners. This creates a physical barrier against moisture ingress. Best for short-term or moderate protection.
- Mod Podge or Decoupage Glue (Coating Method): Brush a thin, even layer of Mod Podge over the entire surface. Once dry, it forms a flexible, water-resistant film. Ideal for decorative boxes where aesthetics matter.
- Beeswax or Paraffin Wax (Natural Sealant): Melt food-grade beeswax or paraffin and brush it onto the box. As it cools, it forms a hydrophobic coating. This method is eco-friendly and adds a subtle sheen.
- Spray-On Waterproofing (Synthetic Sealants): Use a clear acrylic sealer or fabric protector (like Scotchgard) in a well-ventilated area. A light, even coat provides strong moisture resistance without altering texture significantly.
Choosing the Right Method
The best technique depends on your environment and intended use. For example, a bathroom tissue box benefits most from spray sealants due to constant humidity, while a decorative centerpiece might suit wax or Mod Podge for visual appeal.
| Method | Water Resistance | Drying Time | Eco-Friendliness | Best For |
|---|---|---|---|---|
| Tape Sealing | Moderate | Instant | Low (plastic waste) | Quick fixes, temporary use |
| Mod Podge | Good | 1–2 hours | Medium | Decorative boxes |
| Beeswax | Very Good | 30 mins – 1 hour | High | Natural, sustainable setups |
| Spray Sealant | Excellent | 15–30 mins | Low to Medium | Bathrooms, high-humidity zones |
Step-by-Step Guide: Applying a Spray-On Waterproof Coating
For maximum protection in moist environments, a spray-on sealant offers the most reliable results. Follow these steps for optimal performance:
- Prepare the workspace: Work outdoors or in a well-ventilated room. Lay down newspaper or a drop cloth to protect surfaces.
- Clean the box: Wipe down the exterior with a dry cloth to remove dust or oils that could interfere with adhesion.
- Shake the sealant can: Do this for at least 30 seconds to ensure even dispersion of ingredients.
- Spray evenly: Hold the can 8–12 inches from the surface. Apply a light, uniform coat, covering all sides and edges. Avoid over-spraying, which can cause drips or stiffness.
- Dry completely: Allow at least 20–30 minutes between coats. Two light coats are better than one heavy one.
- Test before use: Sprinkle a few drops of water on the surface. If they bead up rather than soak in, the seal is effective.
Real-World Example: A Spa’s Solution to Damp Tissues
A small wellness spa in Portland struggled with tissue boxes disintegrating near steam rooms and showers. Staff replaced boxes every two days due to warping and mildew. After experimenting with various coatings, they adopted a routine of applying two layers of acrylic spray sealant to each new box. They also placed boxes on elevated trays to avoid direct contact with wet floors. The result? Each tissue box now lasts over three weeks—a tenfold increase in lifespan—and customer complaints about soggy tissues dropped to zero. This case demonstrates how a simple waterproofing step can yield significant operational savings and improve user experience.
“Waterproofing isn’t just about materials—it’s about context. A box in a humid climate needs more robust protection than one in a dry office.” — Dr. Lena Patel, Environmental Materials Researcher, Green Design Institute
Common Mistakes to Avoid
Even with the right materials, improper application can undermine waterproofing efforts. Watch out for these pitfalls:
- Skipping edge sealing: Moisture often enters through unsealed corners and folds. Always treat the entire surface, including flaps and creases.
- Using too much product: Over-application can stiffen the box, making it difficult to open or dispense tissues smoothly.
- Ignoring ventilation during drying: Trapped solvents from sprays or glues can leave odors or weaken the bond if not fully cured.
- Assuming one coat is enough: Most sealants require multiple layers for full protection. Don’t rush the process.
FAQ
Can I still recycle a waterproofed tissue box?
In most cases, no. Once coated with synthetic sealants, wax, or tape, the box becomes non-recyclable due to contamination. Consider reusing the box until it’s worn out, then dispose of it in general waste. Beeswax-coated boxes may be composted in small quantities if no synthetic additives were used.
Will waterproofing affect tissue dispensing?
Not if done correctly. Light, even coatings preserve the box’s flexibility. Avoid sealing the interior lip where tissues are pulled out. Focus on external surfaces and the base instead.
Are there commercial waterproof tissue boxes available?
Yes, some brands offer moisture-resistant designs using laminated paperboard or hybrid materials. However, these are often more expensive and less environmentally friendly than DIY-treated standard boxes.
Checklist: How to Successfully Waterproof Your Tissue Box
- ☐ Choose a suitable waterproofing method based on location and use
- ☐ Clean the box thoroughly before treatment
- ☐ Seal all seams, edges, and the bottom surface
- ☐ Apply multiple thin coats instead of one thick layer
- ☐ Allow full drying time between applications
- ☐ Test water resistance with a droplet test
- ☐ Re-evaluate and reapply protection every few months
Conclusion
Waterproofing a paper tissue box is a simple yet transformative practice that enhances durability, hygiene, and cost-efficiency. Whether you’re protecting a single box in a humid bathroom or managing supplies for a commercial space, the right technique can prevent frequent replacements and maintain a clean, professional appearance. By combining accessible materials with careful application, you turn a disposable item into a resilient, long-lasting solution. Start with one box today—apply a sealant, test its performance, and observe the difference. Small changes lead to big improvements in sustainability and functionality.


 浙公网安备
33010002000092号
浙公网安备
33010002000092号 浙B2-20120091-4
Comments
No comments yet. Why don't you start the discussion?