
Staying hydrated is essential, but drinking warm water from a bottle that’s been sitting in the sun can be unappealing—even discouraging. For those who spend long hours outdoors, work in hot environments, or simply want refreshing sips throughout the day, keeping water cold in a high-capacity bottle isn’t just about comfort—it’s about consistency in hydration. While insulated bottles help, temperature retention depends on more than just the container. With the right techniques, you can extend coldness for 12 hours or more, even in summer heat.
Choose the Right Bottle: Insulation Matters
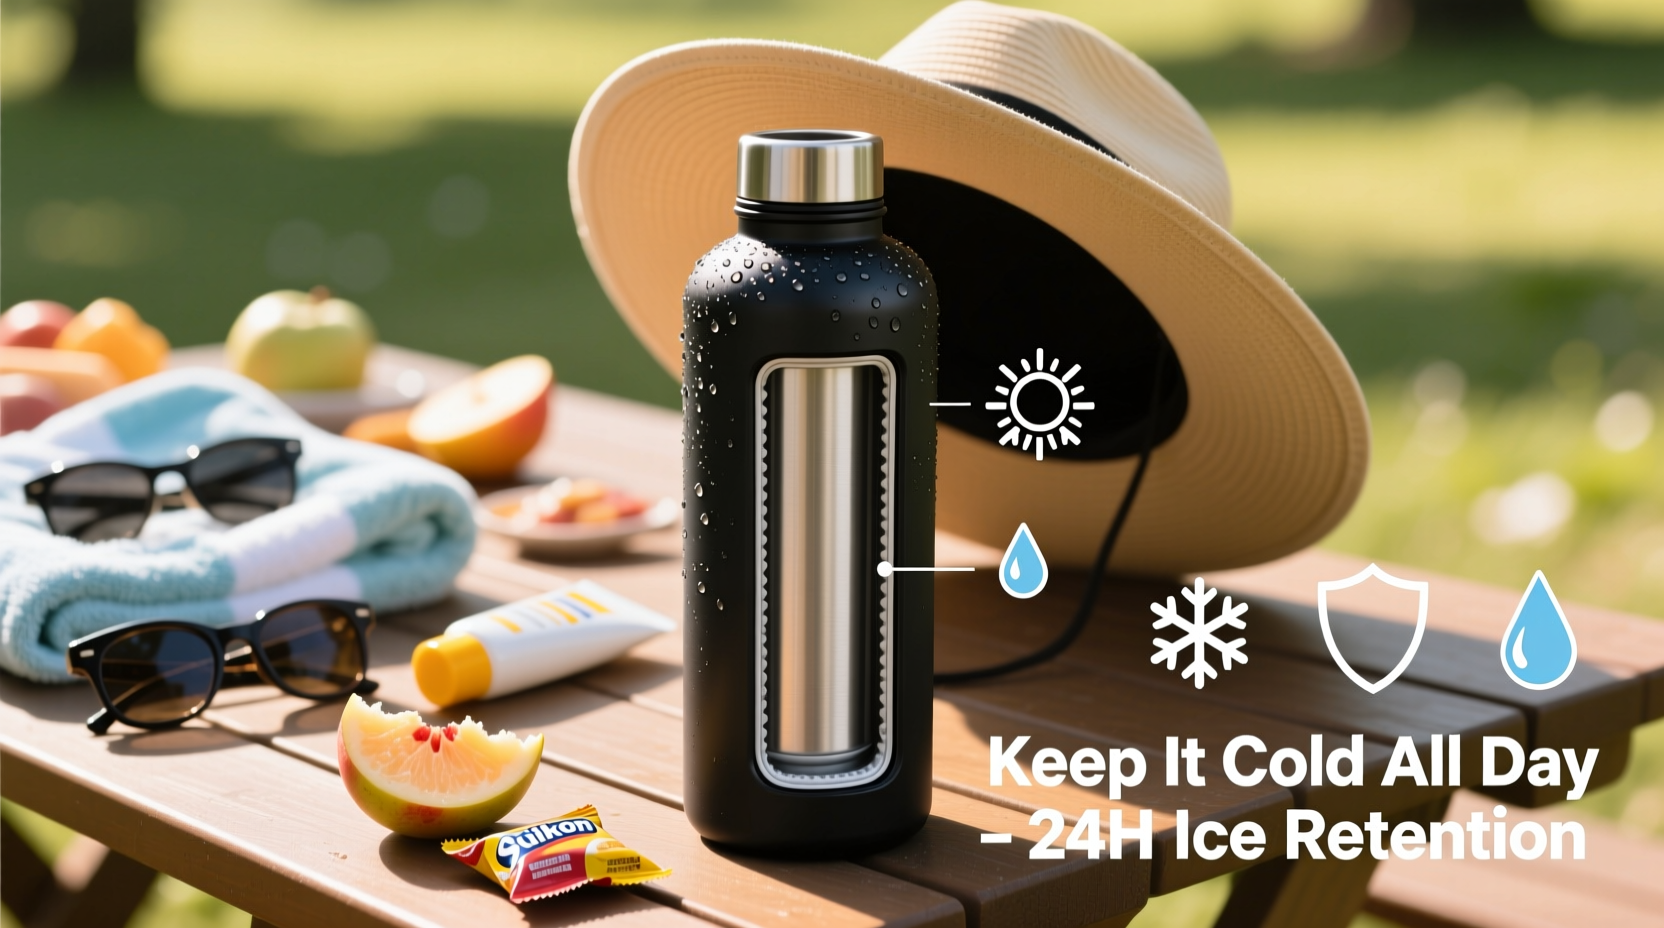
The foundation of keeping water cold starts with selecting a high-quality, vacuum-insulated bottle. Double-wall stainless steel construction creates a thermal barrier by removing air between the walls, significantly reducing heat transfer. Look for models with copper-lined interiors, which enhance reflectivity and further slow warming.
Bottles labeled as “24-hour cold” or “ice retention tested” typically undergo rigorous lab conditions. However, real-world performance varies based on environment, fill level, and handling. A wide mouth helps with ice loading but increases surface exposure when open. Narrow-mouth designs reduce evaporation and heat ingress but may limit ice cube size.
Maximize Ice Efficiency
Ice is your best ally in maintaining low temperatures. But not all ice is created equal. Smaller cubes melt faster due to higher surface-area-to-volume ratios. Instead, use large ice cubes or frozen spheres—they melt slower and chill water evenly over time.
For extended cooling, consider freezing water directly in the bottle. Fill it three-quarters full, freeze upright (use a cardboard box to stabilize), then top off with cold water before sealing. This creates a solid ice core that melts gradually, acting like a built-in coolant.
Avoid crushed ice unless immediate chilling is needed. It cools quickly but disappears within hours, leaving your drink lukewarm by midday.
| Ice Type | Cooling Duration | Best For |
|---|---|---|
| Large Cubes | 6–10 hours | Daily use, moderate heat |
| Frozen Bottle Core | 10–14+ hours | Hot climates, long outings |
| Crushed Ice | 2–4 hours | Quick cooldown, short trips |
Optimize Filling and Sealing Techniques
How you fill and seal your bottle impacts temperature stability. Always pre-chill both the bottle and the water before assembly. Pour refrigerated water over chilled ice—never room-temperature liquid into a cold bottle, as it introduces ambient heat immediately.
Fill to the brim after adding ice. Less air inside means less space for warm air to circulate. Use the push-pull method: after filling, screw the lid on tightly, then unscrew and reseal to release any trapped warm air pockets.
Lids are often the weakest point in insulation. Flip-top mechanisms expose water more frequently than screw caps. If possible, choose a model with a minimal-opening cap or silicone-sealed closure. Check gaskets regularly; worn seals allow heat seepage.
“Up to 70% of heat gain in reusable bottles occurs through the lid and neck area. Minimizing exposure here doubles cold retention.” — Dr. Alan Zhou, Thermal Dynamics Researcher at EcoTherm Labs
Smart Handling and Environmental Control
Even the best bottle fails if left in direct sunlight or on hot surfaces. UV rays and radiant heat from asphalt, car seats, or metal desks rapidly degrade internal temperatures. Keep your bottle shaded whenever possible—under a towel, in a backpack side pocket, or inside an insulated sleeve.
If you’re driving, don’t leave the bottle on the dashboard or near windows. The interior of a parked car can exceed 150°F (65°C), turning cold water into warm liquid within an hour. Store it under the seat or in the passenger footwell where temperatures remain lower.
Limit how often you open the bottle. Each time the cap comes off, warm air rushes in and mixes with the cold. For frequent sipping, pour water into a separate cup instead of repeatedly opening the main container.
Step-by-Step Guide: Morning Routine for All-Day Cold Water
Follow this simple sequence every morning to maximize cold retention:
- Pre-chill the bottle: Place it empty in the freezer overnight (ensure no liquid remains to prevent cracking).
- Prepare large ice cubes: Use filtered water and a silicone tray for oversized cubes.
- Add ice first: Fill one-third to half the bottle with ice cubes.
- Pour cold water: Use refrigerated water to fill to the top.
- Seal tightly: Close the lid securely and gently shake to settle contents.
- Wrap if necessary: Use a neoprene sleeve or place in a shaded compartment.
- Avoid early openings: Wait at least two hours before first sip to preserve initial chill.
Mini Case Study: Field Worker in Arizona Summer
Jamal, a solar panel installer in Phoenix, struggled with warm water by 10 a.m., despite using a premium 32 oz insulated bottle. After switching his routine—pre-freezing the bottle, using block ice made from frozen bottles, and storing it in a shaded toolbag lined with reflective material—he reported cold water lasting until 4 p.m., even with outside temps hitting 110°F (43°C). He also minimized openings, opting to pour water into a small cup during breaks. His hydration improved significantly, and he experienced fewer heat-related fatigue symptoms.
Common Mistakes That Sabotage Cold Retention
- Using tap-temperature water instead of pre-chilled liquid
- Overfilling with small, fast-melting ice cubes
- Leaving the bottle in direct sunlight or on hot surfaces
- Frequent lid removal throughout the day
- Not cleaning the lid gasket, leading to poor seal integrity
- Assuming all “insulated” bottles perform equally—some brands outperform others by 4+ hours
Checklist: Daily Cold Water Success Plan
- ☑ Pre-chill bottle overnight
- ☑ Use large or block ice
- ☑ Fill with refrigerated water
- ☑ Seal tightly and purge air
- ☑ Keep out of direct sunlight
- ☑ Limit lid openings
- ☑ Clean lid gasket weekly
FAQ
Can I put boiling water in my bottle if I want to switch to hot drinks later?
Yes, most vacuum-insulated bottles safely handle boiling water. However, doing so without thorough cleaning afterward can affect future cold retention due to residual heat in materials. Allow the bottle to return to room temperature and clean it before refreezing or using for cold liquids.
Why does my bottle sweat even though it’s insulated?
Condensation usually indicates a compromised vacuum seal or external moisture. True double-wall insulation should prevent sweating. If your bottle feels wet on the outside, inspect for dents or damage near the base. A failed seal requires replacement for optimal performance.
Do insulated sleeves really make a difference?
Yes, especially in extreme conditions. Neoprene or reflective sleeves add an extra thermal barrier and protect against radiant heat. They also provide grip and drop protection. In tests, bottles with sleeves retained coldness up to 25% longer in direct sun.
Final Thoughts
Keeping water cold all day in a high-capacity bottle is achievable with intentional habits and smart gear choices. It’s not just about buying the most expensive model—it’s about how you prepare, use, and maintain it daily. From optimizing ice type to controlling environmental exposure, each small decision compounds into sustained refreshment. When your water stays cold, you’re more likely to drink it consistently, supporting better energy, focus, and overall health.


 浙公网安备
33010002000092号
浙公网安备
33010002000092号 浙B2-20120091-4
Comments
No comments yet. Why don't you start the discussion?