
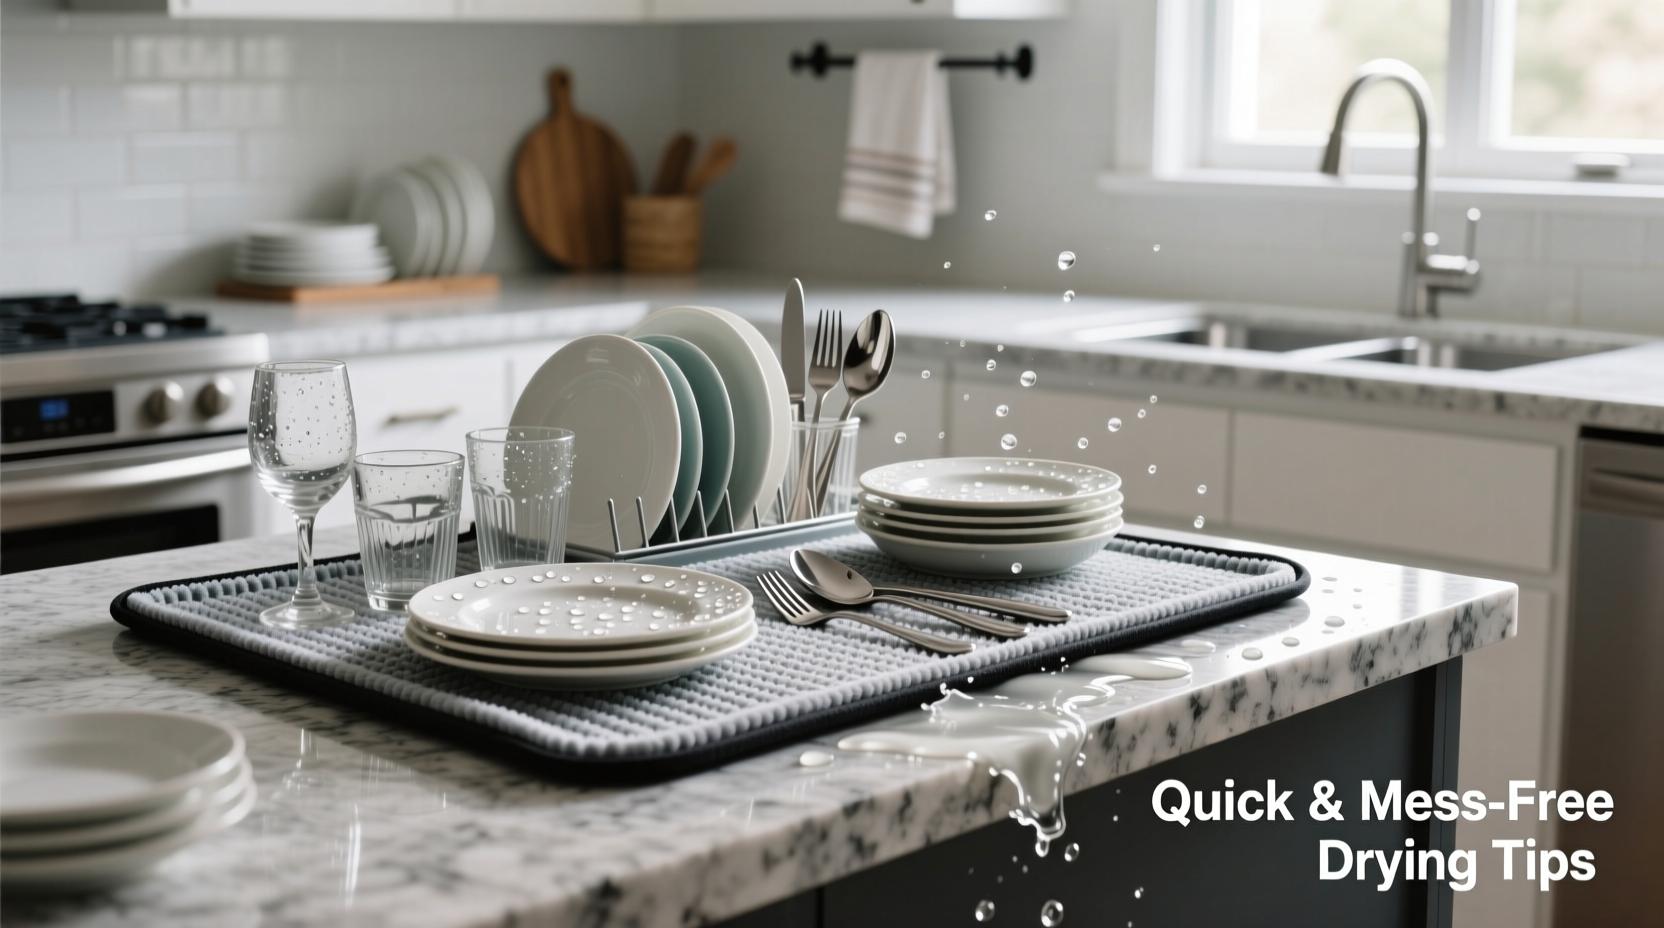
Drying dishes efficiently is a small but essential part of maintaining a clean and functional kitchen. While dishwashers handle much of the work, hand-washing still plays a role—especially for delicate cookware or when space is limited. A countertop drying mat offers a practical alternative to bulky racks, but only if used correctly. When improperly managed, these mats can become soggy, slippery, or breeding grounds for bacteria. The key lies in technique, timing, and smart setup. This guide delivers actionable strategies to help you dry dishes quickly and cleanly on a countertop mat—without water pooling, clutter, or cross-contamination.
Choose the Right Countertop Drying Mat
Not all drying mats are created equal. The material, texture, and drainage capacity determine how well your dishes dry and how easily you can maintain cleanliness. Silicone, microfiber, and bamboo fiber are among the most popular options, each with distinct advantages.
| Material | Drying Speed | Drainage | Cleaning Ease |
|---|---|---|---|
| Silicone | Moderate | Poor (unless grooved) | Easy (wipeable) |
| Microfiber | Fast | Good (absorbs moisture) | Moderate (machine washable) |
| Bamboo Fiber | Very Fast | Excellent (naturally antimicrobial & breathable) | Easy (rinses well) |
For fast drying and minimal mess, opt for a textured bamboo fiber or open-weave microfiber mat. These materials wick moisture away from dish surfaces and allow air circulation, reducing drying time by up to 40% compared to flat silicone pads.
Optimize Your Drying Setup
The location and orientation of your drying mat matter. Placing it haphazardly near the sink edge increases spill risk and reduces efficiency. Instead, follow a strategic layout that supports workflow and hygiene.
- Position the mat on a level surface at least 6 inches from the sink’s edge to prevent accidental splashes onto the floor.
- Place a small tray or absorbent cloth underneath to catch excess drips—especially important on wood or laminate counters.
- Angle dishes strategically: cups and bowls should face downward with handles turned outward to allow water to run off freely.
- Leave space between items to promote airflow. Crowding traps moisture and prolongs drying time.
Avoid stacking plates or nesting bowls directly on the mat. Instead, use a collapsible dish stand or lean larger items against a wall-safe silicone holder placed atop the mat. This vertical arrangement cuts drying time in half and minimizes surface contact.
Real Example: The Compact Kitchen Fix
Sophie, a home cook in a 500-square-foot apartment, struggled with counter space after washing dinnerware. Her old rubber mat held puddles and mildew within days. She switched to a slim bamboo fiber mat with a honeycomb pattern and paired it with a foldable stainless steel rack. By placing glasses upright on the rack and laying flatware on the textured surface, she reduced drying time from two hours to just 35 minutes. “The difference was immediate,” she said. “No more wet spots on my cabinets or musty smells.”
Speed Up Drying with Simple Techniques
Passive drying works, but with a few adjustments, you can accelerate the process significantly. Airflow, temperature, and pre-drying habits all play roles.
- Shake off excess water before placing dishes on the mat. A quick flick removes up to 70% of standing water.
- Use a lint-free towel to pat dry non-porous items like glassware and cutlery. This step isn’t full drying—it’s prep to reduce moisture load on the mat.
- Open a nearby window or turn on an overhead fan. Even gentle air movement can reduce drying time by 30%.
- Rinse with warm (not hot) water last. Hot water leaves residual steam that condenses as it cools; lukewarm rinse water evaporates faster.
“Air circulation is the silent hero of dish drying. A mat alone won’t dry dishes—air does. Your job is to set the stage for evaporation.” — Dr. Lena Torres, Environmental Hygienist, Urban Living Institute
Prevent Mess and Maintain Hygiene
A messy drying area leads to slipping hazards, bacterial growth, and repeated cleaning. Prevention starts with daily habits and ends with proper maintenance.
To keep your system clean and efficient:
- Rinse the mat daily under running water and hang it to dry completely.
- Wash microfiber or bamboo mats weekly in cold water with mild detergent—never use fabric softener, which clogs fibers.
- Sanitize once a week by soaking in a mix of one part white vinegar to three parts water for 10 minutes.
- Replace mats every 6–12 months, depending on usage. Signs of wear include fraying edges, lingering odors, or slow drying.
Do’s and Don’ts of Countertop Drying Mats
| Do’s | Don’ts |
|---|---|
| Use a slanted edge mat to direct water into the sink | Leave dishes on the mat overnight unattended |
| Pair with a drip tray for extra protection | Use abrasive scrubbers that damage the surface |
| Dry hands thoroughly before handling dishes | Place hot pans directly on the mat (can warp materials) |
| Rotate mats if you cook frequently | Stack wet items tightly together |
Frequently Asked Questions
Can I leave the drying mat on the counter all the time?
Yes, but only if it’s fully dry and clean. Leaving a damp mat in place encourages bacterial growth and may stain porous countertops. For continuous use, choose a mold-resistant bamboo fiber model and inspect it daily for moisture buildup.
Why does my mat smell musty even after washing?
Residual moisture trapped underneath or within dense fibers causes odor. Always hang the mat vertically after use and ensure it dries completely within 4 hours. If the smell persists, soak it in a baking soda solution (1/4 cup per liter of water) for 30 minutes before rinsing.
Are countertop mats hygienic compared to dish racks?
When properly maintained, they’re equally hygienic. The advantage of mats is their compact footprint and ease of cleaning. However, unlike metal racks with open slats, mats require more diligent care to avoid microbial accumulation. Regular sanitization closes this gap effectively.
Step-by-Step Guide: Efficient Dish Drying Routine
- Scrape and wash dishes as usual, using warm soapy water.
- Rinse with lukewarm water to minimize condensation.
- Shake each item vigorously to remove excess water.
- Pat dry high-contact surfaces (handles, rims) with a clean towel.
- Arrange dishes on the mat with space between them and angled for runoff.
- Turn on exhaust fan or open a window to increase airflow.
- After 20–40 minutes, check for dryness and put items away.
- Remove the mat, rinse, and hang to dry; wipe the counter surface.
Conclusion: Dry Smarter, Not Harder
Drying dishes doesn’t have to mean cluttered counters or waiting hours for items to air out. With the right mat, proper placement, and a few smart techniques, you can achieve fast, mess-free results every time. The goal isn’t just efficiency—it’s sustainability. A well-maintained drying system reduces paper towel use, prevents slips, and keeps your kitchen looking tidy even during busy meal prep. Choose breathable materials, prioritize airflow, and stay consistent with cleaning. Small changes compound into big improvements in both hygiene and convenience.


 浙公网安备
33010002000092号
浙公网安备
33010002000092号 浙B2-20120091-4
Comments
No comments yet. Why don't you start the discussion?