
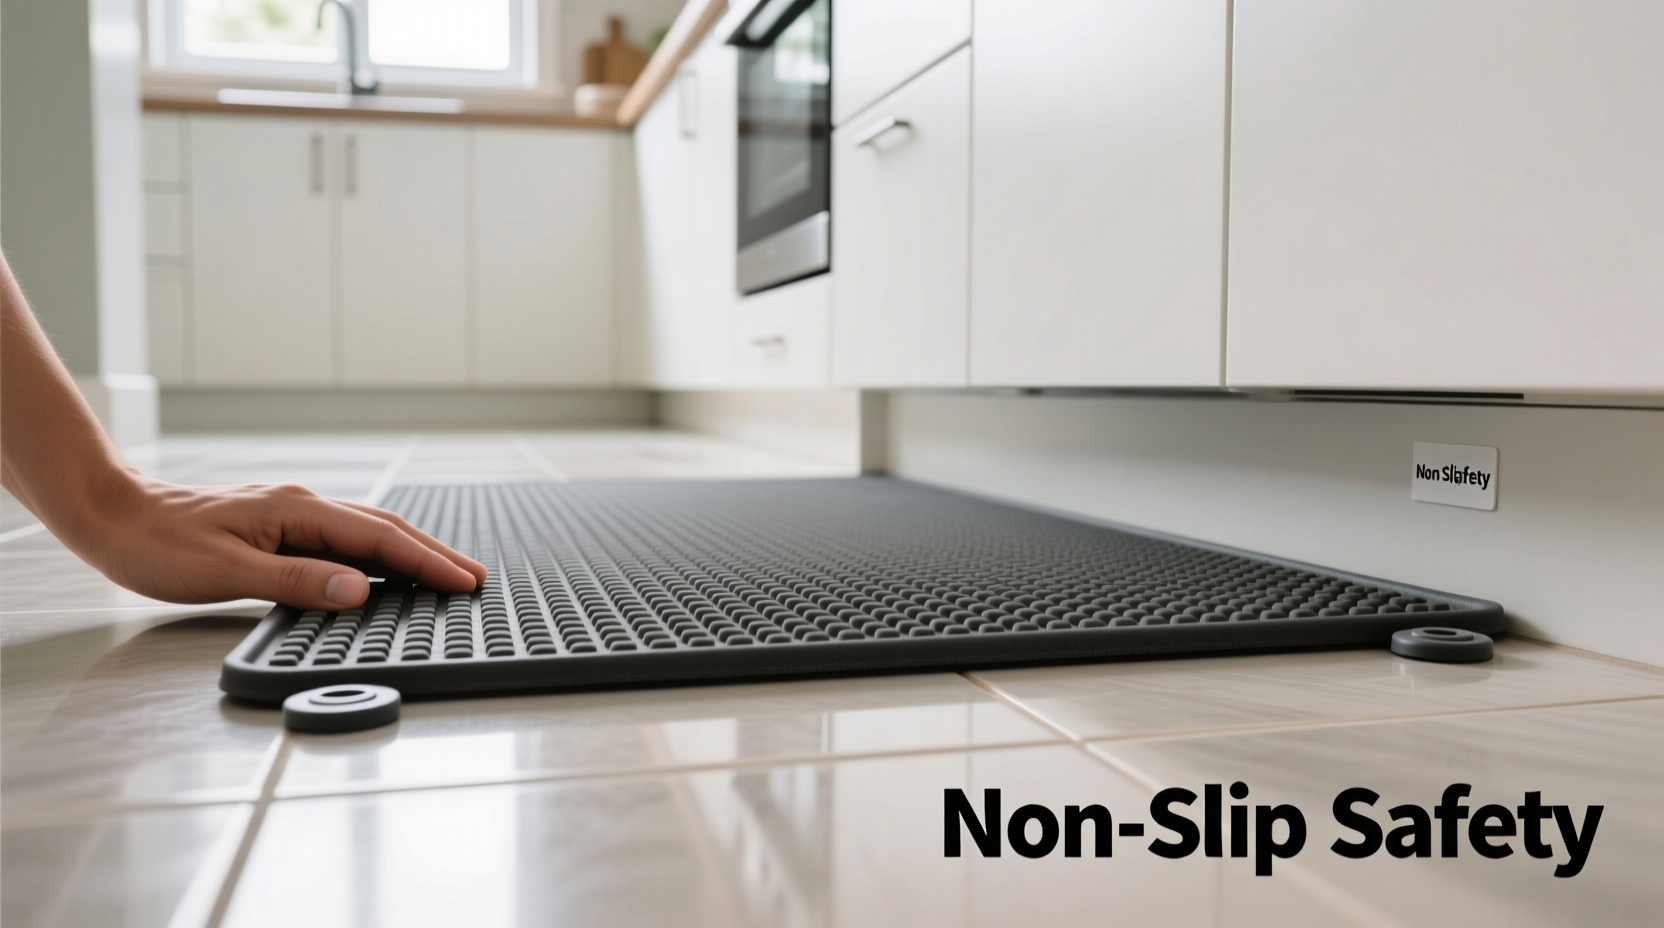
Slip and fall accidents are among the most common household injuries, especially in high-moisture areas like bathrooms, kitchens, and entryways. While nonslip floor mats are designed to reduce these risks, their effectiveness depends heavily on proper installation and maintenance. A poorly secured mat can curl at the edges or slide unexpectedly—turning a safety tool into a tripping hazard. Understanding how to correctly anchor and maintain your mats is essential for long-term protection.
This guide provides actionable strategies to ensure your nonslip floor mats stay firmly in place, maximize traction, and contribute to a safer living environment. From choosing the right adhesive methods to routine inspection practices, each step plays a role in accident prevention.
Choose the Right Mat for Your Surface
Not all nonslip mats are created equal. The material, backing type, and thickness must align with the flooring beneath it. For example, vinyl-backed mats work well on hardwood but may degrade under prolonged exposure to sunlight. Rubber-backed mats offer excellent grip on tile and laminate but can stain natural stone if not properly maintained.
When selecting a mat, consider:
- The surface texture (smooth vs. textured flooring)
- Moisture exposure levels (e.g., shower vs. hallway)
- Traffic frequency (high-traffic zones need more durable anchoring)
- Chemical resistance (especially important in kitchens or labs)
Secure Mats Using Appropriate Anchoring Methods
Even the best-designed nonslip mat will fail without proper anchoring. Depending on the location and usage, different securing techniques yield optimal results.
Double-Sided Tape for Light-Duty Use
Clear, high-adhesion double-sided tape works well for lightweight bathroom rugs or decorative mats in low-traffic areas. It's removable and won’t damage most surfaces when used correctly.
Non-Marking Adhesive Strips for Permanent Placement
For commercial kitchens or senior care facilities, non-marking adhesive strips provide stronger hold without leaving residue. These are ideal for rubber-backed mats on sealed concrete or tile.
Anti-Fatigue Mat Fasteners for Industrial Settings
In workshops or standing workstations, mechanical fasteners such as edge grips or interlocking systems prevent lateral movement while allowing easy cleaning underneath.
“Many people assume that ‘nonslip’ means ‘self-anchoring,’ but environmental factors like moisture, foot traffic, and temperature shifts can compromise even the best-designed mats.” — Dr. Lena Torres, Occupational Safety Consultant
Step-by-Step Guide to Proper Mat Installation
Follow this timeline to install and secure your nonslip floor mat effectively:
- Day 1 – Clean the Floor Thoroughly: Remove dust, grease, or wax buildup using a pH-neutral cleaner. Allow the surface to dry completely.
- Day 1 – Trim if Necessary: Cut the mat to fit snugly against walls or fixtures using a utility knife and straightedge.
- Day 1 – Apply Anchoring Method: Attach double-sided tape or adhesive strips along the perimeter and center lines of the mat’s underside.
- Day 1 – Press Firmly Into Place: Starting from the center, smooth the mat outward to eliminate air pockets.
- Day 2 – Inspect for Lifting Edges: Check that no corners have begun to peel up due to uneven pressure or residual moisture.
- Ongoing – Weekly Maintenance: Lift and clean both the mat and floor beneath every 7–10 days to prevent microbial growth and adhesive breakdown.
Common Mistakes That Reduce Mat Effectiveness
Avoid these frequent errors that undermine safety efforts:
| Mistake | Why It’s Risky | Solution |
|---|---|---|
| Using damaged or curled mats | Corners act as trip hazards; reduced contact lowers grip | Replace worn mats immediately |
| Placing mats over wet or oily floors | Creates a slippery film between mat and surface | Always dry the floor before installation |
| Overlapping multiple mats | Uneven transitions increase tripping risk | Use one continuous mat or interlocking tiles |
| Ignoring manufacturer instructions | May void warranty or lead to improper use | Read guidelines before installation |
Real-World Example: Preventing Falls in a Senior Home
In a residential care facility in Portland, recurring slips in the communal bathroom prompted a safety review. Staff discovered that although nonslip mats were present, many had shifted due to daily foot traffic and frequent mopping. Some residents reported catching their toes on lifted edges.
The solution involved replacing old mats with medical-grade rubber models featuring micro-suction backing and installing them with hospital-approved adhesive strips. Additionally, staff implemented a weekly inspection checklist. Over six months, slip incidents in the area dropped by 78%, demonstrating how proper mat security directly impacts safety outcomes.
Essential Checklist for Mat Safety
Use this checklist monthly to ensure your nonslip mats remain effective:
- ✅ Are all edges lying flat with no curling?
- ✅ Is the mat free of tears, holes, or excessive wear?
- ✅ Has the floor beneath been cleaned recently?
- ✅ Is the anchoring method still intact (tape, adhesive, fasteners)?
- ✅ Does the mat cover the entire high-risk zone (e.g., in front of sink or tub)?
- ✅ Is there adequate drainage under the mat in wet areas?
Frequently Asked Questions
Can I wash my nonslip mat in a washing machine?
Some fabric-backed or synthetic mats are machine-washable, but always check the label. Rubber or vinyl mats should be hand-cleaned with mild soap and water to preserve their grip and structure.
How often should I replace a nonslip floor mat?
Inspect mats every three months. Replace them if you notice cracking, permanent warping, loss of tackiness, or visible mold growth that can't be removed. In high-use areas, replacement every 12–18 months is recommended.
Are nonslip sprays effective for improving mat grip?
Nonslip sprays are generally not advised for mats. They may temporarily increase friction but often degrade the backing material over time. Focus instead on physical anchoring and regular maintenance.
Final Steps Toward a Safer Environment
Securing a nonslip floor mat isn’t a one-time task—it requires ongoing attention. By selecting the right product, applying proven anchoring techniques, and maintaining vigilance through routine checks, you significantly reduce the risk of slips and falls. Whether protecting children in a home kitchen or ensuring safety in a commercial space, every detail matters.
Accidents are rarely inevitable. More often, they result from overlooked precautions. Take control today by auditing your current mats, correcting any flaws, and adopting a proactive approach to floor safety.


 浙公网安备
33010002000092号
浙公网安备
33010002000092号 浙B2-20120091-4
Comments
No comments yet. Why don't you start the discussion?