
When collaborating on a document in Microsoft Word, it's common to use features like Track Changes, comments, and formatting suggestions. While these tools enhance collaboration, they can clutter the markup area and compromise the professionalism of your final output. Left unattended, hidden revisions and visible comments may expose internal discussions or outdated content. Learning how to effectively clear the markup area ensures your document appears polished, secure, and ready for distribution.
Understanding the Markup Area in Word
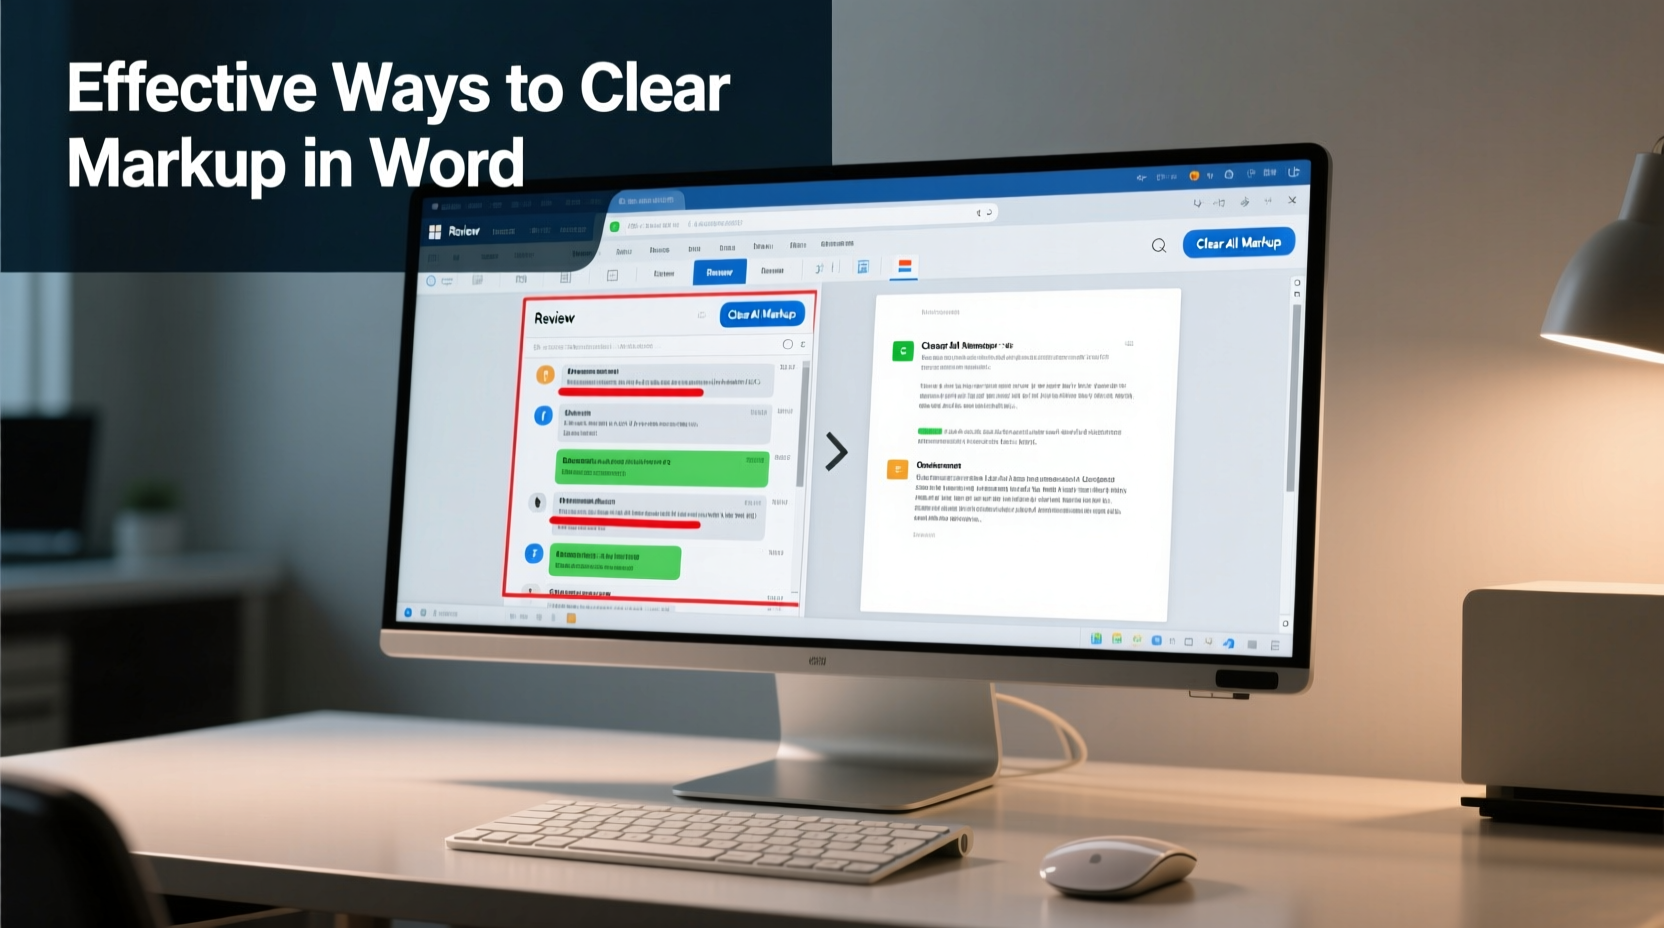
The markup area in Word refers to the visual indicators of edits, comments, and formatting changes made during collaborative review. These appear in the margins or inline with text and include:
- Strikethroughs (deleted text)
- Underlined additions (inserted text)
- Balloons containing comments or change summaries
- Highlighting from formatting changes
By default, Word displays these elements when \"Final Showing Markup\" or \"All Markup\" view is active. For a clean final version, all such annotations must be either accepted, rejected, or deleted before saving or sharing.
Step-by-Step Guide to Clearing Markup Completely
To ensure your document is truly clean, follow this systematic process:
- Open the document and go to the “Review” tab in the ribbon.
- Select “All Markup” from the Tracking dropdown to make sure every edit is visible.
- Review each comment individually—click on them in the margin to open the comment pane and decide whether to reply, resolve, or delete.
- Process tracked changes: Navigate through each change using the “Next” button in the Changes group. Choose “Accept” or “Reject” based on relevance.
- After processing all items, click the small arrow in the “Accept” or “Reject” button group to reveal advanced options.
- Select “Accept All Changes and Stop Tracking” or “Reject All Changes and Stop Tracking” as appropriate.
- Delete any remaining comments by right-clicking each one and choosing “Delete Comment,” or use “Delete All Comments in Document.”
- Switch to “Final” view under the Tracking section to hide all markup indicators.
This sequence guarantees that no hidden revisions linger in the background, which could reappear if someone re-enables tracking later.
Common Pitfalls and How to Avoid Them
Even experienced users often make mistakes when clearing markup. Here are frequent issues and their solutions:
| Issue | Why It Happens | Solution |
|---|---|---|
| Markup still visible after saving | User only changed view mode without accepting/rejecting changes | Always accept or reject all changes before switching views |
| Comments reappear after email sharing | Hidden comments were not permanently deleted | Use “Delete All Comments in Document” from the Review tab |
| Formatting inconsistencies remain | Formatting changes were tracked but not reviewed | Enable “Show Formatting Changes” and accept or reject them explicitly |
| File size unexpectedly large | Deleted content still stored in revision history | Clean document via “Inspect Document” feature (Info > Check for Issues > Inspect Document) |
“Many professionals unknowingly share sensitive feedback because they assume turning off markup view removes it. The reality is, the data persists until formally accepted or rejected.” — Dr. Laura Simmons, Technical Documentation Specialist
Using the Document Inspector for Deep Cleanup
Even after clearing visible markup, Word may retain hidden metadata, tracked changes in headers/footers, or personal information. To eliminate residual content:
- Go to File > Info > Check for Issues > Inspect Document.
- Run the Document Inspector tool.
- Check boxes for “Comments, Revisions, Versions,” “Headers, Footers, and Watermarks,” and “Invisible Content.”
- Click “Inspect.”
- If results show remaining items, click “Remove All” for each category.
- Save the document afterward to finalize cleanup.
This step is especially critical when preparing legal, academic, or client-facing documents where privacy and precision are paramount.
Mini Case Study: Cleaning a Legal Contract Draft
A corporate paralegal received a 32-page contract draft covered in tracked changes and margin comments debating liability clauses. The partner instructed her to prepare a clean version for client delivery. Initially, she switched to “Final” view and emailed the file. The client replied, confused, noting that double-clicking paragraphs revealed conflicting internal notes.
She then followed the full cleanup process: reviewed each change, accepted legal team inputs, rejected outdated suggestions, deleted all comments, ran the Document Inspector, and saved as a new file. The second version had no trace of prior edits. This experience led the firm to implement a mandatory “finalization checklist” for all outgoing documents.
Best Practices Checklist for a Markup-Free Document
Before distributing any finalized Word file, verify the following:
- ✅ All tracked changes have been accepted or rejected
- ✅ No comments remain in the document
- ✅ View mode is set to “Final” (not “Final Showing Markup”)
- ✅ Headers, footers, and text boxes have been checked for hidden markup
- ✅ Document Inspector has been run and unnecessary content removed
- ✅ File properties do not contain author names or revision history (accessible via File > Info > Properties)
- ✅ Saved as a new file (e.g., “Document_Final_CLEAN.docx”) to distinguish from drafts
Frequently Asked Questions
Can I remove all markup at once without reviewing each change?
Yes, you can use “Accept All Changes” or “Reject All Changes” in the Review tab. However, doing so bypasses quality control. Blindly accepting changes risks retaining errors or inappropriate edits. Always review unless you fully trust the source and have no compliance concerns.
Why does markup sometimes reappear after I’ve cleared it?
This typically happens when you only changed the display view instead of permanently resolving changes. Tracked changes and comments exist as data within the file—even if invisible. Only accepting, rejecting, or deleting them removes the underlying content. Additionally, shared files may reintroduce markup if collaborators haven’t synchronized their versions.
Is there a way to prevent others from seeing my markup in shared files?
Absolutely. Before sharing, ensure all changes are accepted, comments are deleted, and the Document Inspector has purged hidden data. You can also export the document as a PDF, which flattens all markup into static text. Just remember: converting to PDF doesn’t automatically remove Word’s revision data unless the source .docx was already cleaned.
Finalize with Confidence
A clean document reflects attention to detail, professionalism, and respect for the recipient. Taking a few extra minutes to properly clear the markup area in Word prevents embarrassment, miscommunication, and potential security risks. Whether you're submitting a thesis, sending a proposal, or circulating a report, the integrity of your final version matters. Apply these methods consistently, integrate the checklist into your workflow, and make markup cleanup a non-negotiable step in your document lifecycle.


 浙公网安备
33010002000092号
浙公网安备
33010002000092号 浙B2-20120091-4
Comments
No comments yet. Why don't you start the discussion?