
Reducing the file size of a PDF is often necessary for email attachments, website uploads, or cloud storage limitations. However, shrinking a PDF shouldn’t mean sacrificing clarity or professionalism. Adobe Acrobat, particularly the Pro version, offers powerful compression tools that maintain high visual fidelity while significantly reducing file size. Whether you're dealing with scanned documents, image-heavy reports, or multi-page contracts, knowing how to optimize your PDFs efficiently ensures they remain both lightweight and legible.
Understanding PDF File Bloat
Prematurely compressing a PDF can degrade text sharpness or pixelate images. To avoid this, it’s essential to understand what contributes to large file sizes. Common culprits include:
- High-resolution embedded images (e.g., 300+ DPI photos)
- Unoptimized fonts and embedded typefaces
- Scanned pages saved as images rather than searchable text
- Duplicate objects or metadata from editing software
- Uncompressed color profiles and transparency effects
Adobe Acrobat doesn’t just \"squash\" files—it intelligently re-encodes elements based on usage patterns. This means you can target specific components of the document for optimization without affecting overall readability.
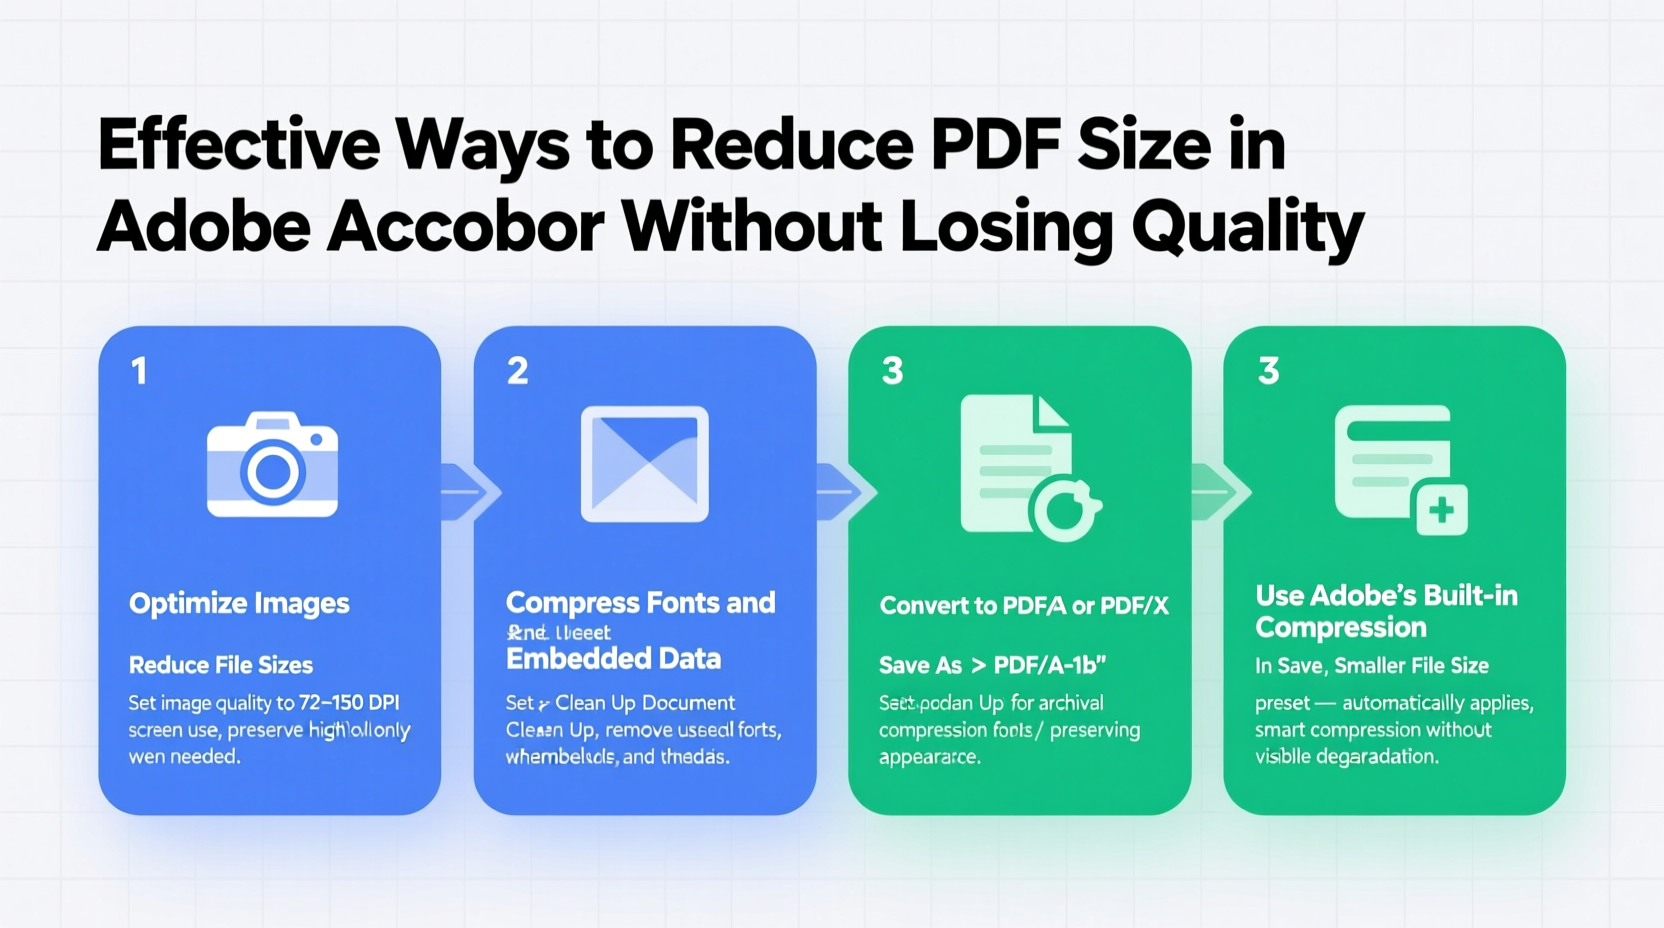
Step-by-Step Guide to Reduce PDF Size in Adobe Acrobat
The most reliable method uses Adobe Acrobat Pro’s “Reduce File Size” feature combined with advanced settings for fine-tuned control. Follow these steps:
- Open your PDF in Adobe Acrobat Pro DC. Note: Free readers like Adobe Reader lack compression tools.
- Navigate to File > Save As Other > Reduced Size PDF.
- Select the compatibility setting (e.g., “Acrobat 10/X” for broad support).
- Click “OK” and choose where to save the compressed version.
- Review the result—the reduction can be dramatic, often cutting file size by 50–80%.
This automated process adjusts image resolution, recompresses content streams, and removes redundant data—all while preserving text quality and vector graphics integrity.
Using the Optimize PDF Tool for Greater Control
For more granular adjustments, use the dedicated optimization tool:
- Go to Tools > Optimize PDF.
- Select the file you want to reduce.
- In the right panel, click “Edit Settings” to customize compression parameters.
- Adjust image settings:
- Set JPEG Quality to “Medium” or “High” (avoid “Low” unless absolutely necessary).
- Downsample color images to 150 DPI for screen viewing or 200 DPI for print-ready output.
- Convert 24-bit color images to 8-bit when appropriate.
- Under Fonts, deselect unnecessary embedded fonts to reduce overhead.
- Enable object compression and clean up unused metadata.
- Apply changes and save the optimized file.
This approach allows professionals to balance performance and precision, especially useful for marketing materials or technical documentation.
Do’s and Don’ts When Compressing PDFs
| Do | Don't |
|---|---|
| Use “Reduce File Size” for quick everyday compression | Compress already-compressed PDFs repeatedly |
| Downsample images to 150 DPI for digital sharing | Lower image resolution below 72 DPI for printed documents |
| Remove hidden layers and unused bookmarks | Delete metadata critical for compliance or tracking |
| Embed only essential fonts | Strip all fonts if the document relies on special formatting |
| Test readability after compression on multiple devices | Assume all recipients have high-resolution screens |
Real-World Example: Streamlining a Corporate Report
A financial analyst at a mid-sized firm regularly distributed quarterly reports exceeding 25 MB due to embedded charts, executive headshots, and branding elements. These were too large for internal email systems, causing delivery failures.
By opening the file in Adobe Acrobat Pro and using the Optimize PDF tool, she adjusted image downsampling to 150 DPI and removed duplicate vector backgrounds. She also converted RGB color spaces to sRGB and deselected non-critical font embeddings. The final file was reduced to 4.3 MB—a 83% decrease—with no visible loss in chart clarity or logo quality.
The team adopted this workflow as standard practice, eliminating delays and improving cross-departmental collaboration.
“Smart compression isn’t about removing quality—it’s about eliminating waste. Acrobat’s optimization tools let you keep professional presentation while meeting technical constraints.” — Daniel Reeves, Digital Document Consultant
Expert Tips for Maximum Efficiency
- Pre-process before PDF creation: Resize images in Photoshop or Illustrator before placing them into source documents (Word, InDesign, etc.). A 3000x2000 pixel image scaled down visually still retains full resolution data in the PDF.
- Use PDF/A for archiving: The PDF/A standard strips interactive features and optimizes structure for long-term preservation and minimal size.
- Leverage Preflight tools: Found under Tools > Print Production, Preflight helps identify oversized images, redundancies, and inefficient encoding schemes.
- Batch process multiple files: Use Action Wizard in Acrobat to automate compression across dozens of PDFs, saving hours of manual work.
Frequently Asked Questions
Will reducing PDF size affect text clarity?
No—if done correctly. Text in PDFs is typically stored as vector outlines or glyphs, not raster images. Compression tools preserve text sharpness even when aggressively optimizing images and metadata.
Can I compress password-protected PDFs?
Yes, but you must first remove security restrictions. Open the file with the owner password, go to File > Properties > Security, and change the security method to “No Security.” Then proceed with compression.
Why does my compressed PDF look blurry?
This usually happens when image downsampling is set too low (e.g., below 72 DPI) or JPEG compression is set to “Low.” Re-run the optimization with higher image quality settings. Also ensure your display zoom level isn’t exaggerating perceived blurriness.
Checklist: How to Safely Shrink a PDF in Adobe Acrobat
- ✅ Back up the original PDF file
- ✅ Open the document in Adobe Acrobat Pro (not Reader)
- ✅ Run OCR if the PDF contains scanned pages
- ✅ Use “Save As Other > Reduced Size PDF” for fast results
- ✅ For more control, use “Optimize PDF” and adjust image settings
- ✅ Downsample color images to 150 DPI for digital use
- ✅ Remove unused fonts and metadata
- ✅ Preview output on screen and in print mode
- ✅ Compare file size and visual quality against the original
- ✅ Save the optimized version with a new filename
Conclusion
Making a PDF smaller in Adobe Acrobat without losing quality is not only possible—it’s straightforward once you understand the tools at your disposal. From one-click reductions to detailed optimization workflows, Adobe provides scalable solutions for every need. By focusing on intelligent image handling, selective font embedding, and metadata cleanup, you maintain professionalism while achieving significant file savings.


 浙公网安备
33010002000092号
浙公网安备
33010002000092号 浙B2-20120091-4
Comments
No comments yet. Why don't you start the discussion?