
Wound debridement is a critical component of modern wound management, especially when dealing with chronic or contaminated injuries. Removing dead, damaged, or infected tissue promotes healing, reduces infection risk, and allows healthy tissue to regenerate. When performed correctly, debridement accelerates recovery and prevents complications such as sepsis or non-healing ulcers. This guide provides a detailed, practical approach to performing effective wound debridement safely in clinical or home-care settings under professional guidance.
Understanding Wound Debridement: Why It Matters
Debridement isn’t just about cleaning a wound—it’s a medical process designed to create an optimal environment for healing. Necrotic tissue acts as a breeding ground for bacteria and impedes the body’s natural repair mechanisms. By eliminating this barrier, clinicians support granulation, reduce inflammation, and improve outcomes in wounds ranging from pressure ulcers to diabetic foot sores.
There are several types of debridement, each suited to different wound conditions:
- Autolytic: Uses the body’s own enzymes and moisture to break down dead tissue; ideal for stable, low-risk wounds.
- Enzymatic: Involves topical agents like collagenase to dissolve necrotic material.
- Mechanical: Includes wet-to-dry dressings or irrigation; less selective but fast-acting.
- Sharp/Surgical: Precise removal using instruments; most effective for heavily necrotic or infected wounds.
- Biological (Maggot Therapy): Sterile larvae consume only dead tissue while preserving healthy cells.
The choice depends on wound type, patient health, and available resources. For acute trauma or surgical wounds, sharp debridement is often preferred. Chronic ulcers may benefit from slower, enzymatic methods.
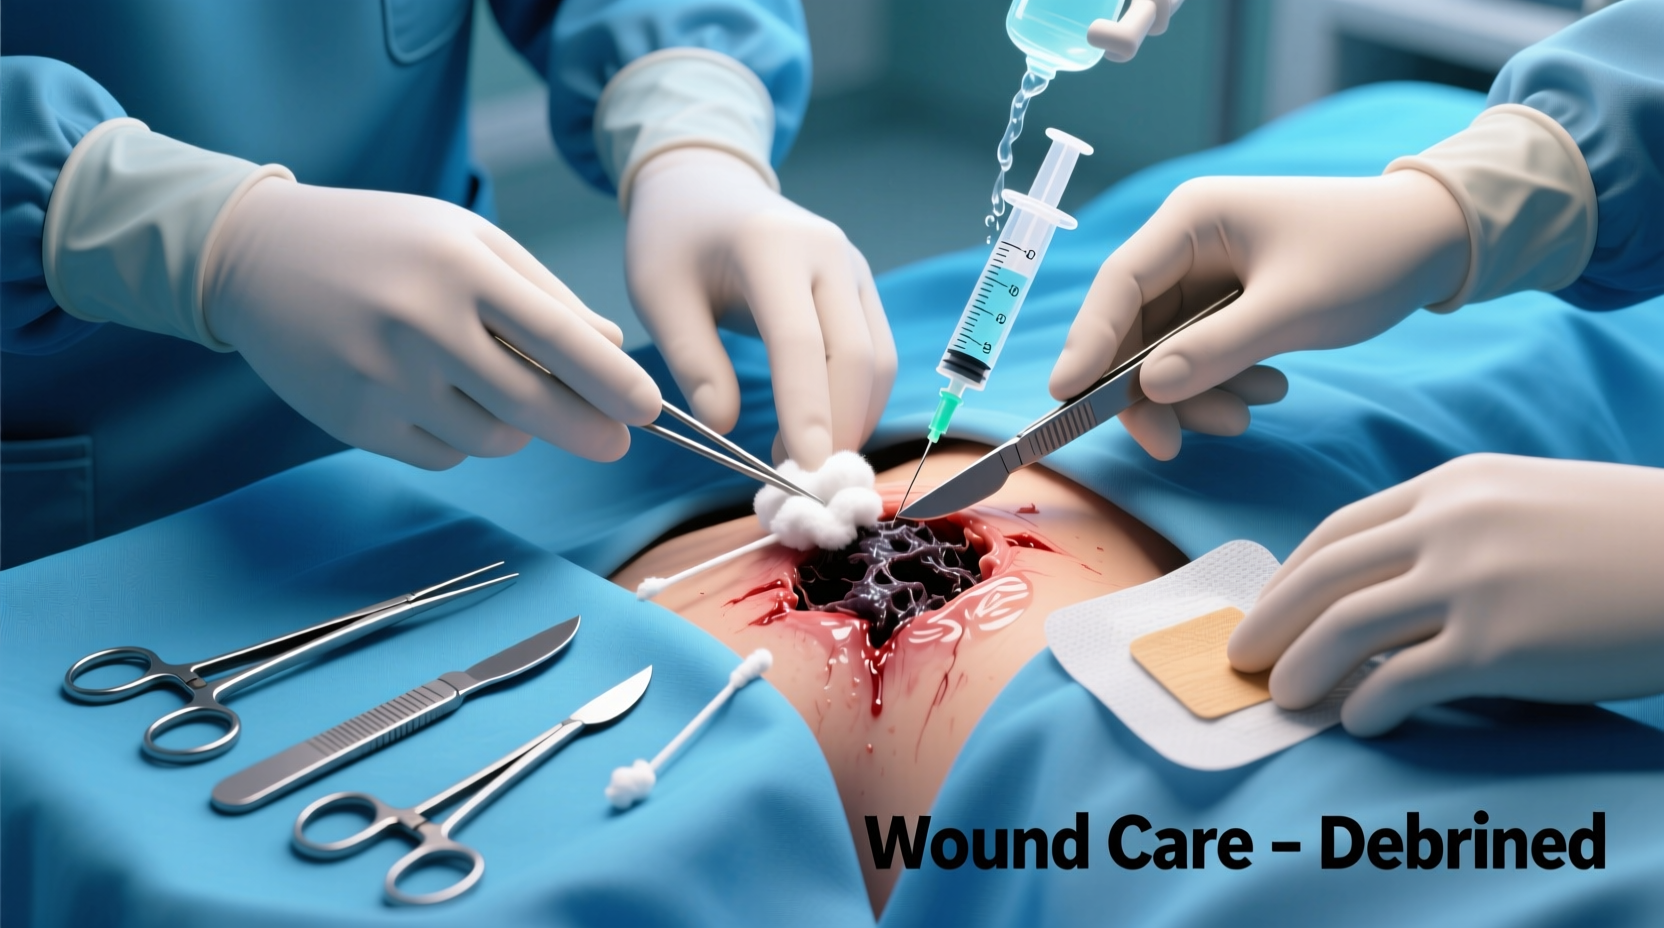
Step-by-Step Guide to Safe Sharp Debridement
Sharp debridement remains the gold standard for rapid and controlled tissue removal. Follow these steps carefully to ensure safety and effectiveness:
- Assess the Patient and Wound
Review medical history, allergies, medications (especially anticoagulants), and comorbidities like diabetes. Evaluate the wound for size, depth, exudate, odor, and presence of eschar or slough. - Obtain Consent and Prepare Documentation
Explain the procedure, risks, and expected outcomes. Document baseline measurements and take photos if permitted. - Gather Supplies
Ensure you have sterile gloves, saline solution, forceps, scalpel or curette, gauze, disinfectants, and appropriate dressings. Use a bright light source and magnification if needed. - Cleanse the Wound Area
Irrigate gently with sterile saline to remove surface debris. Avoid hydrogen peroxide or iodine-based solutions that can damage viable tissue. - Perform Debridement
Using a scalpel or curette, carefully excise loose, non-viable tissue. Work from the center outward, removing only tissue that lifts easily. Stop immediately if there is significant bleeding or pain. - Reassess and Rinse
After debridement, irrigate again to clear any remnants. Inspect the wound bed for healthy pink or red granulation tissue. - Apply Appropriate Dressing
Select a dressing based on exudate level—foam for heavy drainage, hydrocolloid for moderate, film for minimal. - Document and Monitor
Record the amount and type of tissue removed, wound dimensions post-procedure, patient tolerance, and next scheduled care visit.
Post-Procedure Care Guidelines
After debridement, monitor the wound daily for signs of infection: increased redness, warmth, pus, or fever. Keep the surrounding skin dry and intact. Change dressings according to protocol and avoid excessive manipulation.
“Proper debridement isn’t aggressive removal—it’s precision work. The goal is to stimulate healing, not cause trauma.” — Dr. Lena Patel, Wound Care Specialist, Johns Hopkins Medicine
Do’s and Don’ts During Wound Debridement
| Do’s | Don’ts |
|---|---|
| Use sterile technique at all times | Reuse instruments without sterilization |
| Debride only loose, non-adherent tissue | Force removal of attached eschar on heels |
| Irrigate with normal saline | Use cytotoxic agents like alcohol or bleach |
| Pain-manage appropriately before procedure | Proceed if patient shows signs of systemic infection |
| Document changes over time | Ignore patient discomfort during treatment |
Real-World Example: Managing a Diabetic Foot Ulcer
Mr. James Reynolds, a 67-year-old male with type 2 diabetes, presented with a stage III plantar ulcer on his right foot. The wound had thick yellow slough covering 70% of the base and emitted a mild odor. Initial assessment revealed no signs of cellulitis or osteomyelitis.
The care team opted for sharp debridement after reviewing his INR levels and confirming he was not on high-dose anticoagulants. Under local anesthesia, approximately 2 cm² of non-viable tissue was removed. Post-procedure, a silver-impregnated foam dressing was applied to manage bioburden.
Over the next four weeks, weekly debridements were performed, each time revealing more granulation tissue. Offloading with a total contact cast was introduced. By week six, the wound had reduced by 80%, and epithelialization was evident. This case highlights how consistent, gentle debridement combined with offloading leads to successful outcomes in high-risk patients.
Essential Checklist for Clinicians and Caregivers
Use this checklist before every debridement session to ensure consistency and safety:
- ✅ Confirm patient identity and consent status
- ✅ Review current medications and contraindications
- ✅ Check for signs of active infection or poor perfusion
- ✅ Prepare a full set of sterile instruments and PPE
- ✅ Assess pain level and provide analgesia if needed
- ✅ Measure and photograph wound pre- and post-procedure
- ✅ Select appropriate dressing based on wound characteristics
- ✅ Schedule follow-up within 3–7 days for re-evaluation
Frequently Asked Questions
How often should debridement be performed?
Frequency depends on wound progression. Acute wounds may require single-session debridement, while chronic ulcers often need weekly sessions until a clean, granulating bed is achieved. Reassess at each visit to determine necessity.
Can I perform debridement at home?
Only under direct supervision and instruction from a healthcare provider. Patients or caregivers should never attempt sharp debridement independently. Autolytic or enzymatic methods may be used at home with prescribed products.
Does debridement hurt?
It can cause discomfort, especially in sensitive areas. Topical anesthetics, nerve blocks, or oral analgesics are commonly used. Non-sharp methods like autolytic debridement are generally painless.
Conclusion: Prioritize Healing Through Precision
Effective wound debridement is both science and skill—an essential intervention that transforms stalled wounds into healing pathways. Whether managing a minor laceration or a complex diabetic ulcer, the principles remain the same: assess thoroughly, act precisely, and monitor consistently. With the right knowledge and tools, clinicians and caregivers can significantly improve patient outcomes and quality of life.


 浙公网安备
33010002000092号
浙公网安备
33010002000092号 浙B2-20120091-4
Comments
No comments yet. Why don't you start the discussion?