
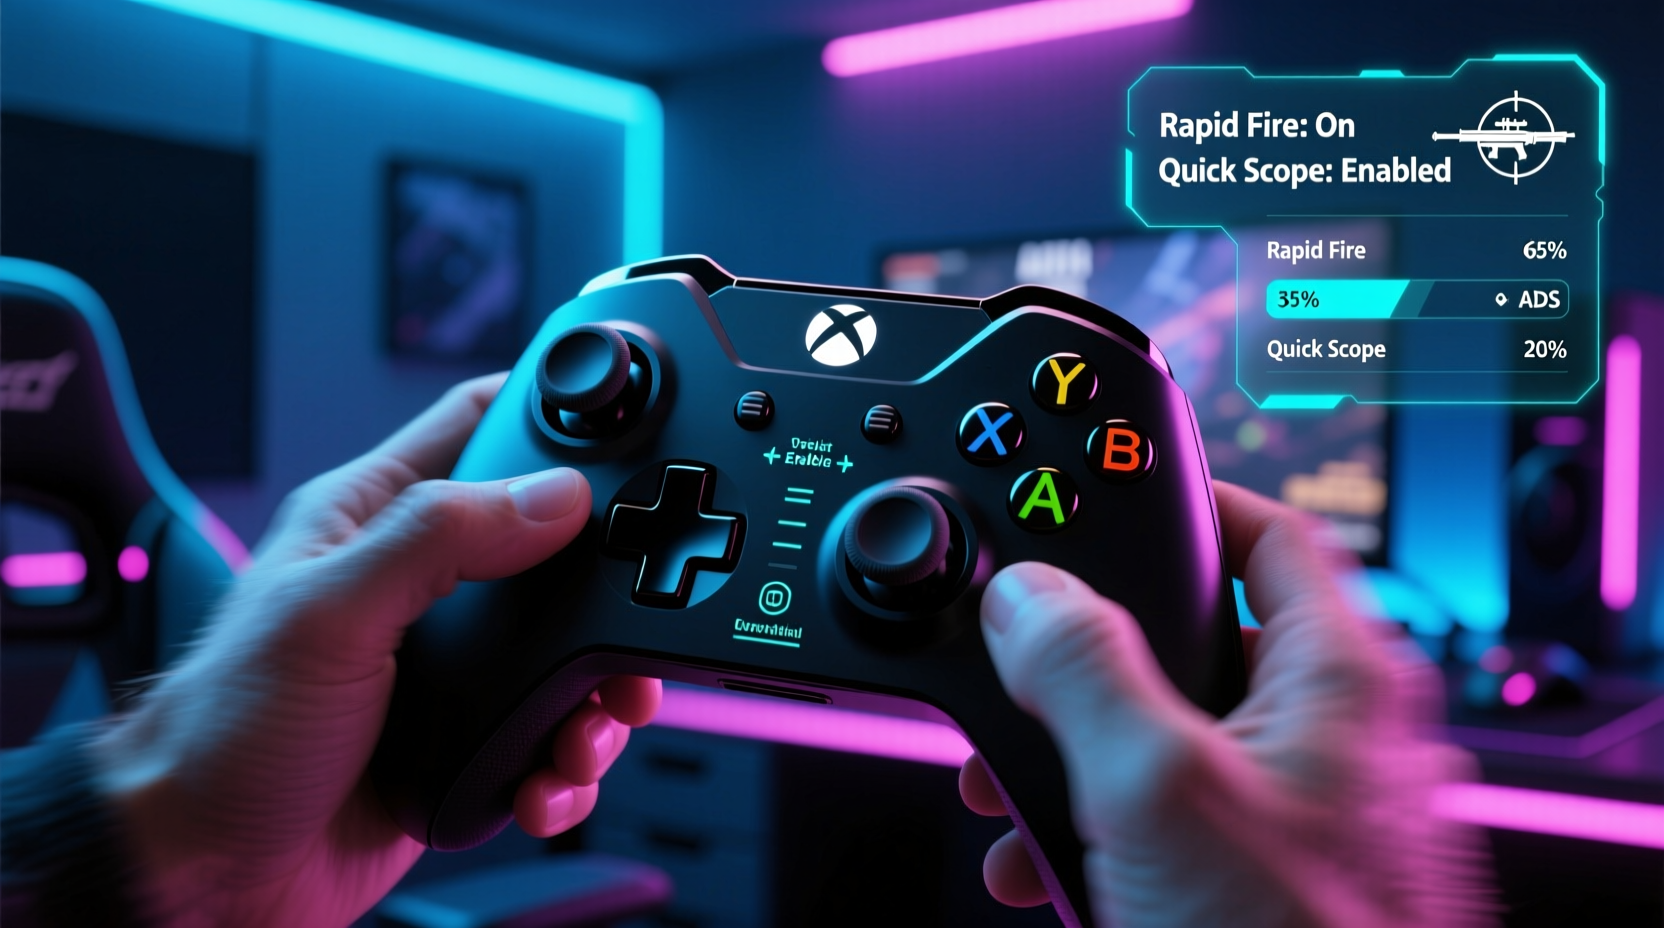
For many console players, Apex Legends is a fast-paced, skill-intensive battle royale that demands precision, speed, and adaptability. While hardware plays a role, the real edge often comes from fine-tuning your Xbox controller settings. Default configurations may work for casual play, but serious competitors know that even small adjustments can dramatically improve aim, movement fluidity, and reaction time. By customizing sensitivity, dead zones, button mapping, and advanced features like trigger zones, you can transform your gameplay into something far more responsive and intuitive.
Understanding Controller Input Fundamentals
The Xbox controller communicates with Apex Legends through analog sticks, triggers, and buttons. Each input has a range of values rather than simple on/off states. For example, moving the right stick slightly registers as low horizontal or vertical movement, while pushing it fully results in maximum turning speed. This analog nature allows for nuanced control—but only if properly configured.
Two key concepts govern how your inputs translate into in-game actions:
- Dead Zone: The area around the center of a stick where no input is registered. Too high, and your movements feel sluggish; too low, and minor hand tremors cause unwanted camera drift.
- Sensitivity: How quickly your character turns in response to stick movement. Higher sensitivity enables faster reactions but reduces precision, especially during flick shots.
Apex Legends offers layered sensitivity options—separate settings for aiming down sights (ADS), hip-fire, and vehicle controls—giving players granular control over every aspect of movement and targeting.
Optimal Sensitivity Settings for Precision and Speed
Finding the right sensitivity balance is personal, but certain ranges consistently yield strong results among top-tier console players. Below is a recommended starting point based on community feedback and pro player configurations:
| Setting | Recommended Value | Purpose |
|---|---|---|
| Look Sensitivity (Horizontal/Vertical) | 8–10 | General camera movement and tracking |
| Aim Down Sights Multiplier | 0.7x – 0.9x | Reduces sensitivity when scoped for better micro-adjustments |
| Hip-Fire Assist Strength | Medium to High (70–90%) | Helps align crosshair with targets during close-range fights |
| Vehicle Sensitivity | 5–7 | Prevents oversteering while driving |
Start at the lower end of these ranges if you're adjusting from higher defaults. Gradually increase sensitivity until you can track moving enemies smoothly without overshooting. A good benchmark: you should be able to complete a full 360-degree turn with roughly one and a half full sweeps of the right stick.
“Most players benefit more from slightly lower sensitivity with consistent muscle memory than from chasing high flick-speed setups.” — Jordan Lee, Console Apex Coach & Tournament Analyst
Advanced Dead Zone and Trigger Adjustments
Xbox controllers allow limited in-game dead zone tuning, but third-party accessories like the Elite Series 2 offer deeper customization. Even without premium gear, optimizing what’s available makes a tangible difference.
The inner dead zone defines how much stick movement is ignored near the center. Setting it too high creates input lag; too low causes jitter. In Apex Legends, an inner dead zone of 0.05–0.10 is ideal for most players. This eliminates idle drift while preserving responsiveness.
Equally important are trigger zone settings. Apex Legends lets you adjust how far you must press the LT (aim) and RT (shoot) triggers. Reducing the pull distance via “Trigger Response Type” set to “Instant” or “Half-Pull” improves reaction time significantly. Many pros use a half-pull setup: lightly press LT to aim and fully press RT to fire, enabling quicker ADS transitions.
Step-by-Step: Calibrating Your Triggers
- Open the in-game settings menu and navigate to Controller > Trigger Deadzones.
- Set both Aim (LT) and Fire (RT) to “Half-Pull” mode.
- Test in the firing range: aim at a distant target and tap fire rapidly.
- If you notice accidental aiming without shooting, slightly increase the fire trigger threshold.
- Adjust until you can aim and shoot independently with minimal finger travel.
Custom Button Mapping for Faster Reactions
Default layouts work, but they don’t maximize efficiency. Customizing your button layout reduces hand strain and shortens action execution time. Consider remapping based on common combat sequences:
- Swap Tactical and Melee buttons if you use melee attacks frequently.
- Assign Jump to a rear paddle (Elite Controller) or bind it closer to the left thumbstick.
- Use “Quick Heal” on a bumper or D-pad for instant consumable use under fire.
One effective configuration prioritizes left-hand mobility and right-hand combat control:
- Left Stick: Movement
- Right Stick: Look/Camera
- LB: Reload
- RB: Jump
- LT: Aim Down Sights
- RT: Fire
- D-pad Up: Quick Use (heal/syrette)
- View Button: Ping
This setup keeps essential functions within easy reach, minimizing large hand shifts during high-pressure moments.
Real-World Example: From Bronze to Predator
Tyler, a 22-year-old player from Austin, struggled to climb past Gold rank despite hours of weekly play. His biggest issue? Missing shots at medium range due to inconsistent aim. After reviewing gameplay footage, he realized his look sensitivity was maxed out at 15, making recoil control nearly impossible.
He reset his sensitivity to 9.5, lowered his ADS multiplier to 0.75x, and enabled half-pull triggers. Over two weeks, he practiced flick shots and tracking drills in the training area daily. Within a month, Tyler reached Platinum—and eventually cracked Predator using the same core settings.
“I thought I needed faster reflexes,” Tyler said. “But really, I just needed my controller to stop working against me.”
Essential Optimization Checklist
To ensure your controller is performing at its peak, follow this checklist:
- ✅ Set look sensitivity between 8–10 for balanced tracking and speed
- ✅ Apply an ADS multiplier of 0.7x–0.9x for precise scoped aiming
- ✅ Adjust inner dead zone to 0.05–0.10 to eliminate drift without lag
- ✅ Enable Half-Pull or Instant trigger response for faster shooting
- ✅ Remap buttons to reduce finger movement during combat
- ✅ Test all changes in the Practice Arena before live matches
- ✅ Use consistent settings across all legends to build reliable muscle memory
Frequently Asked Questions
Should I use motion blur in Apex Legends with a controller?
No. Motion blur can reduce visual clarity during fast turns, which is critical when tracking enemies. Disable it in Graphics Settings to maintain sharp visuals and improve target acquisition.
Can I use mouse and keyboard settings as a reference?
Only loosely. Controller input operates differently due to analog stick limitations and slower maximum rotation speeds. While some principles (like low ADS sensitivity) apply, avoid directly copying mouse DPI values or attempting \"mouse-like\" precision.
How often should I re-evaluate my controller settings?
Reassess every few months or after significant rank changes. As your mechanical skill improves, you may find room to refine sensitivity or experiment with advanced mappings. However, avoid frequent changes—consistency builds mastery.
Final Thoughts: Mastery Through Consistency
The best Xbox controller settings aren’t about chasing extremes—they’re about creating a stable, repeatable foundation for performance. Whether you're dodging sniper fire in Kings Canyon or executing a tight Triple Take shot in World’s Edge, having reliable, well-tuned controls gives you the confidence to perform under pressure.
Small tweaks today can lead to big gains tomorrow. Don’t wait for the next season to upgrade your game. Open your settings, apply these recommendations, and start building the muscle memory that separates good players from great ones.


 浙公网安备
33010002000092号
浙公网安备
33010002000092号 浙B2-20120091-4
Comments
No comments yet. Why don't you start the discussion?