
Keeping tissues within reach while driving is more than just convenient—it’s essential for hygiene, especially during allergy season or unexpected spills. However, many drivers hesitate to install tissue holders because they fear damaging their vehicle’s interior. Whether it’s drilling holes, peeling adhesive, or scratching surfaces, the risks can seem too high. The good news is that modern solutions make it possible to mount a tissue holder securely and cleanly—without altering your car’s finish or voiding warranties.
This guide explores practical, non-invasive techniques that balance accessibility, safety, and preservation of your vehicle’s condition. From magnetic mounts to tension rods, you’ll learn how to keep tissues at hand while maintaining a pristine cabin.
Why Non-Damaging Installation Matters
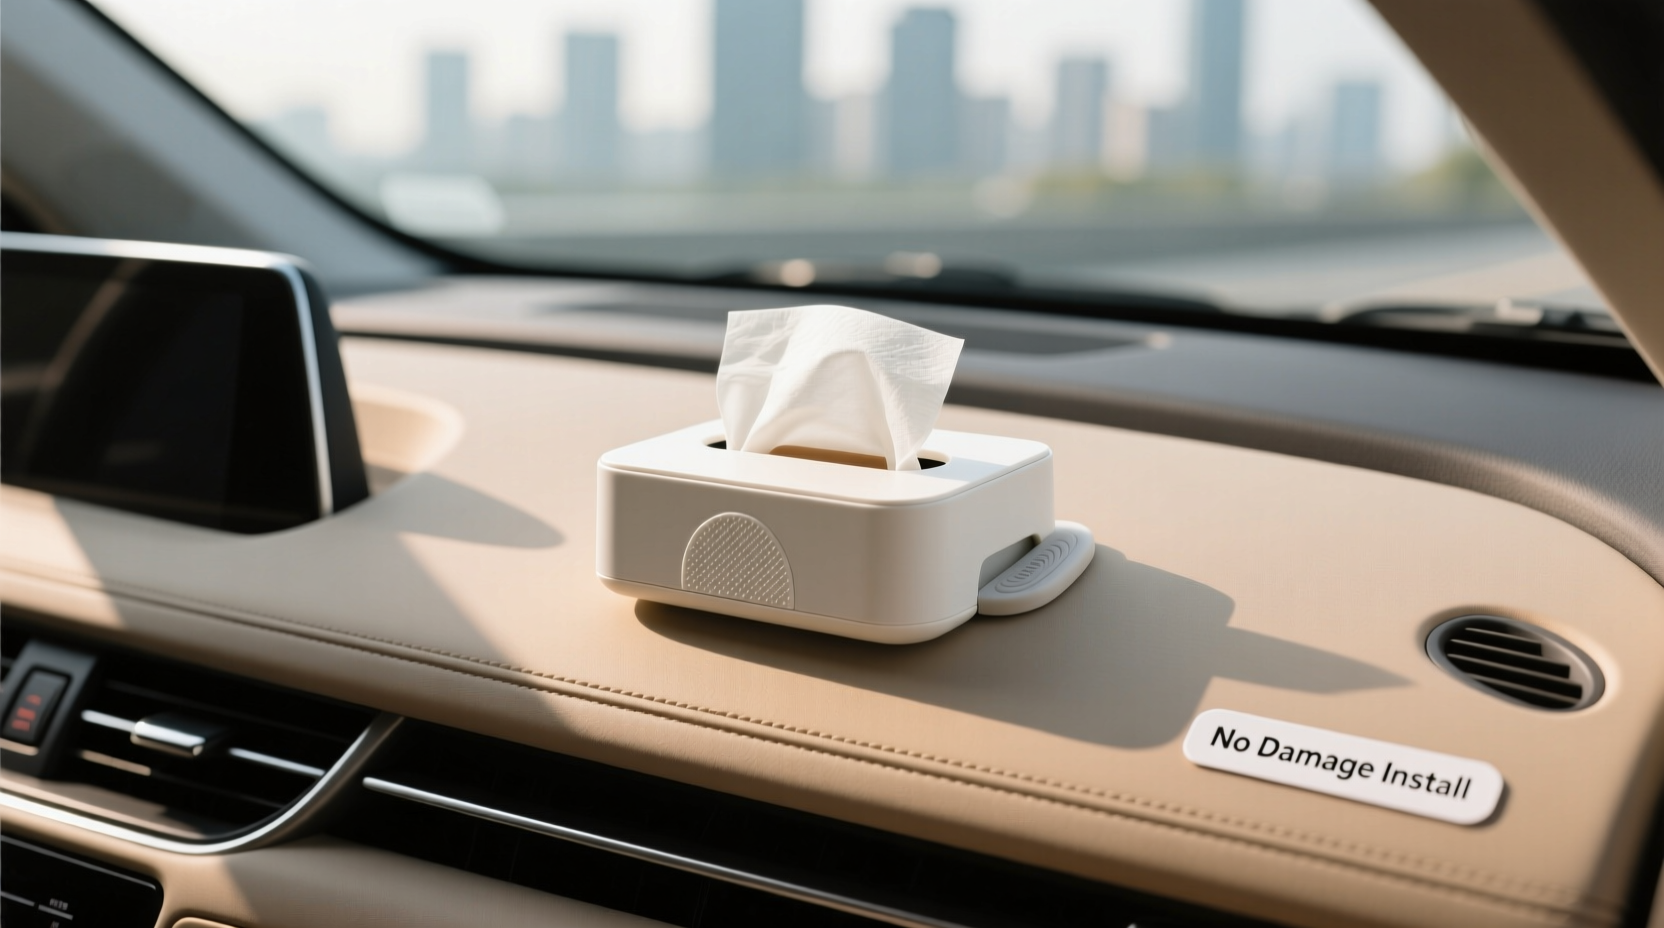
Your car’s interior is designed with precision—vent slats, dashboard materials, and trim pieces are often delicate. Traditional mounting methods like double-sided tape or suction cups may leave residue, degrade over time, or fail under temperature changes. In contrast, damage-free installation ensures:
- No scratches, marks, or adhesive buildup
- Preserved resale value
- Easy repositioning or removal
- Compatibility with rental or leased vehicles
According to automotive interior specialist Marcus Lin, “Over 60% of minor interior damage comes from DIY accessories installed without considering material sensitivity. A little planning goes a long way.”
“Even small adhesives can cause discoloration on UV-exposed surfaces like dashboards. Opt for mechanical rather than chemical attachment when possible.” — Marcus Lin, Automotive Interior Consultant
Top 5 Damage-Free Mounting Methods
Below are five reliable, tested approaches that eliminate risk while maximizing functionality.
1. Vent Clip Holders (Most Popular)
These holders clip directly onto air vent slats using spring-loaded arms. They’re widely available, inexpensive, and instantly removable.
Best for: Compact cars, frequent travelers, or those who switch vehicles often.
2. Magnetic Mounts with Steel Plate
If your car has metal surfaces near the console or door frame, a magnetic tissue holder offers strong hold without adhesives. Use a thin steel plate (included in most kits) attached via removable putty—never glue.
How it works:
- Press putty onto the back of the steel plate (no residue).
- Stick the plate to a discreet metal area (e.g., side of center stack).
- Attach the magnetic holder; swap or remove anytime.
3. Tension Rods for Glove Compartment or Seat Backs
Mini expandable rods fit between two surfaces—ideal for hanging a tissue pouch behind a front seat or inside a storage compartment. Adjust the length until snug; no tools required.
Look for foam-tipped ends to avoid pressure marks. Works best with lightweight fabric or mesh holders.
4. Over-the-Headrest Hooks with Soft Straps
These stretchy straps drape over headrest posts and stabilize a small pouch below the seatback. Perfect for backseat passengers or family vehicles.
Ensure the strap material is non-abrasive (neoprene or silicone-coated) to prevent leather wear. Avoid overtightening.
5. Door Trim Wedge Pouches
Slip a slim tissue sleeve into the gap between the door panel and window frame when the window is closed. The seal holds it firmly, and removal takes seconds.
Ideal for temporary use or backup supply. Not recommended for extreme heat or rainy climates where moisture may seep in.
Comparison Table: Pros, Cons, and Best Use Cases
| Method | Installation Time | Removable? | Risk Level | Best For |
|---|---|---|---|---|
| Vent Clip Holder | Under 10 sec | Yes | Low | Daily drivers, compact spaces |
| Magnetic Mount | 1–2 min | Yes | Very Low | Cars with accessible metal |
| Tension Rod | 1–3 min | Yes | Low | Backseat access, larger holders |
| Over-Headrest Hook | 30 sec | Yes | Low-Medium* | Families, rear passengers |
| Door Seal Pouch | 15 sec | Yes | Medium** | Short trips, secondary location |
*Only if used with abrasive materials.
**Depends on climate and door seal integrity.
Step-by-Step: Installing a Vent-Mounted Tissue Holder
One of the simplest and most effective options is the vent-mounted clip. Follow these steps for a secure, wobble-free setup:
- Choose the right vent: Select a sturdy horizontal vent near the driver or passenger. Avoid flimsy or curved blades.
- Adjust the holder’s grip: Most models have an adjustable screw or slider. Loosen slightly to fit your vent thickness.
- Align and clip: Position the holder so the tissue pull-tab faces outward. Gently squeeze the arms and snap it onto the vent.
- Test stability: Lightly tug the holder. It should stay fixed without bending the vent.
- Insert tissues: Use standard travel packs or fold larger boxes to fit. Ensure the top sheet feeds smoothly.
Real-World Example: Commuter Solution for Allergy Season
Sophie R., a paralegal from Portland, drives 45 minutes each way through pollen-heavy zones in spring. She needed tissues accessible but didn’t want to clutter her center console or damage her leased sedan.
She tried suction cups—they failed after two weeks. Adhesive hooks pulled off trim. Finally, she switched to a vent clip with a soft-grip design. “It holds firm even on bumpy roads, and I can take it with me when I return the lease,” she says. “Plus, my passengers don’t knock it over anymore.”
Her solution cost $8, took less than a minute to install, and survived three months of daily use without issue.
Checklist: Before You Install Any Tissue Holder
- ✅ Confirm the holder fits your tissue pack size
- ✅ Test placement for easy one-hand access
- ✅ Check for interference with airbag zones or sensors
- ✅ Avoid blocking HVAC airflow or visibility
- ✅ Choose materials safe for leather, plastic, or fabric interiors
- ✅ Verify removability—no permanent adhesives
Frequently Asked Questions
Will a vent-mounted holder restrict airflow?
Not significantly. Most designs allow air to pass through or around the unit. If you notice reduced output, reposition to a less critical vent or use an alternative method.
Can I use these methods in a rental car?
Absolutely. All listed techniques are rental-friendly. Nothing leaves marks or requires modification. Always check your rental agreement, but these are generally permitted under “temporary personal items” clauses.
What if my car has vertical vents?
Some vent clips work vertically, but stability varies. Look for models labeled “universal” or “rotating base.” Alternatively, consider magnetic or tension-based mounts, which aren’t vent-dependent.
Final Thoughts: Convenience Without Compromise
Hanging a tissue holder in your car doesn’t require trade-offs between function and preservation. With thoughtful selection and proper technique, you can enjoy quick access to essentials while keeping your vehicle’s interior intact. The key is choosing mechanical attachment over adhesives, prioritizing flexibility, and testing placement before finalizing.
Whether you're managing kids’ messes, seasonal allergies, or coffee spills, a well-placed tissue holder enhances comfort and cleanliness. These methods prove that smart design and user awareness go hand in hand.


 浙公网安备
33010002000092号
浙公网安备
33010002000092号 浙B2-20120091-4
Comments
No comments yet. Why don't you start the discussion?