
A well-fitted bracelet should feel like a seamless extension of your wrist—secure, balanced, and barely noticeable. Yet many people struggle with clasps that are too tight, pinch the skin, or make slipping the bracelet on a daily chore. Rather than setting your favorite piece aside, consider adjusting its length with simple, non-invasive techniques. Whether you're dealing with a delicate chain or a chunky bangle, extending the clasp area can improve comfort, ease of wear, and even prolong the jewelry’s lifespan by reducing strain on the closure.
The key is making adjustments that preserve both aesthetics and integrity. These methods don’t require advanced tools or permanent alterations. Instead, they focus on smart, reversible solutions that maintain your bracelet’s original design while delivering a more personalized fit.
Why Clasp Extension Matters for Comfort and Longevity
A bracelet that's difficult to fasten often leads to tugging, twisting, or forcing the clasp—actions that weaken solder joints, stretch chains, or damage delicate components over time. A poorly fitting clasp may also sit awkwardly against the wrist bone, causing discomfort during movement or sleep.
Extending the clasp area redistributes tension across the bracelet. It allows the closure to rest naturally on the side or underside of the wrist, where it’s less likely to snag or dig in. This subtle shift enhances wearability, especially for those with sensitive skin or swelling due to temperature, activity, or medical conditions.
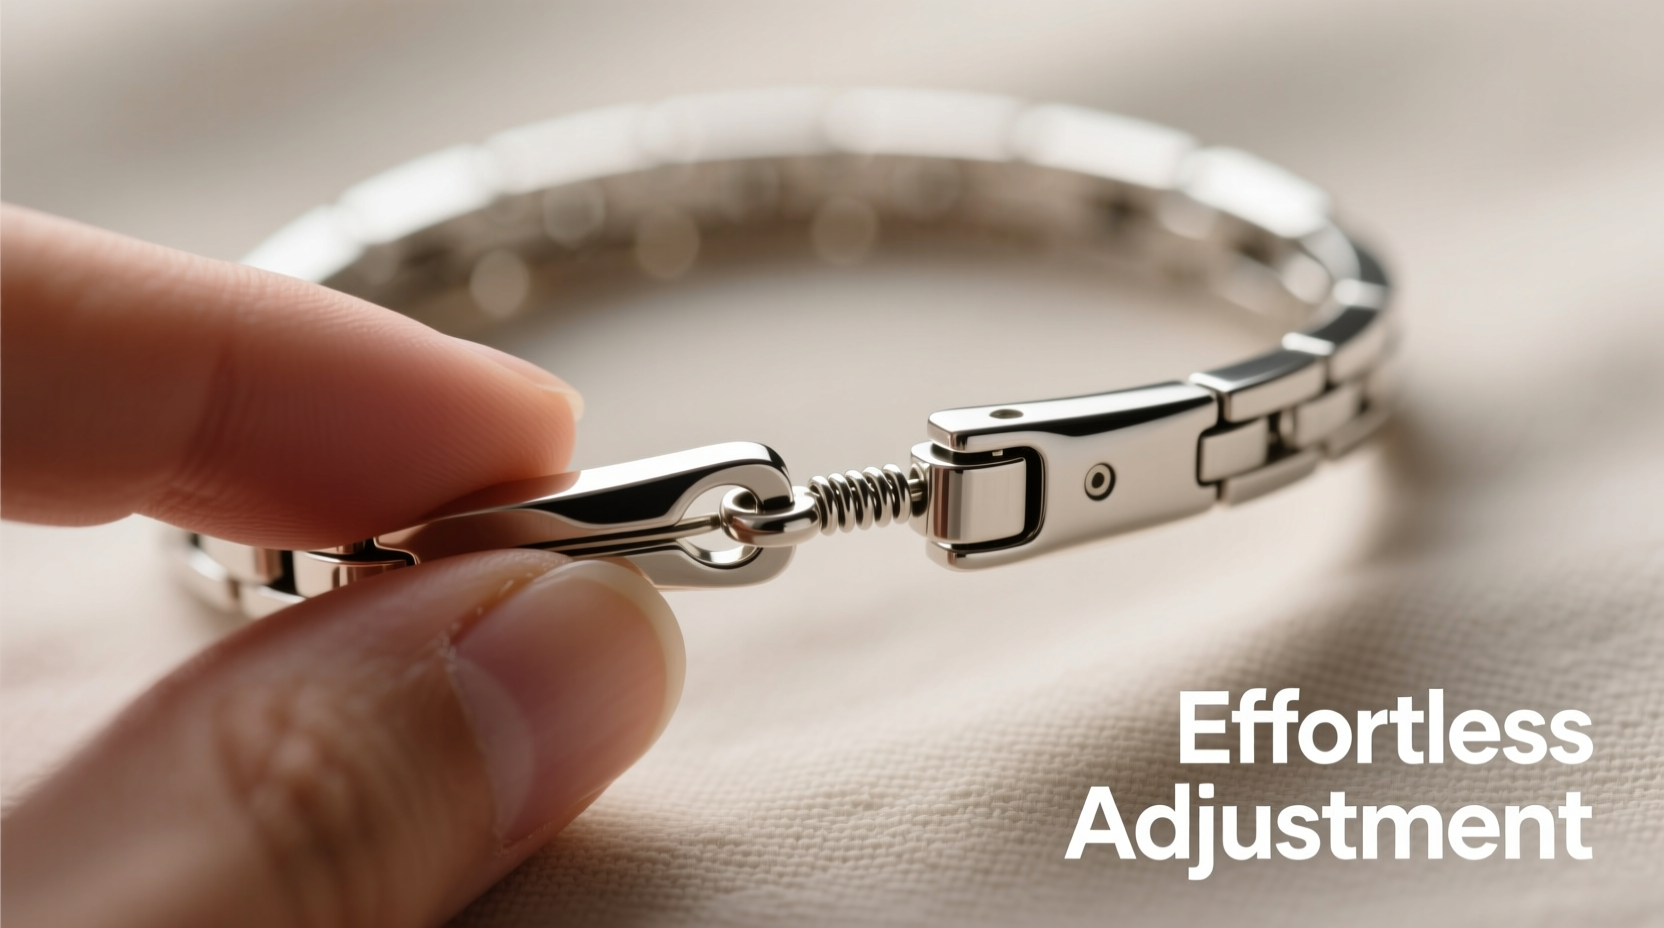
“Even a few millimeters of added length at the clasp can transform how a bracelet feels. It’s not just about size—it’s about ergonomics.” — Lena Torres, Master Jewelry Designer & Fit Consultant
5 Effortless Methods to Extend Your Bracelet Clasp
You don’t need a jeweler’s bench or expensive equipment to achieve a better fit. The following techniques are accessible, low-risk, and effective for most types of bracelets—from fine gold chains to leather cuffs.
1. Add a Chain Extender (Ideal for Metal Bracelets)
A chain extender is a short segment of matching chain with a jump ring on one end and a lobster clasp or spring ring on the other. Attach it directly to your bracelet’s existing clasp, then use the new clasp to fasten the bracelet. This adds 0.5 to 2 inches of adjustable length.
Available in various metals and styles, these extenders blend seamlessly with most designs. Choose one that matches your bracelet’s gauge and finish—whether it’s cable, curb, or snake chain—for an invisible upgrade.
2. Use a Jump Ring or Split Ring Extension
If your bracelet has a standard T-bar or hook clasp, attaching a single jump ring or split ring between the clasp and the chain adds just enough space to improve fit. This method works best when you only need a slight increase—about 3–5mm.
To install, open the jump ring with pliers (twist sideways, don’t pull apart), slide it through the last link of the bracelet and the clasp loop, then close securely. Opt for a ring that matches the metal tone and thickness of your piece to avoid visible distortion.
3. Replace the Clasp with a Longer Closure System
Some bracelets come with overly short connectors between the clasp and the main band. Swapping the original clasp for one with longer built-in loops or a multi-link tail can provide extra reach without altering the chain itself.
For example, replacing a rigid box clasp with a toggle that has an extended bar or a fold-over clasp with elongated arms gives additional clearance. Work with a trusted jeweler if you're unsure about compatibility, but many standard closures can be interchanged using basic tools.
4. Incorporate a Leather or Fabric Sliding Extender
Perfect for casual or bohemian-style bracelets, a soft extender made from thin leather cord or silk ribbon can be knotted onto the clasp. These materials glide smoothly and allow micro-adjustments by sliding the knot up or down.
This method is ideal for wrap bracelets or pieces with magnetic clasps. Simply tie the cord to one end using a secure knot, thread the other end through the opposite loop, and adjust the fit as needed. Trim excess length neatly for a clean look.
5. Install a Multi-Link Safety Chain
Originally designed as a backup for broken clasps, a safety chain can double as a functional extender. Attach a small, decorative chain between the two ends of your bracelet. When fastened, it creates a secondary loop that allows the primary clasp to sit further back on the wrist.
Choose a dainty chain with spring rings on both ends so it can be easily attached and removed. While traditionally used for necklaces, this trick works beautifully on bangles and cuff bracelets prone to shifting.
Do’s and Don’ts of Clasp Extension
| Do’s | Don’ts |
|---|---|
| Match the metal tone and chain style of your extender | Use mismatched materials that draw attention to the fix |
| Test the fit throughout the day, including during hand movements | Assume the fit will stay consistent regardless of wrist swelling |
| Secure all jump rings completely to prevent snagging | Leave gaps in rings or knots that could catch on fabric |
| Opt for removable solutions when possible | Weld or permanently alter vintage or heirloom pieces without consultation |
Real-Life Example: Adjusting a Heirloom Cuff
Sarah inherited a vintage silver cuff from her grandmother. Though beautiful, the rigid design made the clasp nearly impossible to fasten without assistance. The tight curve pressed into her wrist, and the small hook barely caught the loop.
Rather than risk damaging the antique piece, she visited a local artisan who added a tiny split ring between the hook and the band. This created just enough space—under 4mm—for the clasp to engage smoothly while allowing the cuff to rest comfortably. The change was invisible to others but transformed Sarah’s ability to wear the bracelet daily.
“It wasn’t about resizing,” she said. “It was about respecting the original design while making it work for my body.”
Step-by-Step Guide: Adding a Chain Extender in 5 Minutes
- Gather supplies: A chain extender that matches your bracelet’s metal and link size, plus a pair of needle-nose pliers.
- Open the clasp: Gently separate the lobster clasp or spring ring on the extender.
- Attach to bracelet: Hook the extender onto the loop where your bracelet normally closes.
- Close securely: Ensure the clasp snaps shut with resistance—no loose play.
- Test the fit: Fasten the bracelet and move your hand through common motions—typing, waving, bending your wrist—to confirm comfort.
Frequently Asked Questions
Can I extend any type of bracelet clasp?
Most bracelets can be adjusted using one of the methods above. Flexible chains, bangles, and leather bands respond well to extenders. Rigid pieces like solid bangles may require professional modification. Always assess the material and construction before attempting changes.
Will adding an extender weaken my bracelet?
Not if done correctly. Using high-quality components and proper installation ensures structural integrity. Avoid overloading a single jump ring with multiple attachments, and inspect connections periodically for wear.
Are there invisible ways to extend a clasp?
Yes. Matching chain extenders, discreet split rings, or integrated leather cords can be nearly undetectable. The goal is harmony with the original design—choose elements that mirror the bracelet’s weight, color, and texture.
Final Thoughts: Personalize Your Fit, Preserve Your Style
Your jewelry should adapt to you—not the other way around. A slightly extended clasp can turn a frustrating accessory into a joy to wear, all without altering the core design. These methods empower you to customize fit on your terms, whether you're accommodating seasonal swelling, transitioning between formal and casual wear, or simply honoring the comfort of everyday life.
Start small. Try a removable extender first. Test it over several days. Once you find what works, apply the same principle across your collection. Over time, you’ll develop a deeper understanding of how each piece interacts with your body—and how minor tweaks yield major improvements.


 浙公网安备
33010002000092号
浙公网安备
33010002000092号 浙B2-20120091-4
Comments
No comments yet. Why don't you start the discussion?