
Composting is one of the simplest and most effective ways to reduce household waste while enriching your garden soil. With over 30% of household waste being organic material, turning food scraps and yard trimmings into compost not only reduces landfill use but also creates a powerful natural fertilizer. The best part? You don’t need a farm or advanced gardening skills. Building a sustainable compost bin at home can be done with minimal effort, basic materials, and a little planning. This guide walks you through practical, proven steps to set up an efficient compost system that works year-round.
Why Home Composting Matters
Landfills are major sources of methane, a greenhouse gas 25 times more potent than carbon dioxide. When organic matter decomposes without oxygen—like under layers of trash—it releases methane. Composting at home allows aerobic (oxygen-rich) decomposition, which significantly reduces harmful emissions. Beyond environmental benefits, compost improves soil structure, retains moisture, and reduces the need for chemical fertilizers.
“Home composting closes the loop between consumption and regeneration. It’s sustainability in action.” — Dr. Lena Torres, Soil Scientist & Urban Agriculture Advocate
By recycling nutrients back into the soil, you support healthier plants and contribute to a circular economy within your own backyard.
Choosing the Right Compost Bin Type
The first decision in building a compost system is selecting the right bin type based on your space, lifestyle, and waste volume. Each option has pros and cons depending on your situation.
| Bin Type | Best For | Setup Time | Maintenance Level |
|---|---|---|---|
| Wooden Pallet Bin | Backyards, gardeners with yard waste | 1–2 hours | Low to moderate |
| Tumbling Composter | Small yards, faster results | 30 minutes | Moderate |
| Buried Pit Compost | Rural areas, no-bin solution | 2+ hours | Low |
| Indoor Worm Bin (Vermicomposting) | Apartments, limited outdoor space | 1 hour | Moderate |
If you have a yard, a wooden pallet bin offers excellent airflow and capacity. For urban dwellers, vermicomposting with red wiggler worms indoors processes kitchen scraps efficiently without odor when managed correctly.
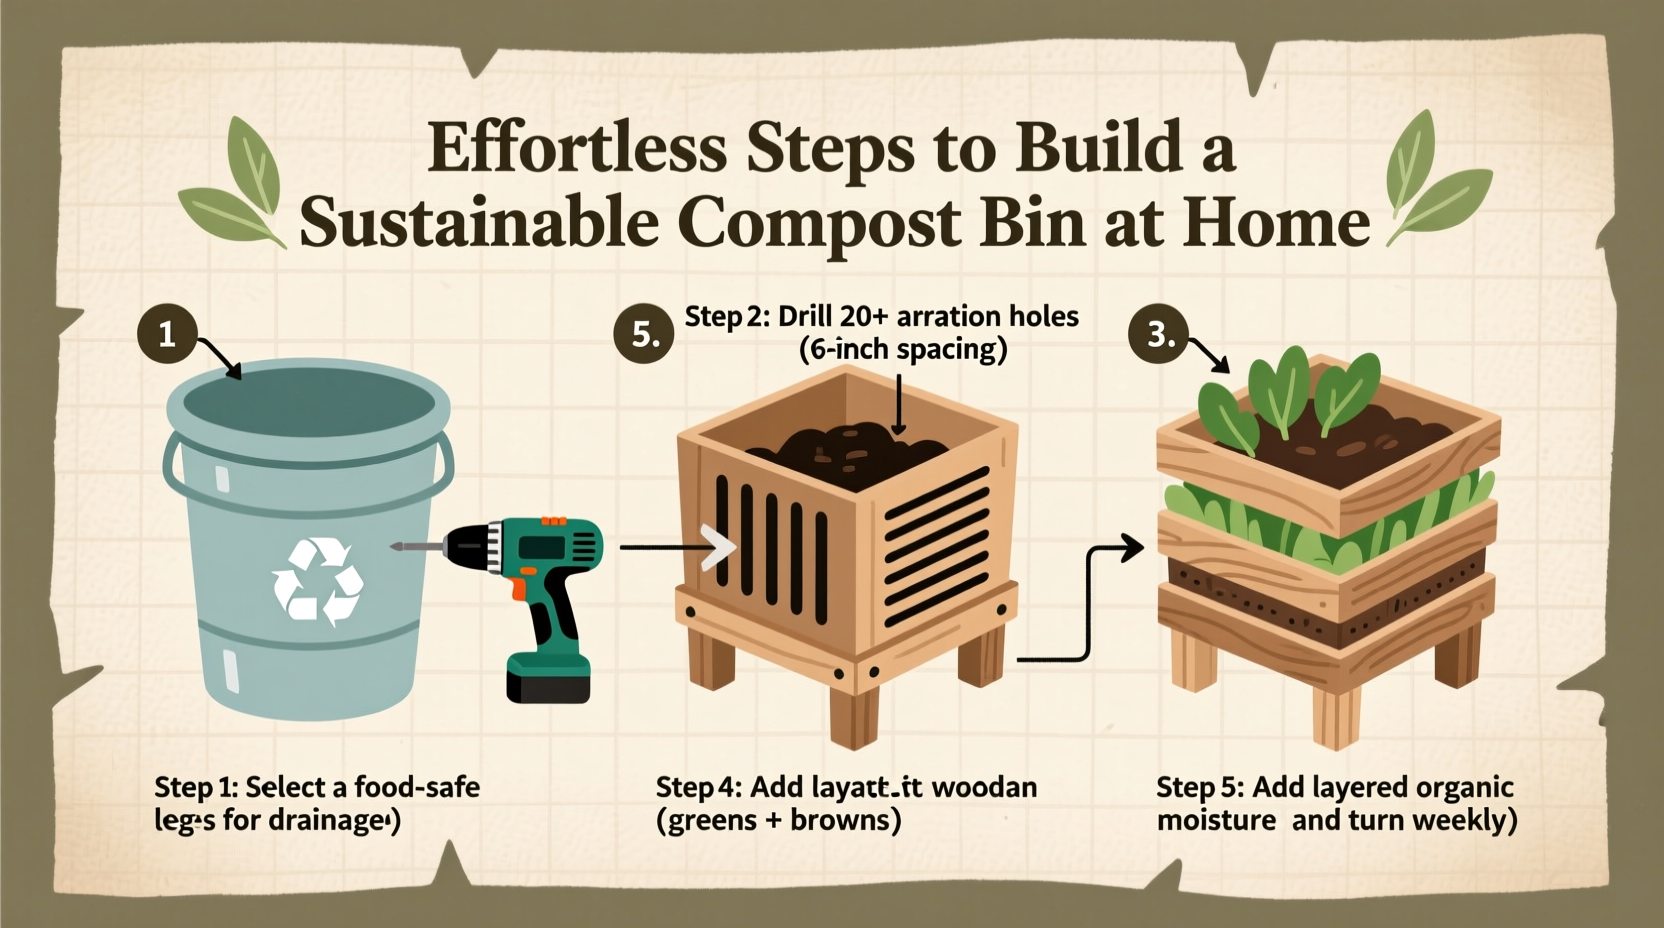
Step-by-Step Guide to Building a Wooden Pallet Compost Bin
This method uses reclaimed wooden pallets to create a three-bin system that supports continuous composting—adding new material, actively decomposing, and curing finished compost.
- Gather Materials: Four wooden pallets (untreated wood), galvanized screws or zip ties, gloves, and a drill.
- Select Location: Choose level ground with access to water and partial sunlight. Ensure it's at least 2 feet from fences or structures.
- Build the Frame: Stand three pallets upright to form a U-shape. Secure corners using screws or heavy-duty zip ties. Leave the front open for easy access.
- Add Back Panel (Optional): Attach the fourth pallet to the back if your area is windy or to improve heat retention.
- Line the Bottom (Optional): Lay chicken wire beneath to deter rodents while allowing worms and microbes to enter.
- Start Layering: Begin with coarse brown materials like twigs for airflow, then alternate green (nitrogen-rich) and brown (carbon-rich) layers.
This bin will last 5–7 years with minimal maintenance and can process up to 500 pounds of organic waste annually.
What to Compost: A Balanced Approach
Successful composting depends on balancing two types of materials: greens and browns. Greens provide nitrogen, which fuels microbial activity. Browns supply carbon, giving structure and energy over time. Aim for a ratio of roughly 1 part green to 2–3 parts brown by volume.
- Greens (Nitrogen-Rich): Fruit and vegetable scraps, coffee grounds, tea bags, fresh grass clippings, plant trimmings.
- Browns (Carbon-Rich): Dry leaves, straw, shredded newspaper, cardboard, sawdust (from untreated wood), egg cartons.
Avoid meat, dairy, oily foods, pet waste, and diseased plants, as these can attract pests or introduce pathogens. Also, never compost plastics—even so-called “biodegradable” ones unless verified for industrial composting.
Real Example: How the Patel Family Reduced Waste by 40%
The Patels, a family of four in Portland, Oregon, struggled with frequent garbage pickups and wanted to live more sustainably. They built a simple pallet compost bin using free shipping pallets from a local warehouse. Within six months, they reduced their weekly trash output from two full bins to just one. Their garden yield increased noticeably—especially tomatoes and leafy greens—thanks to monthly applications of homemade compost. They now share excess compost with neighbors and host seasonal workshops on backyard composting.
“We didn’t realize how much food we were throwing away until we started collecting it for compost,” said Meera Patel. “Now our kids help sort scraps every night. It’s become part of our routine.”
Maintaining Your Compost System
Once established, compost requires minimal effort—but regular attention ensures optimal results. Here’s what to do weekly and seasonally:
Weekly Routine
- Turn the pile with a pitchfork or compost aerator to introduce oxygen.
- Mix new additions into the center to speed breakdown.
- Check moisture: the pile should feel like a wrung-out sponge. Add water if dry; add browns if soggy.
Seasonal Adjustments
- Spring/Summer: Decomposition accelerates. Turn more frequently and monitor for odors.
- Fall: Stockpile fallen leaves as a winter brown source.
- Winter: Insulate the pile with straw or burlap. Decomposition slows but doesn’t stop.
“Turning your pile once a week can cut composting time in half.” — Carlos Mendez, Master Composter, Seattle Tilth Alliance
Essential Composting Checklist
Follow this checklist to ensure your compost bin thrives:
- ☑ Choose a stable, well-drained location
- ☑ Use untreated wood or food-safe plastic for bins
- ☑ Maintain a 1:2 ratio of greens to browns
- ☑ Keep compost moist but not wet
- ☑ Turn the pile weekly for aeration
- ☑ Avoid prohibited items (meat, oils, pet waste)
- ☑ Harvest compost when dark, crumbly, and earthy-smelling (typically 2–6 months)
FAQ: Common Composting Questions
How long does it take to make compost?
Under ideal conditions—proper balance, moisture, and aeration—compost can be ready in as little as 6–8 weeks. Passive systems may take 4–6 months. Cold weather extends the timeline.
Does compost smell bad?
A healthy compost pile should smell like forest soil. Foul odors usually indicate too many greens, poor airflow, or excess moisture. Fix it by adding browns and turning the pile.
Can I compost in an apartment?
Yes. Vermicomposting with red wiggler worms in a sealed bin fits under sinks or in closets. It handles fruit scraps, coffee grounds, and paper without odor or mess when maintained properly.
Start Today: Turn Waste Into Worth
Building a sustainable compost bin isn’t just about waste reduction—it’s about reimagining what “waste” really is. Every banana peel, coffee filter, and autumn leaf holds potential to nourish future growth. With straightforward materials and consistent habits, anyone can transform everyday scraps into black gold for their garden. Whether you’re a seasoned gardener or just starting your sustainability journey, composting empowers you to participate directly in nature’s cycle of renewal.


 浙公网安备
33010002000092号
浙公网安备
33010002000092号 浙B2-20120091-4
Comments
No comments yet. Why don't you start the discussion?