
The iPhone 15 Pro Max is a precision-engineered device, built with aerospace-grade titanium and a ceramic shield front cover. It’s designed to withstand daily use, but even the most durable phones benefit from protection. A high-quality silicone case offers grip, shock absorption, and aesthetic appeal—but improper installation can lead to scratches, misalignment, or stress on ports and buttons. The good news: installing your case doesn’t have to be a nerve-wracking task. With the right approach, you can secure your phone in its new case quickly, cleanly, and without a single blemish.
Why Proper Case Installation Matters
A poorly installed silicone case does more than look sloppy—it can compromise both function and longevity. Misaligned cases may block speaker grilles, interfere with wireless charging, or create pressure points that wear down finish over time. Silicone, while soft and flexible, can trap dust and debris if not seated correctly, turning into an abrasive layer against the phone’s surface. Even minor scratches from fingernails or rough handling during installation diminish resale value and visual appeal.
Apple’s own design philosophy emphasizes seamless integration between hardware and accessories. When you invest in a premium silicone case, you’re not just adding protection—you’re enhancing usability. That experience starts the moment you put the case on. A smooth, effortless fit signals quality care and attention to detail.
“Even the smallest abrasion during setup can propagate into visible wear over months of use. Taking two extra minutes to install properly saves regret later.” — David Lin, Senior Mobile Device Technician at TechGuard Solutions
Step-by-Step Guide: Installing Your Silicone Case Safely
Follow this logical sequence to ensure your iPhone 15 Pro Max gets the protection it deserves—without risking damage.
- Power off your device – While not strictly necessary, turning off the phone reduces anxiety about accidental screen presses during installation.
- Clean the phone thoroughly – Use a microfiber cloth to wipe down all surfaces. Pay special attention to edges and camera bump areas where lint tends to accumulate.
- Inspect the case interior – Hold it up to light and check for stray fibers, manufacturing residue, or sharp seams. Run a soft cotton swab inside if needed.
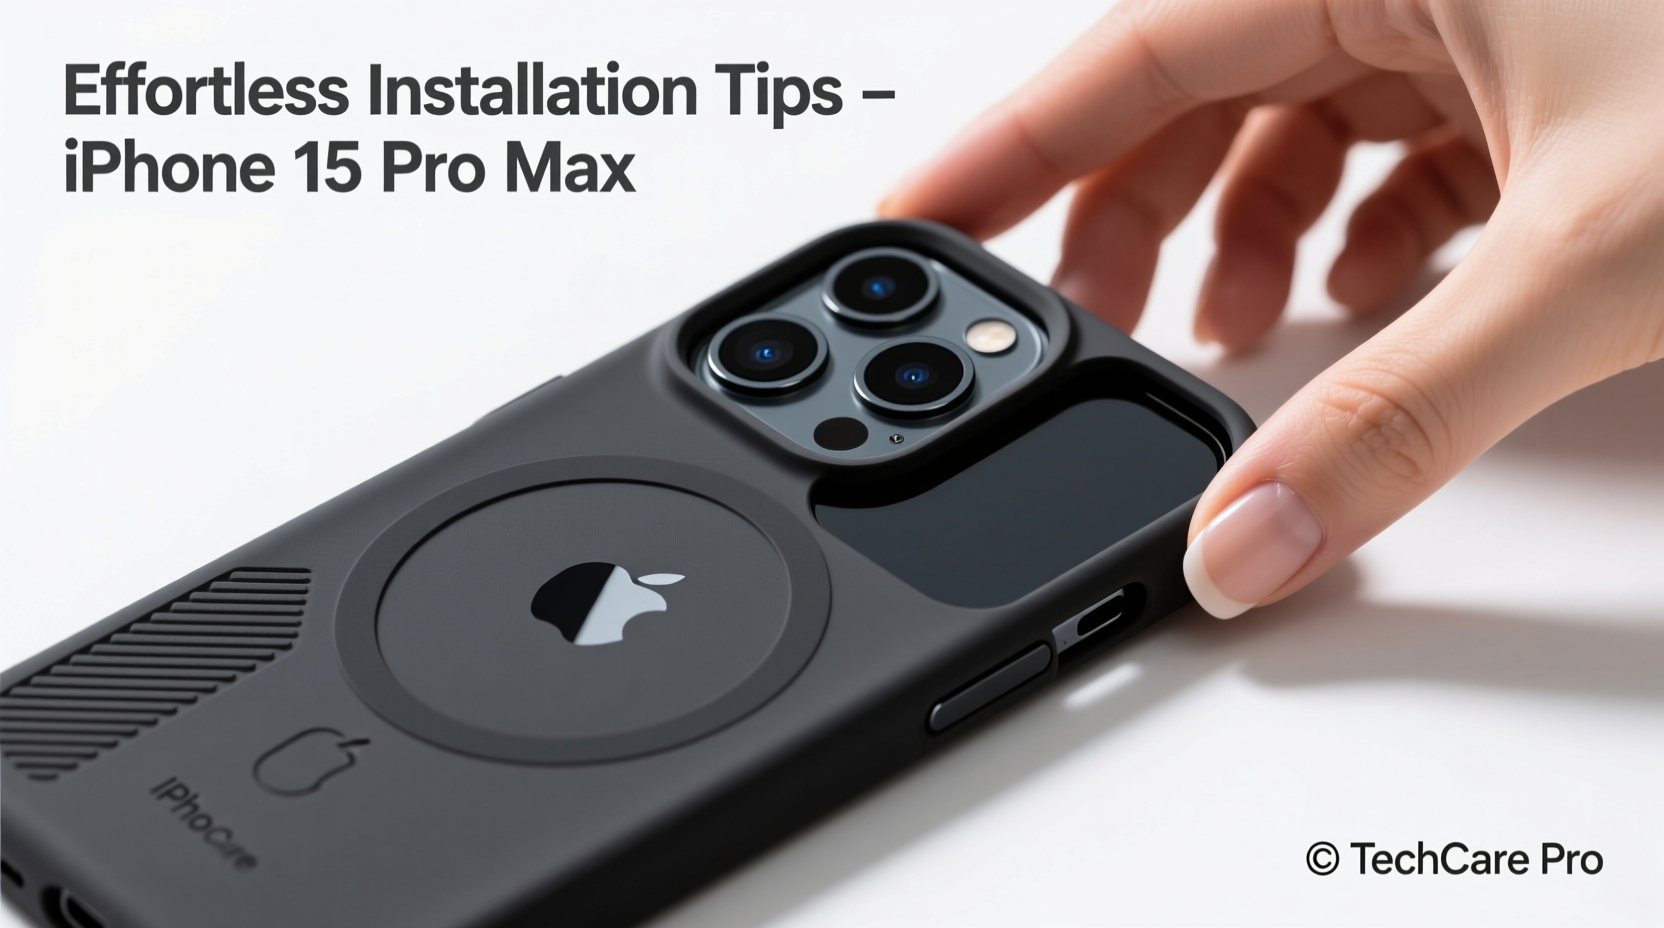
- Align the top edge first – Match the cutouts for the rear camera module and sensor array precisely. Gently press the top of the case onto the phone until it clicks into place.
- Press along the sides – Starting from the center, work outward toward the corners using flat fingertips. Avoid using nails or excessive force.
- Seat the bottom last – Ensure the Lightning port and speaker cutout are fully exposed before pressing the final section down.
- Test functionality – Check volume buttons, side button, and speaker clarity. Confirm wireless charging works without interference.
Do’s and Don’ts of Silicone Case Handling
To maintain both your phone and case integrity, follow these best practices.
| Do | Don't |
|---|---|
| Use clean hands when handling the case | Install the case in dusty or sandy environments |
| Store the case in a sealed pouch when not in use | Leave the phone in direct sunlight with the case on (can warp silicone) |
| Wipe the interior monthly with a dry cloth | Use alcohol-based cleaners on silicone (dries out material) |
| Rotate between cases occasionally to reduce pressure marks | Force cables into ports through tight case openings |
| Check for wear every few weeks | Ignore small tears—they expand over time |
Real Example: How One User Damaged Their Phone During Installation
Mark, a graphic designer in Seattle, purchased an official Apple silicone case for his new iPhone 15 Pro Max. Excited to protect his device, he opened the packaging immediately after unboxing the phone. Without cleaning either surface, he began pressing the case on. Unseen grit stuck to the back of the phone acted like sandpaper as he worked the case into place. Later that evening, under bright light, he noticed fine circular scratches radiating from the camera bump.
He returned to the Apple Store, where a Genius confirmed the damage was cosmetic but irreversible. “It could’ve been avoided,” the technician said. “A quick wipe of the phone and inside of the case would’ve prevented this.” Mark now keeps a microfiber cloth in his bag specifically for accessory installations.
Expert Tips for Long-Term Case Performance
Silicone is a forgiving material, but long-term performance depends on initial setup and ongoing care. Consider these advanced tips to maximize results.
- Condition new cases lightly: Some users report slight stiffness in brand-new silicone. To ease flexibility, gently stretch the case open and closed a few times before installation.
- Prevent yellowing: Prolonged exposure to UV light causes clear silicone edges to discolor. Rotate case orientation periodically or store in shaded areas when possible.
- Handle buttons carefully: Over time, thick silicone around controls can become less responsive. During installation, ensure button covers sit flush—not stretched or folded.
- Use anti-static wipes sparingly: These help remove cling but often leave residues. Opt for dry cloths unless static is a persistent issue.
Installation Checklist
Before installing your iPhone 15 Pro Max silicone case, run through this checklist to ensure everything goes smoothly.
- ✅ Phone is powered off or locked
- ✅ Back and sides of phone are free of dust and fingerprints
- ✅ Interior of case has been inspected and cleaned if necessary
- ✅ Work area is well-lit and clutter-free
- ✅ Fingernails are trimmed or covered (use fingertip pads if needed)
- ✅ Camera, speaker, and port cutouts are aligned before full pressure is applied
- ✅ All physical buttons move freely after installation
Frequently Asked Questions
Can I install the case with a screen protector already on?
Yes. Screen protectors do not interfere with case installation. In fact, having one adds another layer of defense during handling. Just make sure the protector doesn’t extend beyond the screen’s edge, which could cause gaps at the front lip of the case.
Why does my case feel tighter than expected?
New silicone cases often have a snug fit due to material density. This typically loosens slightly after 24–48 hours of use. As long as ports and buttons remain accessible and there’s no visible bowing of the phone frame, the tightness is normal and safe.
Is it safe to use compressed air to clean under the case?
No. Compressed air can force moisture or particles deeper into crevices near ports and speakers. Instead, remove the case regularly and clean both surfaces manually with a dry microfiber cloth.
Final Thoughts: Protect What You Value
Your iPhone 15 Pro Max represents a significant investment in technology, design, and personal utility. Protecting it begins not with the case itself, but with how you apply it. A mindful, deliberate installation process sets the tone for months—or years—of reliable use. These effortless tips eliminate guesswork and prevent avoidable mistakes, letting you enjoy peace of mind alongside superior grip and drop protection.
Treat your device with the same care Apple engineers did when they built it. Small habits compound: cleaning before installation, checking alignment, and respecting material limits. Do this consistently, and your phone will look as pristine months from now as it did on day one.


 浙公网安备
33010002000092号
浙公网安备
33010002000092号 浙B2-20120091-4
Comments
No comments yet. Why don't you start the discussion?