
Clear iPhone cases are popular for their sleek look and ability to showcase the original design of the device. However, over time, they can yellow, collect dust, or simply need replacing. Removing them should be a simple task—but too often, users end up scratching their phones, cracking the case, or straining the buttons. The good news: with the right approach, you can remove a clear iPhone case quickly and safely, every time. This guide outlines practical, tested techniques that protect both your device and the case, whether it’s tightly fitted, slightly warped, or has been on your phone for months.
Why Proper Removal Matters
A poorly removed case can lead to more than just frustration. Many users accidentally pry open cases with keys or knives, risking deep scratches on the phone’s finish or damage to sensitive components like volume buttons and charging ports. Clear cases, especially those made from TPU (thermoplastic polyurethane), tend to conform closely to the phone’s shape over time, making them harder to detach. Additionally, dust and oils accumulate at the edges, increasing grip and resistance. Understanding how to remove the case without force preserves your iPhone’s resale value and prevents unnecessary wear.
“Improper removal is one of the most common causes of cosmetic damage in otherwise well-maintained iPhones.” — Jordan Lee, Mobile Device Technician with 12 years of repair experience
Step-by-Step Guide to Safe Case Removal
Follow this logical sequence to remove your clear iPhone case efficiently and without risk:
- Power off your iPhone – While not always necessary, turning off the device eliminates any risk of accidental input during removal, especially if you're applying pressure near buttons.
- Clean the edges – Use a dry microfiber cloth to wipe the seam between the case and the phone. This removes surface dust that could scratch the phone when shifting the case.
- Start at the bottom edge – Most cases have the least structural rigidity near the charging port. Gently insert a fingernail or soft tool into the gap.
- Pry slowly and evenly – Apply upward pressure while working your way toward the sides. Avoid using metal objects; even plastic spudgers should be used with caution.
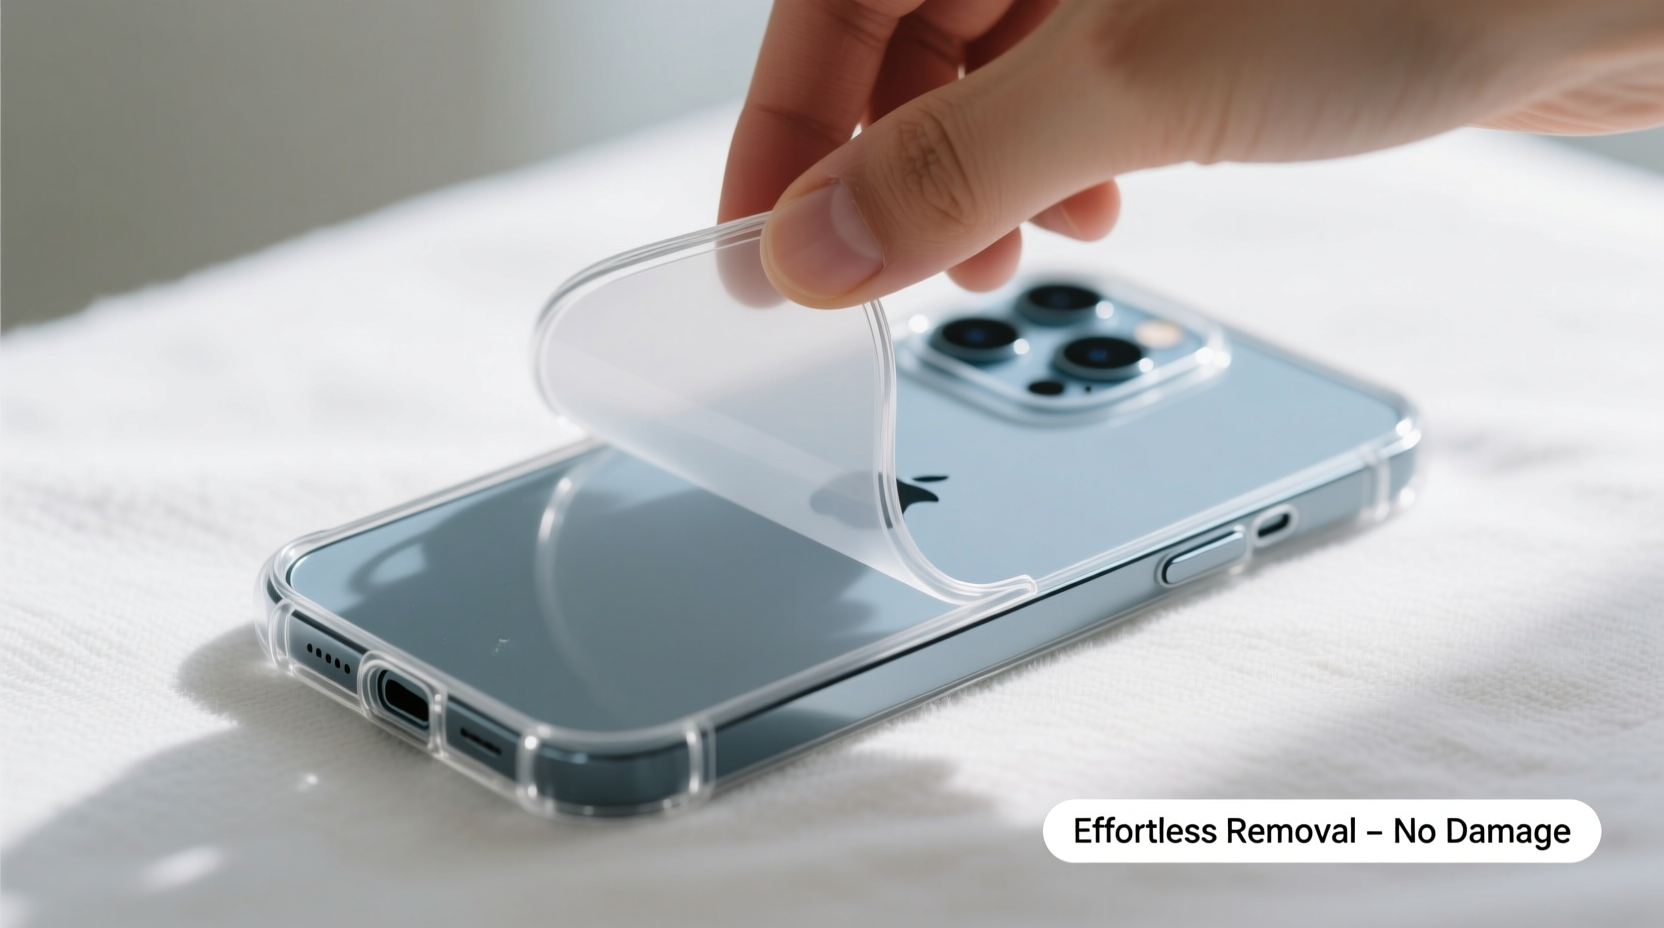
- Lift one corner first – Once a corner lifts, use two fingers to gradually peel the case away from the phone, moving diagonally across to the opposite corner.
- Inspect both case and phone – After removal, check for trapped debris inside the case and wipe down the phone’s surface.
Alternative Tools and Methods
Not everyone has strong nails or the dexterity to remove a snug-fitting case by hand. Fortunately, several household items can help—without causing harm.
- Plastic guitar pick: Its thin edge fits easily into the seam and is flexible enough to avoid scratching.
- Used credit card: Cut a notch in one corner to create a hook, then slide it along the edge to loosen the fit.
- Silicone ear tips from earbuds: Stretch one over the corner of the phone to gain extra grip and leverage.
- Rubber band trick: Loop a wide rubber band around the phone so it sits on one edge of the case. Pulling the band downward can help lift the case off.
Avoid metal tools like screwdrivers or paper clips. Even if coated, they can slip and gouge aluminum frames or glass backs.
Do’s and Don’ts When Removing a Clear Case
| Do’s | Don’ts |
|---|---|
| Use clean hands to prevent transferring oils and grit | Use sharp or metallic objects to pry the case |
| Work slowly and apply even pressure | Rush the process or use excessive force |
| Clean the case interior before reuse | Leave the case partially attached while handling the phone |
| Store the case in a dust-free container | Expose the case to direct sunlight after removal (can accelerate yellowing) |
| Inspect button cutouts for stiffness | Reinstall a cracked or warped case |
Mini Case Study: Sarah’s Stubborn Case Dilemma
Sarah had used the same clear iPhone 13 case for nearly ten months. It had started to yellow slightly, and she wanted to replace it. When she tried removing it, the top edge near the camera bump wouldn’t budge. She attempted using a key, which left a faint scratch on the frame. Frustrated, she paused and researched safer methods. She found the guitar pick technique online, cleaned the seam with a dry cloth, and gently worked the pick from the bottom center. Within 30 seconds, the case lifted cleanly. She later wiped the inside with a damp cotton swab and repurposed the case as a backup. Her iPhone remained unharmed, and she now removes cases monthly for cleaning to prevent buildup.
Tips for Long-Term Case and Phone Care
Removing a case doesn’t have to be a rare event. Regular maintenance extends the life of both your iPhone and its protective shell. Consider these habits:
- Wash the case with mild soap and water, then air-dry completely before reapplying.
- Avoid placing your phone in pockets with keys or coins while cased—debris can get trapped and act like sandpaper.
- Apply a screen protector first. In rare cases where the case lifts slightly, it won’t expose unprotected glass.
- Rotate between two clear cases to reduce wear and yellowing on a single unit.
Frequently Asked Questions
Can I remove a swollen or warped clear case safely?
Yes, but extra caution is needed. Warping often means the material has degraded and may crack during removal. Work slowly from the least distorted side, using a flexible plastic tool. If the case resists, place the phone in the freezer for 10–15 minutes—the cold can make the TPU slightly more brittle and easier to separate.
Will removing the case affect my phone’s water resistance?
No. iPhone models rely on internal seals, not the case, for water resistance. However, repeatedly removing and reinstalling a case doesn’t impact the phone’s built-in protection. Just remember: no case makes the phone waterproof.
What if part of the case breaks during removal?
If a corner snaps, stop immediately. Use tweezers or needle-nose pliers wrapped in cloth to grip the broken edge and continue lifting gently. Never leave fragments attached—residual pressure can stress the phone’s housing over time.
Final Checklist Before You Begin
Before attempting removal, run through this quick checklist to ensure a smooth process:
- ✅ Wash and dry your hands
- ✅ Power off the iPhone (optional but recommended)
- ✅ Gather a safe tool (guitar pick, plastic card, or tape)
- ✅ Choose a clean, flat workspace
- ✅ Inspect the case for cracks or warping
- ✅ Have a soft cloth ready for post-removal cleaning
Conclusion
Removing a clear iPhone case shouldn’t require strength, luck, or risky tools. With patience and the right method, it becomes a seamless part of your phone maintenance routine. Whether you’re switching styles, cleaning residue, or upgrading protection, doing it correctly ensures your device stays in pristine condition. These effortless techniques preserve both function and aesthetics—so your iPhone looks as good as the day you bought it.


 浙公网安备
33010002000092号
浙公网安备
33010002000092号 浙B2-20120091-4
Comments
No comments yet. Why don't you start the discussion?