
Smartphones have become digital photo albums, storing years of personal moments. When upgrading devices or retiring an old phone, retrieving those photos shouldn’t mean stress or data loss. The good news? You don’t need advanced tech skills to recover and preserve your images. With the right tools and approach, you can securely transfer your photos using simple, reliable methods—many of which are completely free.
Why Retrieving Photos Matters
Photos capture milestones: birthdays, travel, family gatherings, and quiet everyday moments. Yet many people assume their images are automatically backed up when they’re not. A 2023 consumer survey by the Data Recovery Association found that nearly 40% of users who replaced their phones in the past two years lost at least some personal photos due to poor transfer practices.
Old phones often end up stored in drawers or recycled without a proper data migration. Even if the device no longer powers on, valuable media may still be recoverable with the right techniques. Taking time to retrieve and store these files ensures your memories remain accessible for years to come.
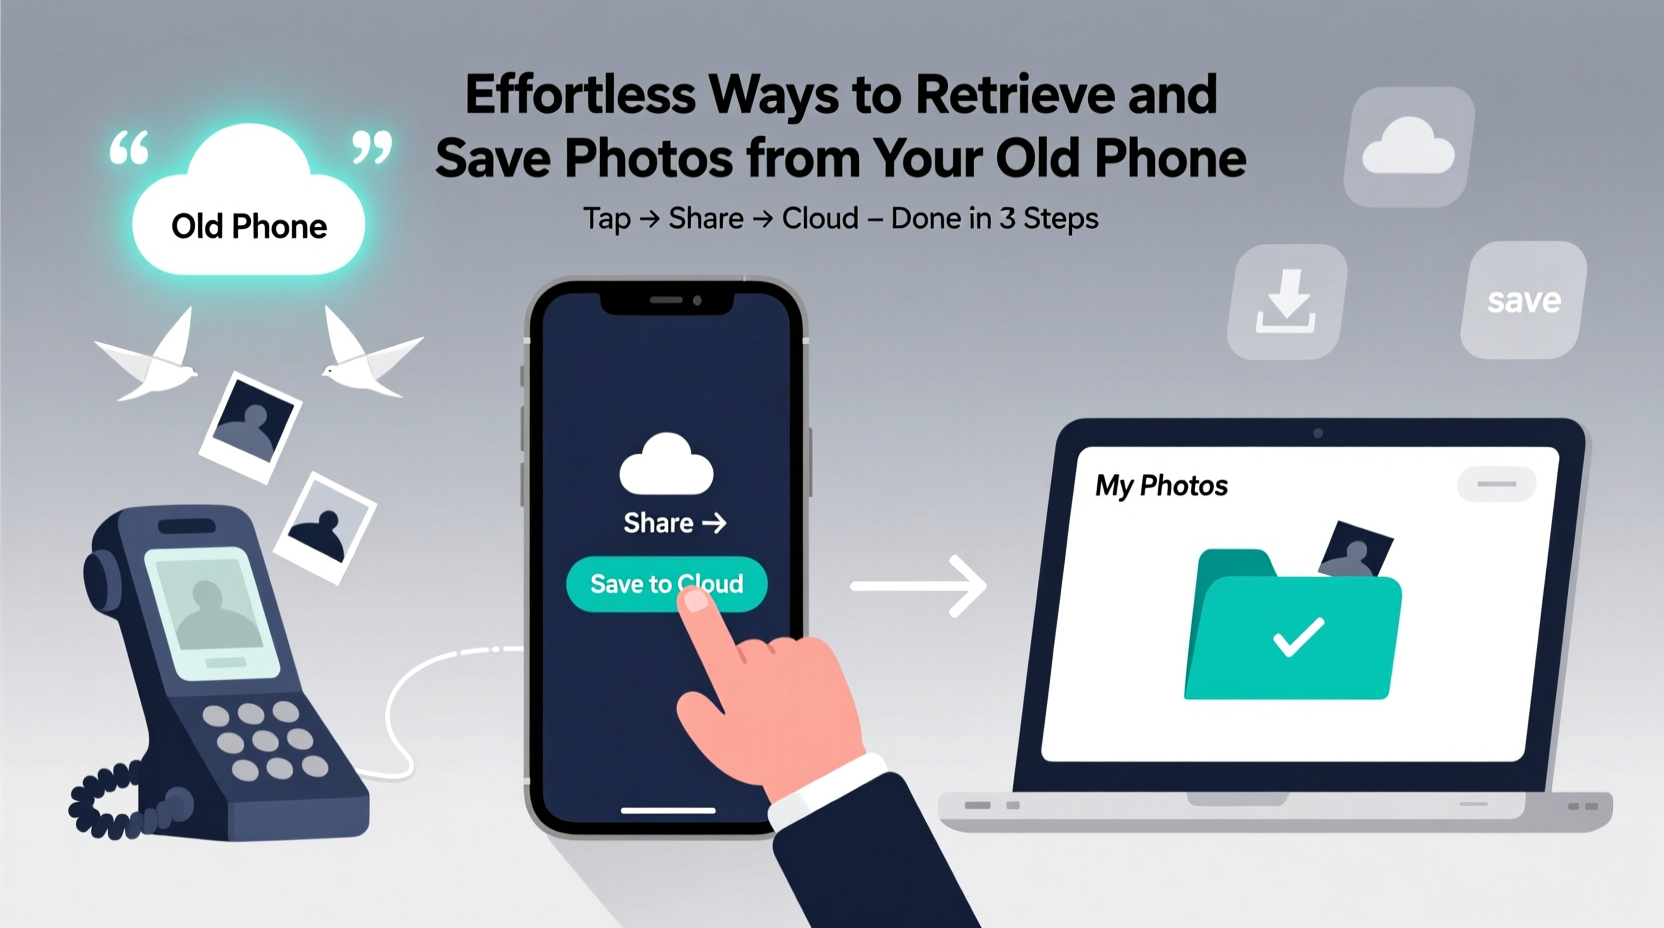
Step-by-Step Guide: How to Retrieve Photos Without Complications
The safest way to handle photo retrieval is systematically. Follow this timeline-based process to ensure nothing is missed:
- Assess the condition of your old phone: Does it power on? Is the screen functional? If yes, direct transfer options are available. If not, consider professional recovery services or hardware-based solutions.
- Charge the device fully: Even if the battery seems dead, connect it to a charger for at least 30 minutes. Lithium-ion batteries can enter deep discharge states and appear non-functional until recharged.
- Enable file access: On Android, ensure USB debugging or “File Transfer” mode is enabled. On iPhone, trust the connected computer if prompted.
- Choose a transfer method: Use one of the approaches detailed below—cloud sync, cable transfer, wireless sharing, or third-party apps.
- Verify and organize: After transfer, review all folders, check file integrity, and rename or sort images into dated albums for long-term preservation.
- Back up externally: Store copies on cloud platforms (Google Drive, iCloud) and/or external hard drives to prevent future loss.
Top 5 Effortless Transfer Methods
1. Cloud Sync Services (Automatic & Hands-Free)
If your old phone was set to auto-upload photos, platforms like Google Photos or iCloud can instantly restore your library. Simply sign in on a new device or computer and download the synced collection.
- Google Photos: Open the app or website, log in, and select “Download all” or filter by date range.
- iCloud Photos: Enable iCloud sync on a new Apple device, or visit icloud.com to export originals.
2. Direct Cable Transfer (No Internet Required)
Connect your old phone to a computer via USB. Navigate to the DCIM/Camera folder and copy the contents directly.
- Windows/Mac compatibility: Most modern systems recognize Android and iOS devices as external drives.
- Use original cables: Third-party USB cords may fail to establish stable connections.
3. Wireless File Sharing Apps
Apps like Samsung Smart Switch, Apple AirDrop, or SHAREit allow fast transfers between devices over Wi-Fi or peer-to-peer networks.
- AirDrop works between Apple devices within close proximity.
- Smart Switch supports both Android-to-Android and Android-to-iOS migrations.
4. SD Card Extraction (For Older Android Devices)
If your old phone used a removable microSD card, simply eject it and insert it into a card reader connected to your computer. Copy the entire PHOTO or DCIM folder to your desktop or external drive.
5. Professional Data Recovery Tools
When a phone won’t turn on, software like Disk Drill (for iOS) or Dr.Fone (Android/iOS) can scan internal memory via USB connection. These tools often recover deleted or inaccessible files.
“Even damaged phones retain data in flash memory. With proper forensic tools, we recover photos in over 70% of cases where users thought everything was lost.” — Marcus Lin, Senior Data Recovery Technician at RecoverMyFiles Lab
Do’s and Don’ts of Photo Retrieval
| Do’s | Don’ts |
|---|---|
| Back up immediately after transfer | Store all photos in only one location |
| Use trusted software and official cables | Click on pop-up ads claiming “free photo recovery” |
| Label folders by year and event (e.g., “Italy_Trip_2018”) | Rename files individually unless necessary |
| Test playback of random video clips post-transfer | Assume all files transferred successfully without verification |
| Keep the old phone powered off after transfer to avoid accidental deletion | Throw away or recycle the device before confirming full retrieval |
Real Example: Recovering a Mother’s Lost Memories
Sarah, a teacher from Portland, upgraded her five-year-old Android phone without backing up first. She realized too late that thousands of photos—including her daughter’s early childhood years—were missing from her new device. Panicked, she tried several free cloud apps but couldn’t log into old accounts.
She followed a basic cable transfer guide, connecting her old phone to her laptop. Though sluggish, the device booted up. Using File Explorer, she navigated to DCIM/Camera and copied 4,200 photos and 180 videos totaling 28 GB. She saved them to an external drive labeled “Family Archive” and uploaded a duplicate set to Google Photos under a new account.
“I cried when I saw the first baby picture come through,” Sarah said. “It wasn’t complicated once I slowed down and used the USB method. I just wish I’d done it sooner.”
Essential Checklist Before You Begin
- ✅ Charge both old phone and computer/laptop
- ✅ Locate original USB cable or compatible adapter
- ✅ Free up space on your destination device (computer, drive, or cloud)
- ✅ Disable battery optimization settings that might interrupt file transfer
- ✅ Confirm you remember passwords for cloud accounts linked to the old phone
- ✅ Prepare an external hard drive or USB stick for local backup
- ✅ Write down the approximate number of photos/videos for post-transfer verification
Frequently Asked Questions
What if my old phone won’t turn on?
If the phone is completely unresponsive, try charging it for several hours. If that fails, use a professional data recovery service. Some companies specialize in extracting data from water-damaged or broken devices using micro-soldering and chip-off techniques.
Can I retrieve photos after resetting the phone?
Yes, but only with specialized software. Factory resets don’t always erase data permanently. Tools like EaseUS MobiSaver or DiskDigger can scan residual memory for recoverable files—provided no new data has overwritten the space.
How long should I keep my old phone after transferring photos?
Hold onto it for at least two weeks. This gives time to verify all files were retrieved correctly and allows for secondary checks. Once confirmed, consider donating, recycling, or storing it safely.
Final Thoughts: Preserve What Matters
Your photos are more than digital files—they’re emotional records of your life. Retrieving them from an old phone doesn’t require technical expertise, just patience and the right method. Whether you use a seamless cloud sync or a manual cable transfer, the key is acting before the device becomes unusable.
Start today. Plug in that forgotten phone, reconnect with your past, and secure your memories in multiple safe locations. In ten years, you’ll thank yourself for taking the time now.


 浙公网安备
33010002000092号
浙公网安备
33010002000092号 浙B2-20120091-4
Comments
No comments yet. Why don't you start the discussion?