
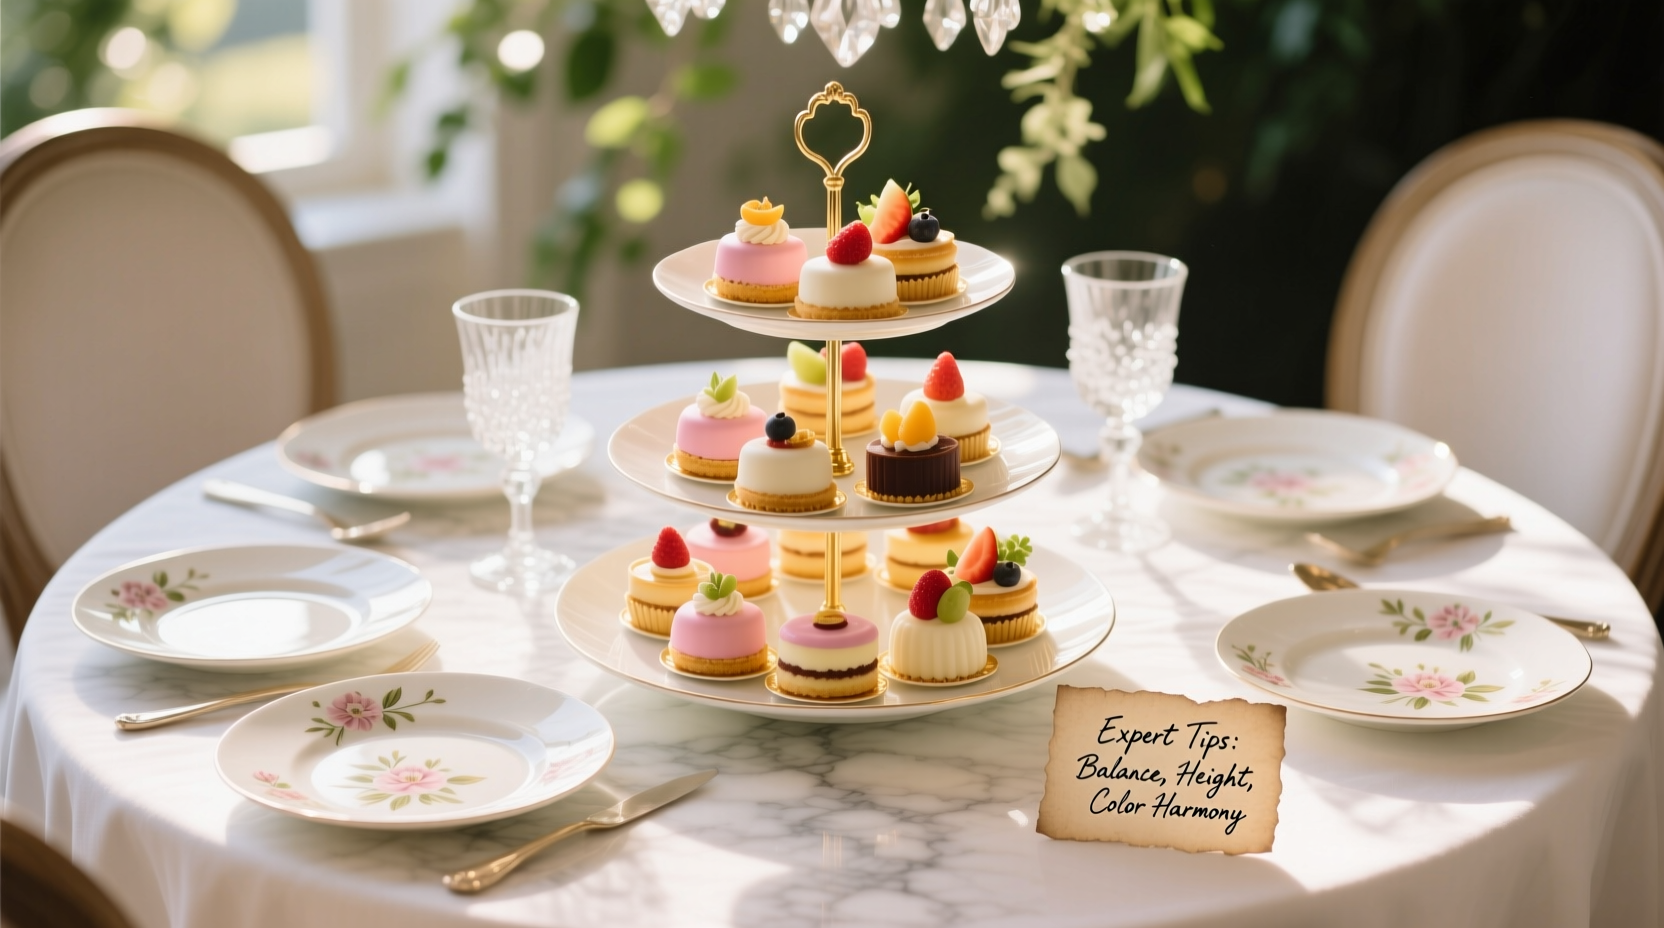
A well-styled buffet is more than just food—it’s an experience. At the heart of this visual feast often stands a carefully arranged collection of cake stand plates, transforming desserts and savory bites into artful displays. Whether you're hosting a wedding reception, birthday celebration, or holiday gathering, mastering the art of cake stand styling elevates both ambiance and guest engagement. The right arrangement draws the eye, encourages exploration, and communicates thoughtfulness in every detail.
Cake stands are not merely functional; they’re design tools that add height, dimension, and sophistication to any table. When used intentionally, they create focal points, improve visibility, and allow for creative layering of textures and colors. But achieving elegance requires more than stacking plates on pedestals—it demands planning, balance, and attention to proportion, theme, and flow.
Understanding Cake Stand Types and Their Uses
Before arranging your display, it's essential to understand the variety of cake stands available and how each contributes to the overall aesthetic. Not all stands serve the same purpose, and selecting the right mix enhances both function and form.
| Type | Best For | Design Tip |
|---|---|---|
| Single-tier glass | Desserts, macarons, petit fours | Add mirrored trays underneath for extra sparkle |
| Multi-tiered metal | Weddings, formal events | Use varying heights to avoid monotony |
| Acrylic or lucite | Modern themes, minimalist decor | Pair with bold-colored foods for contrast |
| Vintage porcelain | Tea parties, garden soirees | Mix patterns within the same color family |
| Wooden rustic | Outdoor gatherings, farm-to-table events | Style with linen napkins and wildflowers |
The material and height of your cake stand influence not only stability but also sightlines across the buffet. Taller stands should be placed toward the back to avoid blocking views, while shorter ones work well in front for easy access.
Step-by-Step Guide to Styling Your Cake Stand Display
Creating a visually cohesive and inviting setup follows a logical sequence. Follow these steps to ensure professional-level results every time.
- Define the theme and color palette. Align your cake stand choices with the event’s mood—soft pastels for baby showers, metallics for galas, earthy tones for rustic affairs.
- Select complementary plateware. Use mismatched vintage china for charm or uniform white porcelain for modern minimalism.
- Arrange by height and depth. Place tallest stands at the back, medium in the center, and shortest in front. This creates a cascading effect.
- Balance sweet and savory. Alternate dessert items like cupcakes with savory options such as mini quiches or bruschetta for visual variety.
- Add decorative accents. Incorporate small greenery (e.g., rosemary sprigs), edible flowers, or themed props (mini flags, name tags).
- Label dishes tastefully. Use chalkboard signs, calligraphy tags, or engraved mini plaques to inform guests without cluttering the view.
- Final walkthrough. View the display from multiple angles to ensure even spacing and clear access.
Real Example: A Bridal Shower Transformation
Sarah was tasked with styling the dessert table for her sister’s bridal shower. She began with three mismatched vintage cake stands in ivory and gold. On the tallest, she arranged miniature vanilla bean cupcakes topped with fresh raspberries and edible gold leaf. The middle tier held lemon tarts garnished with thyme, while the shortest displayed chocolate-dipped strawberries on a bed of crushed ice covered with a lace cloth. She tucked eucalyptus stems between the bases and added custom calligraphy labels with names like “Something Sweet” and “Bliss Bites.” Guests consistently commented on the display being “magazine-worthy,” and photos of the table went viral in their family group chat.
Do’s and Don’ts of Buffet Styling with Cake Stands
Avoid common pitfalls by following this concise guide to what works—and what doesn’t.
| Do | Don't |
|---|---|
| Use odd numbers of stands (3, 5) for visual harmony | Cluster too many stands together without breathing room |
| Layer textures: matte plates with glossy food finishes | Overcrowd plates—leave space around each item |
| Incorporate lighting (LED tea lights, string lights) | Place near direct sunlight or heat sources that melt chocolate |
| Anchor stands with non-slip pads | Use unstable or wobbly stands, even if they look pretty |
| Refresh displays midway through long events | Forget dietary labels (gluten-free, nut-free, vegan) |
“Presentation is half the flavor. When people see beauty, they taste joy before the first bite.” — Chef Lila Monroe, Event Pastry Director
Checklist: Pre-Event Cake Stand Preparation
Ensure everything runs smoothly with this practical pre-styling checklist.
- ☐ Confirm number of cake stands needed based on menu and guest count
- ☐ Clean and polish all stands and plates (no fingerprints or smudges)
- ☐ Test stability on the actual buffet table surface
- ☐ Prepare serving tools: tongs, forks, cake slicers
- ☐ Print and cut labels with legible fonts
- ☐ Gather decorative fillers: moss, fabric, stones, or faux ice
- ☐ Assign staff or volunteers to monitor and refresh the display
- ☐ Have backup stands and plates on hand
Frequently Asked Questions
Can I use cake stands for non-dessert items?
Absolutely. Cake stands work beautifully for cheeses, sushi, fruit skewers, sliders, and even appetizer buffets. Just ensure the food is securely plated and safe from slipping. For wet or saucy items, use rimmed plates or small bowls atop the stand.
How do I prevent my cake stand from toppling over?
Stability starts with a flat, level surface. Use rubberized non-slip pads under each base. Avoid overloading one tier—distribute weight evenly. If using multi-tiered stands, secure stacked levels with central rods or screws if possible. During the event, position them away from high-traffic areas where they might be bumped.
Is it okay to mix different cake stand styles?
Yes, mixing styles can add character—but only when unified by a common thread. Stick to one dominant color (e.g., all white, gold-accented), consistent materials (all glass tops), or a shared era (vintage-inspired). Too much variation without cohesion appears chaotic rather than curated.
Conclusion: Elevate Every Occasion with Intentional Design
A beautifully styled cake stand display does more than hold food—it tells a story. It reflects care, creativity, and celebration. With thoughtful selection, strategic arrangement, and attention to detail, even a simple dessert table can become a centerpiece that lingers in memory. You don’t need a professional decorator’s budget to achieve elegance; you only need intention, preparation, and a few proven techniques.
Start small: choose two cake stands, coordinate their heights, and style them with seasonal treats and subtle greenery. As confidence grows, experiment with layers, lighting, and thematic storytelling. The impact on your guests will be immediate and lasting.


 浙公网安备
33010002000092号
浙公网安备
33010002000092号 浙B2-20120091-4
Comments
No comments yet. Why don't you start the discussion?