
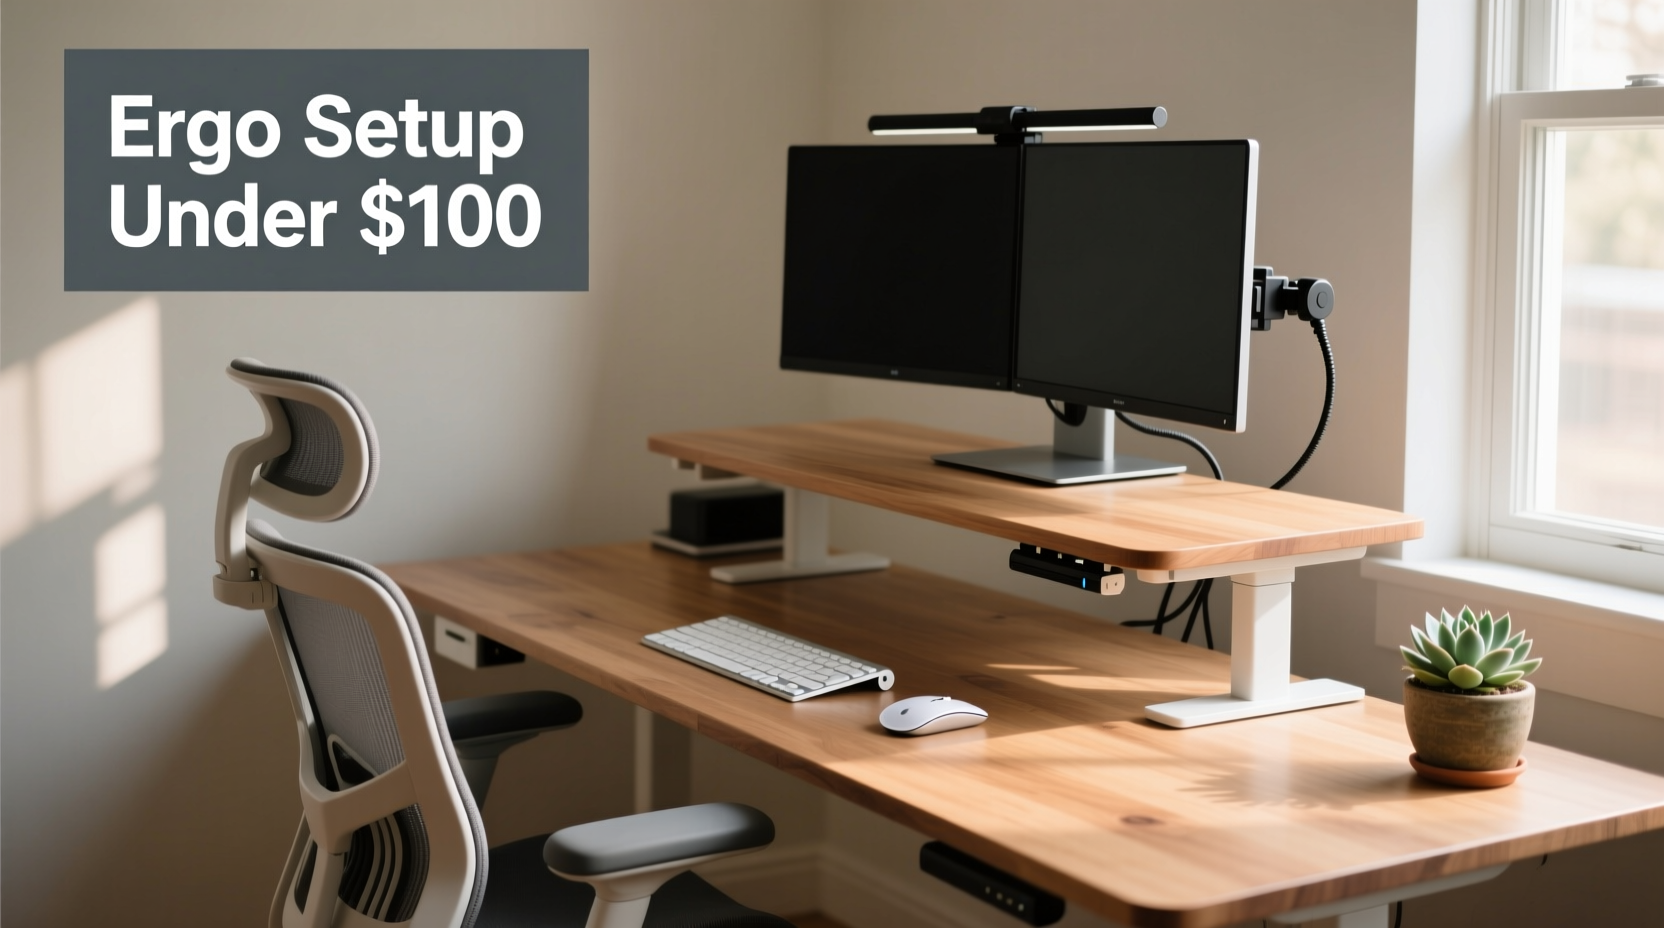
Working from home has become the norm for millions, but many remote workers still sit at makeshift desks, hunched over laptops on couches or kitchen tables. Poor posture and ill-fitting workstations lead to chronic back pain, neck strain, and reduced focus. The good news? You don’t need a luxury home office to create an ergonomic workspace. With careful planning and strategic purchases, you can build a functional, health-supportive desk setup for under $100.
This guide walks through every critical component of an ergonomic workstation—chair, desk, monitor height, keyboard, mouse, and accessories—and shows how to optimize each on a tight budget. Whether you're working from a studio apartment or a corner of your bedroom, these practical solutions will help you stay comfortable, productive, and pain-free.
Why Ergonomics Matter for Remote Workers
Ergonomics is the science of designing workspaces to fit the human body, not the other way around. When your desk setup aligns with your natural posture, you reduce strain on muscles, joints, and nerves. Over time, this prevents repetitive stress injuries like carpal tunnel syndrome, lower back pain, and tension headaches.
Remote workers are especially vulnerable because they often lack access to professionally designed offices. A 2022 study by the American Journal of Industrial Medicine found that 67% of remote employees reported musculoskeletal discomfort after six months of working from home—mostly due to poor seating and improper screen height.
“Even small adjustments in desk height or chair support can significantly reduce long-term injury risk.” — Dr. Lena Patel, Occupational Health Specialist
The goal isn’t perfection—it’s progress. By focusing on key pressure points and making cost-effective upgrades, you can dramatically improve your daily comfort and long-term well-being without overspending.
Core Components of an Ergonomic Desk Setup
An effective ergonomic setup revolves around five main elements: seating, desk height, monitor position, input devices (keyboard and mouse), and posture support. Each plays a crucial role in maintaining alignment and reducing fatigue.
Below is a breakdown of what matters most—and how to achieve it affordably.
1. Chair: Support Your Spine
Your chair is the foundation of your posture. An ideal ergonomic chair supports the natural S-curve of your spine, particularly in the lumbar region. Look for adjustable height, armrests, and a seat pan that allows your feet to rest flat on the floor.
While premium chairs like the Herman Miller Aeron cost over $1,000, there are excellent budget alternatives. Many online retailers offer basic ergonomic office chairs for $50–$80. Brands like AmazonBasics, GTRACING, and Flash Furniture have models with contoured backs and breathable mesh.
2. Desk: Find the Right Height
Your desk should allow your elbows to rest at a 90-degree angle when typing, with wrists straight and shoulders relaxed. Standard desk height is 29–30 inches, which works for people between 5'2\" and 5'10\". If you’re shorter or taller, consider adjustability.
You don’t need a standing desk to be ergonomic. A sturdy table or even a repurposed dresser can work if it's at the correct height. For under $100, look for foldable laptop stands or desktop risers that elevate your screen and keyboard independently.
3. Monitor Position: Eye Level is Key
Your eyes should naturally land on the top third of your screen when looking straight ahead. This prevents “tech neck,” a common condition caused by tilting your head down for extended periods.
If you're using a laptop, place it on a stack of books or a $15 riser and connect an external keyboard and mouse. This separates screen height from typing position—a game-changer for posture.
4. Keyboard and Mouse: Reduce Wrist Strain
Your hands should float comfortably while typing, without bending up, down, or sideways. Wrist rests can help, but only if used correctly—they should support the heel of your hand, not the wrist itself during active typing.
Compact mechanical or membrane keyboards often cost less than $30. Look for models with negative tilt (slanted away from you) to keep wrists neutral. Vertical mice, which align your hand in a handshake position, reduce ulnar deviation and are available for under $25.
5. Accessories: Small Tweaks, Big Impact
Footrests, cable organizers, and anti-fatigue mats may seem minor, but they contribute to sustained comfort. A simple footrest—like a wooden crate or stack of binders—can prevent leg fatigue if your feet don’t reach the floor.
| Component | Budget-Friendly Solution | Price Range |
|---|---|---|
| Chair | Mesh-back office chair with lumbar support | $50–$80 |
| Desk Riser | Foldable laptop stand with ventilation | $15–$25 |
| Keyboard | Basic wired ergonomic model | $20–$30 |
| Mouse | Vertical ergonomic design | $20–$25 |
| Monitor Stand | Wooden box or adjustable metal riser | $10–$20 |
| Lumbar Support | Memory foam cushion or DIY towel roll | $10–$15 |
Step-by-Step Guide to Building Your Under-$100 Setup
Follow this sequence to assemble a fully functional ergonomic station without exceeding your budget.
- Assess your current space: Measure available area and identify existing furniture (e.g., dining table, bookshelf). Determine where your power outlets are located.
- Prioritize seating: Allocate $50–$70 for a supportive chair. Search Amazon, Walmart, or Office Depot for deals on entry-level ergonomic models.
- Elevate your screen: Spend $15–$20 on a laptop stand or use household items like cookbooks or storage bins to raise your monitor to eye level.
- Add input devices: Buy a wired ergonomic keyboard ($25) and vertical mouse ($20). These stay within budget and eliminate Bluetooth pairing issues.
- Optimize posture: Use a lumbar roll or cushion ($10) and ensure your feet are supported. If needed, build a low-cost footrest from scrap wood or old boxes.
- Test and adjust: Sit down and check alignment. Elbows at 90°, eyes level with screen top, wrists straight. Make micro-adjustments until it feels natural.
Real Example: Maria’s Home Office Transformation
Maria, a freelance writer in Austin, spent months working from her bed with a pillow propped under her laptop. After developing persistent neck pain, she decided to invest in a proper setup—but only had $95 to spend.
She bought a $65 mesh office chair from Amazon with adjustable height and lumbar support. She used a $12 wooden laptop stand from a local thrift store to raise her screen. For typing, she purchased a $28 ergonomic keyboard and kept her old mouse. To support her lower back, she rolled up a bath towel and secured it with rubber bands.
Within a week, her morning stiffness disappeared. She reported better concentration and fewer breaks due to discomfort. Total cost: $95. Her only regret? Not doing it sooner.
Ergonomic Do’s and Don’ts on a Budget
| Do | Don't |
|---|---|
| Keep your elbows close to your body and bent at 90° | Work with arms stretched forward or raised high |
| Position the top of your monitor at or slightly below eye level | Look down at a laptop screen for hours |
| Use a separate keyboard and mouse when using a laptop | Type directly on a laptop placed on your lap |
| Take micro-breaks every 30 minutes to stretch | Sit continuously for more than an hour without moving |
| Support your feet flat on the floor or a footrest | Let your legs dangle or cross them for long periods |
Checklist: Build Your Ergonomic Desk for Under $100
- ☐ Measure your current workspace and identify pain points
- ☐ Purchase or repurpose an adjustable-height chair with back support
- ☐ Raise your laptop or monitor so the top third aligns with eye level
- ☐ Buy an external keyboard and mouse to enable proper hand positioning
- ☐ Add lumbar support using a cushion or rolled towel
- ☐ Ensure your feet rest flat—use a footrest if needed
- ☐ Arrange cables neatly to avoid clutter and tripping hazards
- ☐ Test posture: ears over shoulders, shoulders over hips, wrists neutral
- ☐ Set reminders to stand, stretch, or walk every 30–60 minutes
- ☐ Reassess monthly and tweak based on comfort and usage
Frequently Asked Questions
Can I create an ergonomic setup without buying anything?
Yes. Use books to elevate your screen, a dining chair with a pillow for lumbar support, and place your keyboard on a drawer pulled out halfway to reduce reach. While not ideal long-term, these hacks can provide immediate relief.
Is a standing desk necessary for good ergonomics?
No. Standing all day introduces different risks, like varicose veins and lower back strain. The key is movement. Sit properly at a well-set desk, then stand periodically—using a high countertop or shelf—to vary your posture.
How do I know if my setup is actually ergonomic?
You should feel supported, not strained. Check three things: (1) Can you type with elbows at 90° and shoulders relaxed? (2) Is your gaze landing on the upper part of the screen without tilting your head? (3) Are your feet supported and spine naturally curved? If yes, you're on the right track.
Final Thoughts: Invest in Your Health, Not Just Your Equipment
An ergonomic desk setup under $100 isn’t just possible—it’s essential. Remote work shouldn’t come at the cost of your physical well-being. By focusing on alignment, support, and movement, you can protect your body while boosting productivity and focus.
Remember, the cheapest tool in your setup might make the biggest difference. A $10 lumbar roll or a stack of textbooks under your laptop can relieve years of accumulated strain. Start small, prioritize function over aesthetics, and listen to your body. Discomfort is a signal, not normalcy.
You don’t need a corporate budget to work comfortably. You need awareness, intention, and a few smart purchases. Take action today. Your future self—free from chronic pain and full of energy—will thank you.


 浙公网安备
33010002000092号
浙公网安备
33010002000092号 浙B2-20120091-4
Comments
No comments yet. Why don't you start the discussion?