
Rooting an Android smartphone grants users elevated control over the operating system, unlocking capabilities that are otherwise restricted by manufacturers and carriers. From removing bloatware to enabling advanced backup options and custom ROMs, rooting can transform the functionality of a device. However, it also carries risks—data loss, voided warranties, and potential security vulnerabilities. Success depends not only on technical precision but on informed preparation. This guide outlines proven strategies, critical precautions, and step-by-step best practices to root your phone safely and effectively.
Understanding Root Access: What It Means and Why It Matters
Root access allows users to modify system files, install privileged applications, and override default settings. On Android, this is analogous to administrator rights on a Windows PC or “jailbreaking” on iOS. While Google restricts such access for security and stability reasons, many power users seek root privileges to fully customize their experience.
Benefits include:
- Complete removal of pre-installed apps (bloatware)
- Advanced automation with tools like Tasker and MacroDroid
- Full system backups using apps like Titanium Backup
- Improved performance through CPU undervolting and kernel tweaks
- Ability to flash custom recoveries and ROMs (e.g., LineageOS)
Despite these advantages, rooting remains controversial. Manufacturers often warn that it may expose devices to malware, destabilize the OS, or violate terms of service for certain apps (like banking or streaming platforms).
“Rooting isn’t inherently dangerous, but treating it like a casual tweak without understanding the implications is.” — Adrian Smith, Mobile Security Analyst at OpenMobile Initiative
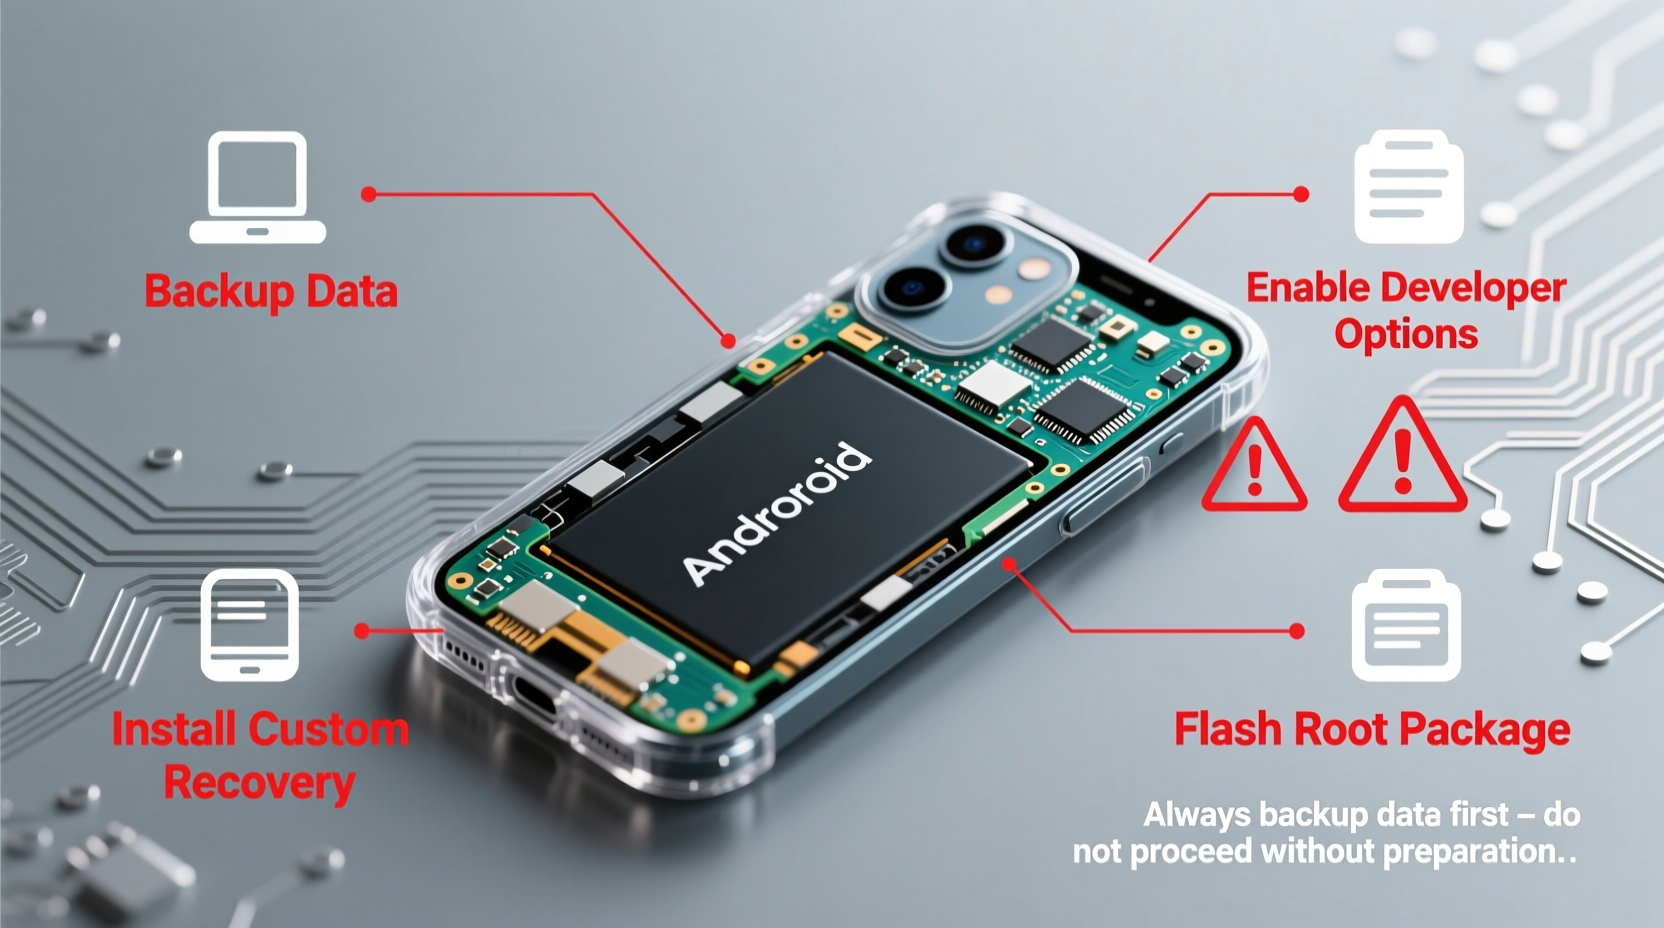
Pre-Root Checklist: Essential Preparations Before You Begin
Before initiating any rooting procedure, thorough preparation is non-negotiable. Rushing into the process without proper setup increases the risk of irreversible damage. Follow this checklist to ensure readiness:
- Confirm device compatibility: Not all phones can be rooted easily. Some newer models use hardware-based security (like Samsung’s Knox) that permanently disables rooting after first boot.
- Backup all data: Use Google Drive, local backups, or manufacturer tools (e.g., Samsung Smart Switch) to preserve contacts, messages, photos, and app data.
- Enable OEM unlocking: Found in Developer Options, this setting permits flashing custom images. Without it enabled, most rooting methods will fail.
- Charge your phone to at least 70%: Interruptions due to battery depletion during flashing can result in a bricked device.
- Install correct USB drivers: Ensure your computer recognizes your phone via USB. Download official drivers from the manufacturer’s website.
- Download required tools: Depending on your device, you may need Magisk, Odin (for Samsung), Fastboot, or TWRP recovery.
Step-by-Step Guide to Safely Root Your Android Phone
The following general workflow applies to most modern Android devices running Android 8.0+. Specific tools may vary slightly based on brand and model, but the core principles remain consistent.
- Enable Developer Options: Go to Settings > About Phone and tap “Build Number” seven times. Return to Settings to find Developer Options.
- Turn on USB Debugging and OEM Unlocking: These must be active under Developer Options.
- Unlock the Bootloader: Connect your phone to your PC and reboot into Fastboot mode (usually via key combination or ADB command). Run:
fastboot oem unlockorfastboot flashing unlock. This wipes all user data. - Flash a Custom Recovery (Optional but Recommended): Download TWRP (Team Win Recovery Project) image for your model. Flash using:
fastboot flash recovery twrp.img. - Patch Boot Image with Magisk: Instead of modifying the system partition directly, Magisk modifies the boot image to include root access. Extract your current boot image (via backup in TWRP or using
adb shell dd), then patch it using the Magisk app. - Flash the Patched Image: Boot into Fastboot and run:
fastboot flash boot magisk_patched.img. - Reboot and Verify: After restart, install the Magisk app and confirm root status under the “Status” tab.
Do’s and Don’ts When Rooting Your Device
| Do’s | Don’ts |
|---|---|
| Use Magisk instead of outdated tools like SuperSU | Root your primary phone without testing on secondary devices first |
| Verify SHA-256 checksums of downloaded files | Ignore warnings about Knox tripping or e-fuse burning |
| Keep a copy of stock boot and recovery images | Grant root access to untrusted apps |
| Test root functionality with apps like Root Checker | Update the OS OTA after rooting without preserving root |
| Review Magisk Hide or DenyList settings for sensitive apps | Assume rooting improves performance automatically—it requires tuning |
Real Example: Recovering from a Failed Root Attempt
Jamal, a software tester in Austin, attempted to root his Pixel 4a using an unofficial guide he found online. He skipped backing up the original boot image and used a corrupted version of Magisk. Upon reboot, the device entered a bootloop—vibrating but never loading the OS.
After researching forums, he booted into Fastboot mode and used his laptop to reflash the stock boot image pulled from Google’s factory image archive. The process took less than five minutes once he had the correct file. His phone rebooted normally, though all data was lost due to the earlier bootloader unlock.
This case highlights two key lessons: always keep a copy of your stock firmware, and rely only on trusted sources like XDA Developers or the official Magisk documentation.
Frequently Asked Questions
Can I unroot my phone after rooting?
Yes. Using the Magisk app, select “Uninstall” to restore the original boot image. Alternatively, flashing the stock boot image via Fastboot removes root access completely and may restore warranty indicators in some cases.
Will rooting slow down my phone?
No—rooting itself doesn’t affect speed. However, poorly optimized root apps or aggressive CPU modifications can degrade performance. Conversely, removing bloatware and freezing unused services often improves responsiveness.
Is rooting still relevant in 2024?
While Android has opened up features like gesture navigation and better file management, power users still value root access for automation, privacy control (e.g., blocking trackers at the system level), and extending device lifespan with custom ROMs. For enthusiasts, rooting remains a vital tool.
Conclusion: Take Control—Safely and Strategically
Rooting a cell phone successfully hinges on preparation, precision, and patience. It's not a one-click fix but a deliberate process that rewards careful research and disciplined execution. By verifying compatibility, securing backups, using trusted tools like Magisk, and understanding the risks involved, you can unlock your device’s full potential without sacrificing stability or security.


 浙公网安备
33010002000092号
浙公网安备
33010002000092号 浙B2-20120091-4
Comments
No comments yet. Why don't you start the discussion?