
In an age where digital screens dominate our daily lives—from laptops and smartphones to tablets and desktop monitors—knowing how to save your screen properly is more than a convenience; it’s a necessity. Whether you're capturing important information, preserving visual content, or archiving work for future use, inefficient screen-saving habits can lead to lost data, wasted time, and unnecessary frustration. With the right techniques and tools, you can streamline this process, reduce errors, and ensure your digital assets are stored securely and accessed quickly.
Why Efficient Screen Saving Matters
Every day, professionals, students, and casual users take dozens of screenshots or record screen activity for documentation, communication, or creative purposes. Yet many still rely on outdated or inconsistent methods—like pressing random key combinations without knowing where the file ends up or using built-in tools that lack editing features. This leads to cluttered folders, mislabeled files, and difficulty retrieving critical visuals later.
Efficient screen saving isn’t just about capturing pixels—it’s about creating a system that supports workflow continuity. A well-managed screen capture process enhances collaboration, simplifies troubleshooting, and preserves digital records in a usable format. According to usability expert Jakob Nielsen, “The ability to document interface interactions accurately reduces cognitive load and accelerates problem-solving.” In other words, saving your screen effectively is not just technical hygiene—it’s productivity infrastructure.
Essential Tools for Seamless Screen Capture
The market offers a wide range of tools designed to make screen saving faster, smarter, and more functional. Choosing the right one depends on your operating system, frequency of use, and desired output format (image, video, annotated file, etc.). Below is a comparison of top-rated tools across platforms:
| Tool | Platform | Key Features | Best For |
|---|---|---|---|
| Snip & Sketch (Windows) | Windows 10/11 | Built-in, delay timer, annotation, quick sharing | Users who prefer native solutions |
| Command + Shift + 5 (macOS) | macOS | Full control over capture type, recording, timer, save location | Mac power users needing precision |
| Snagit | Windows, macOS | Scrolling capture, video recording, effects, library organization | Professionals creating tutorials or reports |
| Lightshot | Windows, macOS | Lightweight, instant upload, search by image | Casual users sharing quick visuals |
| Greenshot | Windows | Open-source, customizable shortcuts, export options | Developers and tech teams |
| CloudApp / Loom | Cross-platform | Screen recording with cloud sync, link sharing, team access | Remote teams and customer support |
“Choosing the right screen capture tool is like selecting the correct lens for a camera—it shapes how clearly and effectively you communicate visually.” — Dana Patel, UX Documentation Lead at TechFlow Inc.
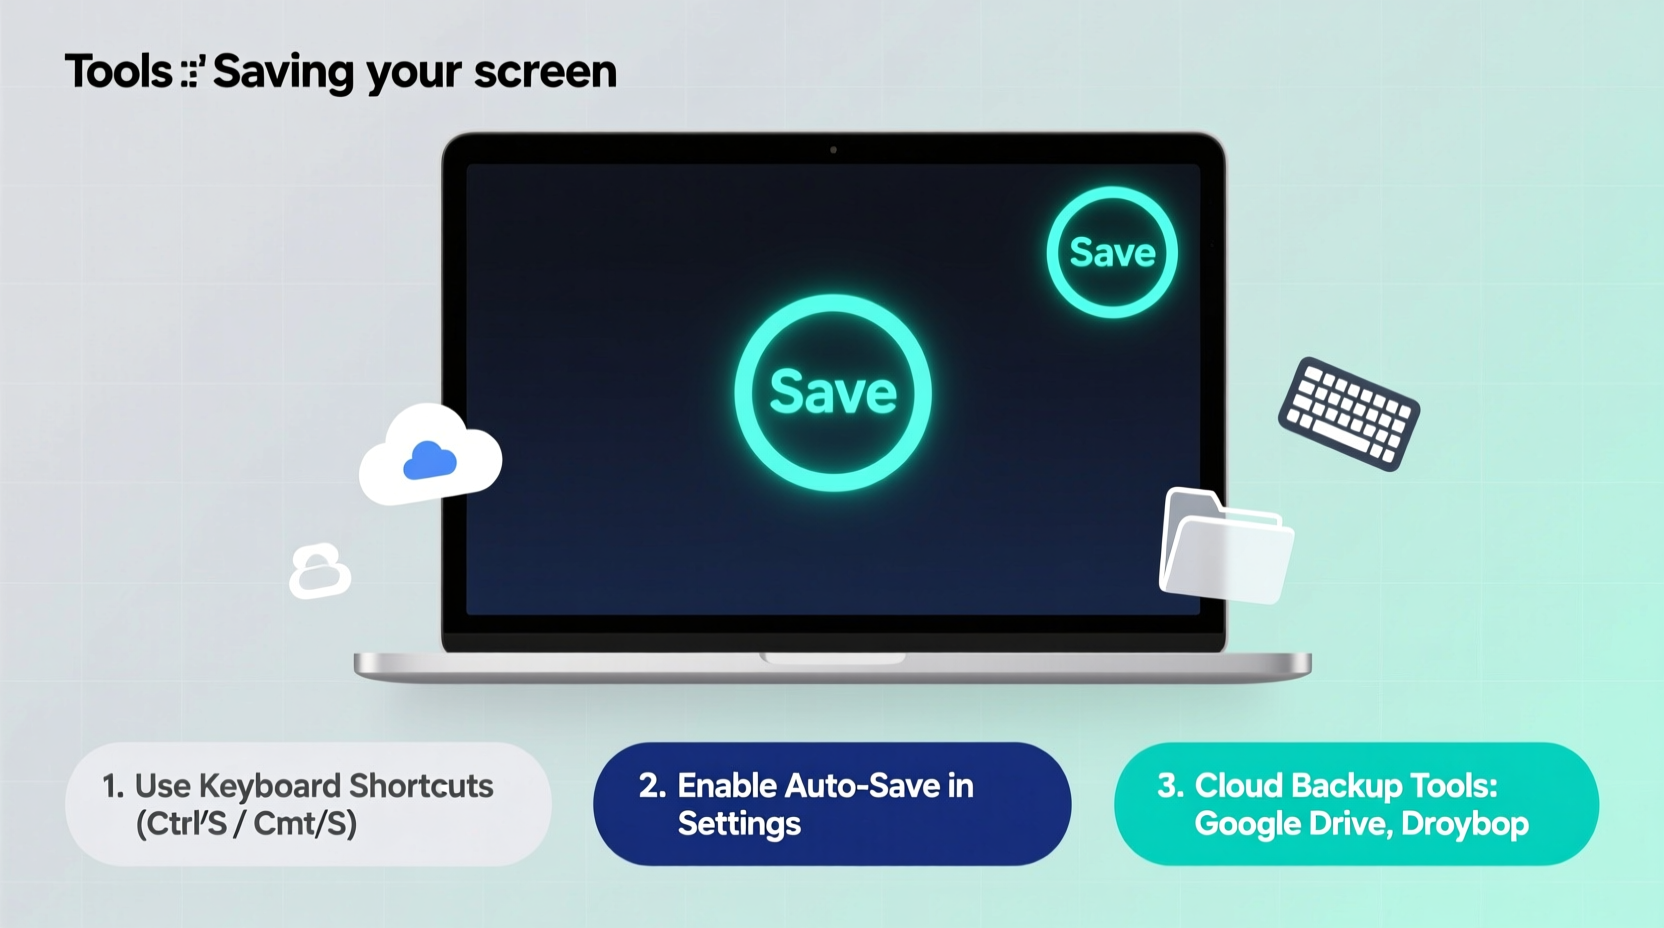
Step-by-Step Guide to Save Your Screen Like a Pro
Follow this streamlined process to ensure every screen capture serves its intended purpose and remains easy to retrieve:
- Define the Purpose: Ask yourself why you’re taking the screenshot—is it for documentation, reporting a bug, illustrating a process, or sharing feedback? Knowing the goal helps determine format and detail level.
- Prepare the Screen: Close irrelevant tabs, clear desktop clutter, and maximize the target window. Zoom in if necessary to highlight small details.
- Select the Right Tool: Use a full-screen recorder for dynamic processes, a region snipper for specific UI elements, or scrolling capture for long web pages.
- Capture with Precision: Use keyboard shortcuts or app triggers. If timing matters (e.g., capturing a pop-up), enable a delay function.
- Edit Immediately: Annotate arrows, blur sensitive data, add text labels, or crop unnecessary areas before saving.
- Save with Structure: Choose a consistent naming convention (e.g., ProjectName_Date_Description.png) and store files in organized folders or cloud libraries.
- Back Up or Share: Upload to shared drives, attach to tickets, or generate shareable links depending on audience needs.
Common Pitfalls and How to Avoid Them
Even experienced users fall into traps that undermine efficient screen management. Here are frequent mistakes and their solutions:
- Saving all screenshots to the default folder: This creates disorganization. Instead, customize save locations per project or use tagging systems in apps like CloudApp.
- Forgetting to redact personal or sensitive data: Always review captures before sharing. Use blurring tools to protect credentials, emails, or private messages.
- Taking low-resolution or cropped images: Ensure clarity by capturing at native resolution and including enough context around the subject.
- Using screenshots when screen recordings would be better: For multi-step processes, a short video often communicates flow more effectively than a series of static images.
- Not backing up critical captures: Store essential screenshots in multiple locations—local drive, cloud storage, and project documentation platforms.
Real Example: Streamlining Customer Support at NexaTech
NexaTech, a mid-sized SaaS company, struggled with inconsistent bug reporting. Customers sent vague descriptions instead of visuals, leading to delayed resolutions. The support team introduced a simple policy: all issue reports must include a screenshot or screen recording using Loom. They provided customers with a downloadable guide on how to capture their screens based on OS.
Within six weeks, first-response resolution rates improved by 40%. Agents spent less time asking clarifying questions and could instantly see the user’s environment. Internally, they used Snagit to create annotated guides from common issues, turning support tickets into training resources. The result was faster service, reduced workload, and higher customer satisfaction scores.
Checklist: Optimize Your Screen-Saving Workflow
Use this checklist to evaluate and refine your current approach:
- ✅ I know the keyboard shortcuts for screen capture on my device
- ✅ I use a dedicated tool with annotation and organizational features
- ✅ I always check for sensitive information before saving or sharing
- ✅ My screenshots have clear filenames and are saved in structured folders
- ✅ I use screen recording for complex workflows or demonstrations
- ✅ I back up important captures in at least two locations
- ✅ I regularly clean up outdated or redundant screenshots
Frequently Asked Questions
How do I capture a scrolling webpage?
Standard screenshot tools only capture what's visible on screen. To capture an entire page, use tools like Snagit, FireShot (browser extension), or built-in developer tools in Chrome. These allow \"long screenshot\" functionality by stitching together multiple scrolls automatically.
Where do my screenshots go by default?
On Windows, most screenshots go to C:\\Users\\[Username]\\Pictures\\Screenshots. On macOS, they appear on your desktop labeled “Screenshot [date] at [time].” You can change these locations via settings in Snip & Sketch or macOS Screenshot utility.
Can I automate screen captures?
Yes. Advanced tools like AutoHotkey (Windows) or Keyboard Maestro (macOS) let you set up scripts to capture screens at intervals or trigger captures based on events. For developers, browser automation frameworks like Puppeteer can programmatically take screenshots during testing.
Final Thoughts: Turn Screen Saving Into a Strategic Habit
Saving your screen may seem like a minor task, but done poorly, it can erode efficiency and clarity across teams and projects. When approached systematically—with the right tools, naming conventions, and privacy practices—it becomes a powerful component of digital literacy. Whether you're a student annotating research, a developer debugging code, or a manager explaining a new process, mastering screen capture empowers you to communicate more clearly and preserve knowledge effectively.


 浙公网安备
33010002000092号
浙公网安备
33010002000092号 浙B2-20120091-4
Comments
No comments yet. Why don't you start the discussion?