
Unboxing a new iPhone is exciting, but the initial setup can be overwhelming if you're not prepared. Whether you’re upgrading from an older model or switching from another platform, the first few minutes with your new device shape how well it performs over time. A thoughtful setup ensures your apps, data, and preferences transfer seamlessly, security is prioritized, and performance remains optimal. These essential tips guide you through a complete and efficient iPhone configuration—so you get the most out of your investment from day one.
1. Prepare Before You Turn It On
The foundation of a smooth setup starts before the iPhone powers on. If you’re coming from an older iPhone, ensure it’s backed up to iCloud or iTunes. For Android users, download the Move to iOS app in advance. This preparation reduces downtime and prevents data loss during migration.
Charge both devices fully and connect to a stable Wi-Fi network. Avoid using cellular data for large transfers—it's slower and may incur charges. If you're restoring from a backup, consider doing a clean install instead if your old device had performance issues. Starting fresh can eliminate clutter and improve responsiveness.
2. Follow a Step-by-Step Setup Timeline
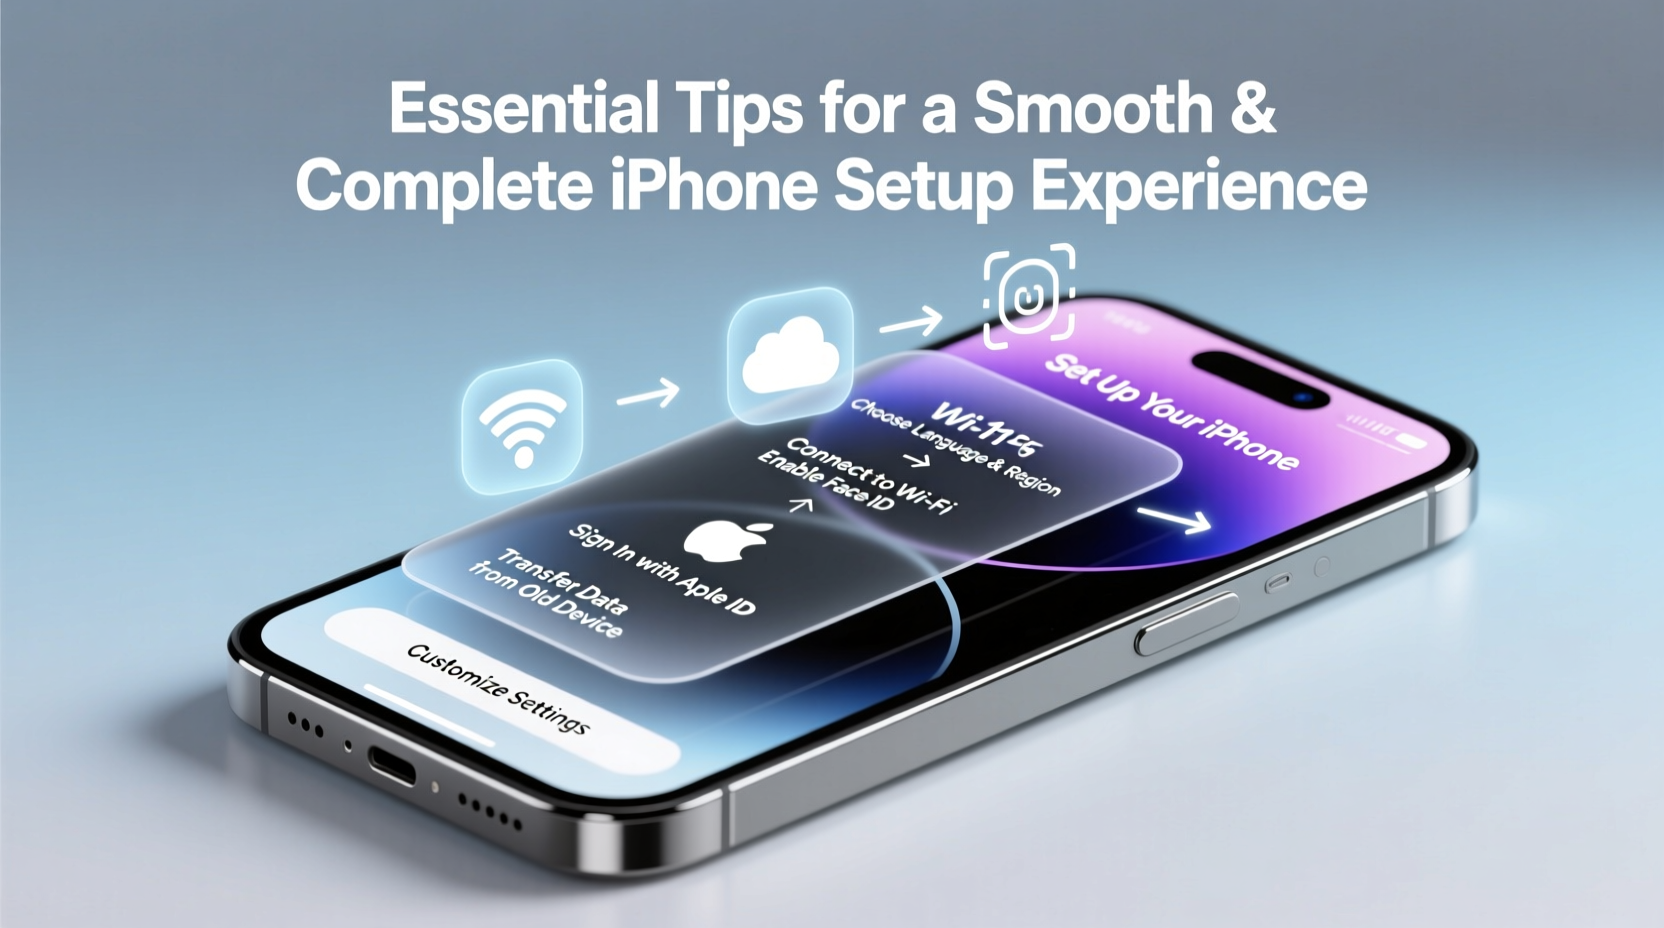
Navigating the setup assistant efficiently requires knowing what to expect. Here’s a logical sequence to follow:
- Power on the device and wait for the Apple logo.
- Select language and region—choose carefully, as some settings are harder to change later.
- Connect to Wi-Fi; this is required for most setup options.
- Use Quick Start (if available) by aligning your old iPhone near the new one to begin transfer.
- Restore from iCloud or iTunes backup, or set up as new.
- Sign in with your Apple ID—use two-factor authentication for security.
- Enable Face ID or Touch ID and set up passcode.
- Transfer apps and data—this may take minutes to hours depending on size.
- Review privacy settings for location, tracking, and analytics.
- Update iOS if prompted after setup completes.
Take your time at each step. Rushing through permissions or skipping updates can lead to compatibility issues or missed features later.
3. Optimize Privacy and Security Settings
Apple emphasizes privacy, but default settings may still allow more access than necessary. After setup, review key areas:
- Location Services: Disable for apps that don’t need it (e.g., calculators, flashlights).
- App Tracking Transparency: Keep \"Ask App Not to Track\" enabled unless you have a reason to disable it.
- Analytics & Improvements: Consider turning off sharing diagnostic data unless you want to contribute to Apple’s research.
- Find My iPhone: Always enable this—critical for locating lost devices or remote wiping.
- Face ID/Touch ID: Configure for purchases, passwords, and app access to reduce typing.
“Over 70% of iPhone users skip reviewing privacy settings post-setup, leaving them exposed to unnecessary data collection.” — Sarah Lin, Mobile Security Analyst at TechShield Labs
4. Essential Post-Setup Checklist
Once your iPhone is up and running, don’t stop at basic functionality. Complete these actions to ensure long-term usability:
| Action | Purpose | Where to Find |
|---|---|---|
| Update iOS to latest version | Fix bugs, improve security, unlock new features | Settings > General > Software Update |
| Set up iCloud Backup | Automatically back up photos, messages, and settings | Settings > [Your Name] > iCloud > iCloud Backup |
| Verify iMessage & FaceTime activation | Ensure messaging works across Apple devices | Settings > Messages / FaceTime |
| Add payment methods to Apple Pay | Enable contactless payments | Wallet app > Add Card |
| Customize Control Center | Quick access to frequently used tools | Settings > Control Center |
| Organize home screen | Improve navigation and reduce clutter | Long-press app icons to edit |
This checklist ensures your iPhone isn’t just functional but optimized for daily use and future resilience.
5. Real-World Example: Recovering from a Rushed Setup
Jamal bought a new iPhone 15 and excitedly started setting it up late at night. He skipped the backup from his old iPhone, chose “Set Up as New,” and didn’t verify his Apple ID recovery email. Two weeks later, he accidentally dropped the phone in water. With no iCloud backup enabled, all his photos, notes, and app data were lost.
After replacing the device, Jamal followed a proper setup process: he backed up his old phone, used Quick Start, restored from iCloud, and confirmed his recovery options. The second time, the entire process took longer—but saved him from repeating the same costly mistake.
This case underscores that patience during setup pays off in reliability and peace of mind.
Common Pitfalls: Do’s and Don’ts
| Do | Don't |
|---|---|
| Back up your old device before starting | Start without charging both devices |
| Use Quick Start for faster, wireless transfer | Restore from outdated or corrupted backups |
| Enable Find My iPhone immediately | Skip Apple ID verification steps |
| Review app permissions individually | Allow all tracking requests for convenience |
| Wait for final iOS update post-setup | Ignore software update prompts |
Avoiding these common missteps keeps your iPhone secure, efficient, and tailored to your needs.
Frequently Asked Questions
How long does iPhone setup usually take?
Simple setups take 10–15 minutes. Restoring from a large backup via iCloud may take several hours, especially with slow internet. Using Quick Start with a direct device-to-device transfer typically finishes within 30–60 minutes depending on data size.
Can I switch from Android after starting setup as new?
Yes, but only during the initial setup assistant. Once you complete setup and reach the home screen, you can’t use Move to iOS. If you’ve already set up as new, erase all content and settings (Settings > General > Transfer or Reset iPhone > Erase All Content and Settings), then restart setup and choose “Move Data from Android.”
Why isn’t my iMessage activating?
iMessage activation issues often stem from poor internet, incorrect Apple ID settings, or carrier delays. Ensure you’re connected to Wi-Fi, signed in with the correct Apple ID, and wait up to 24 hours. Restart the phone or toggle iMessage off and on in Settings > Messages if needed.
Final Steps for Long-Term Success
A successful iPhone setup isn’t just about getting the device working—it’s about building a reliable digital foundation. Take time to transfer data correctly, lock down privacy, and configure essential services. Enable automatic iCloud backups, organize your apps, and personalize accessibility features like text size or voice control if needed.
Your iPhone should adapt to you, not the other way around. With careful initial configuration, you’ll enjoy smoother performance, fewer hiccups, and greater confidence in your device’s capabilities.


 浙公网安备
33010002000092号
浙公网安备
33010002000092号 浙B2-20120091-4
Comments
No comments yet. Why don't you start the discussion?