
Leather iPhone cases are more than just protective accessories—they’re expressions of personality. While off-the-shelf designs offer elegance, nothing compares to the individuality of a custom-crafted piece. Personalizing your leather case allows you to infuse meaning, creativity, and craftsmanship into an everyday object. Whether you're adding initials, intricate tooling, or embedded textures, the right approach transforms functional gear into wearable art.
This guide walks through professional techniques used by artisans and designers to customize leather iPhone cases. From choosing the right materials to executing advanced embellishments, you’ll learn how to create a case that reflects your taste while preserving durability and quality.
Selecting the Right Leather and Case Type
Not all leather is suitable for customization. The foundation of a successful personalized case begins with selecting high-quality, full-grain vegetable-tanned leather. This type responds best to stamping, dyeing, and burnishing because it retains structure and develops a rich patina over time.
Avoid bonded or corrected-grain leathers—they lack depth and may crack under tooling pressure. Also, consider the case’s construction: slim folio or back-cover styles provide larger surfaces for design work, while rugged hybrid models limit usable space due to internal linings or plastic frames.
Key Features to Look For:
- Thickness: 2–3 oz (0.8–1.2 mm) is ideal—thick enough to hold impressions, thin enough to remain flexible.
- Tanning Method: Vegetable-tanned leather accepts dyes and stamps better than chrome-tanned alternatives.
- Surface Finish: Unfinished or lightly buffed leather provides better adhesion for inks and paints.
Essential Tools and Materials
Professional-level personalization requires precision tools. Investing in the right equipment ensures clean results and long-term usability. Below is a curated list of essentials based on industry standards.
| Tool/Material | Purpose | Recommended Brands |
|---|---|---|
| Rotary punch or hole punch set | Creating precise cutouts for camera and ports | Fiskars, Clover |
| Leather stamps and mallet | Embossing patterns or monograms | Higgins Design, Tandy Leather |
| Vegetable-based dyes and daubers | Color customization without clogging pores | Fiebing’s, Angelus |
| Beveler and edge slicker | Smoothing edges after cutting | Camillus, Dremel (for shaping) |
| Transfer paper and stylus | ||
| Transferring complex designs onto leather | Prismacolor, Saral Paper |
“Personalization isn’t decoration—it’s storytelling through texture, shape, and color.” — Marcus Reed, Artisan Leatherworker & Educator
Step-by-Step Guide to Customizing Your Case
Follow this timeline-tested process to achieve polished, lasting results:
- Design Planning: Sketch your concept on paper or digitally. Consider symmetry, spacing around buttons/camera, and readability of text.
- Trace the Template: Place your iPhone on the leather and trace its outline, adding 5–7 mm extra on all sides for folding and adhesive.
- Cut the Shape: Use a sharp utility knife or rotary cutter along a metal ruler for straight edges. Round corners gently with scissors.
- Transfer the Design: Lay transfer paper between your sketch and the leather. Trace over lines with a stylus to imprint the pattern.
- Stamp or Carve: Align stamps carefully and strike evenly with a mallet. For deeper relief, use background tooling to recess non-design areas.
- Dye or Paint: Apply dye with daubers in thin layers, allowing drying time between coats. Seal with water-based acrylic finisher.
- Edge Finishing: Burnish edges using gum tragacanth and a denim pad until smooth and glossy.
- Attach Lining (if applicable): Use contact cement sparingly to bond inner fabric or felt lining, ensuring no glue seeps onto visible surfaces.
- Final Conditioning: Apply leather balm to nourish the material and enhance color depth.
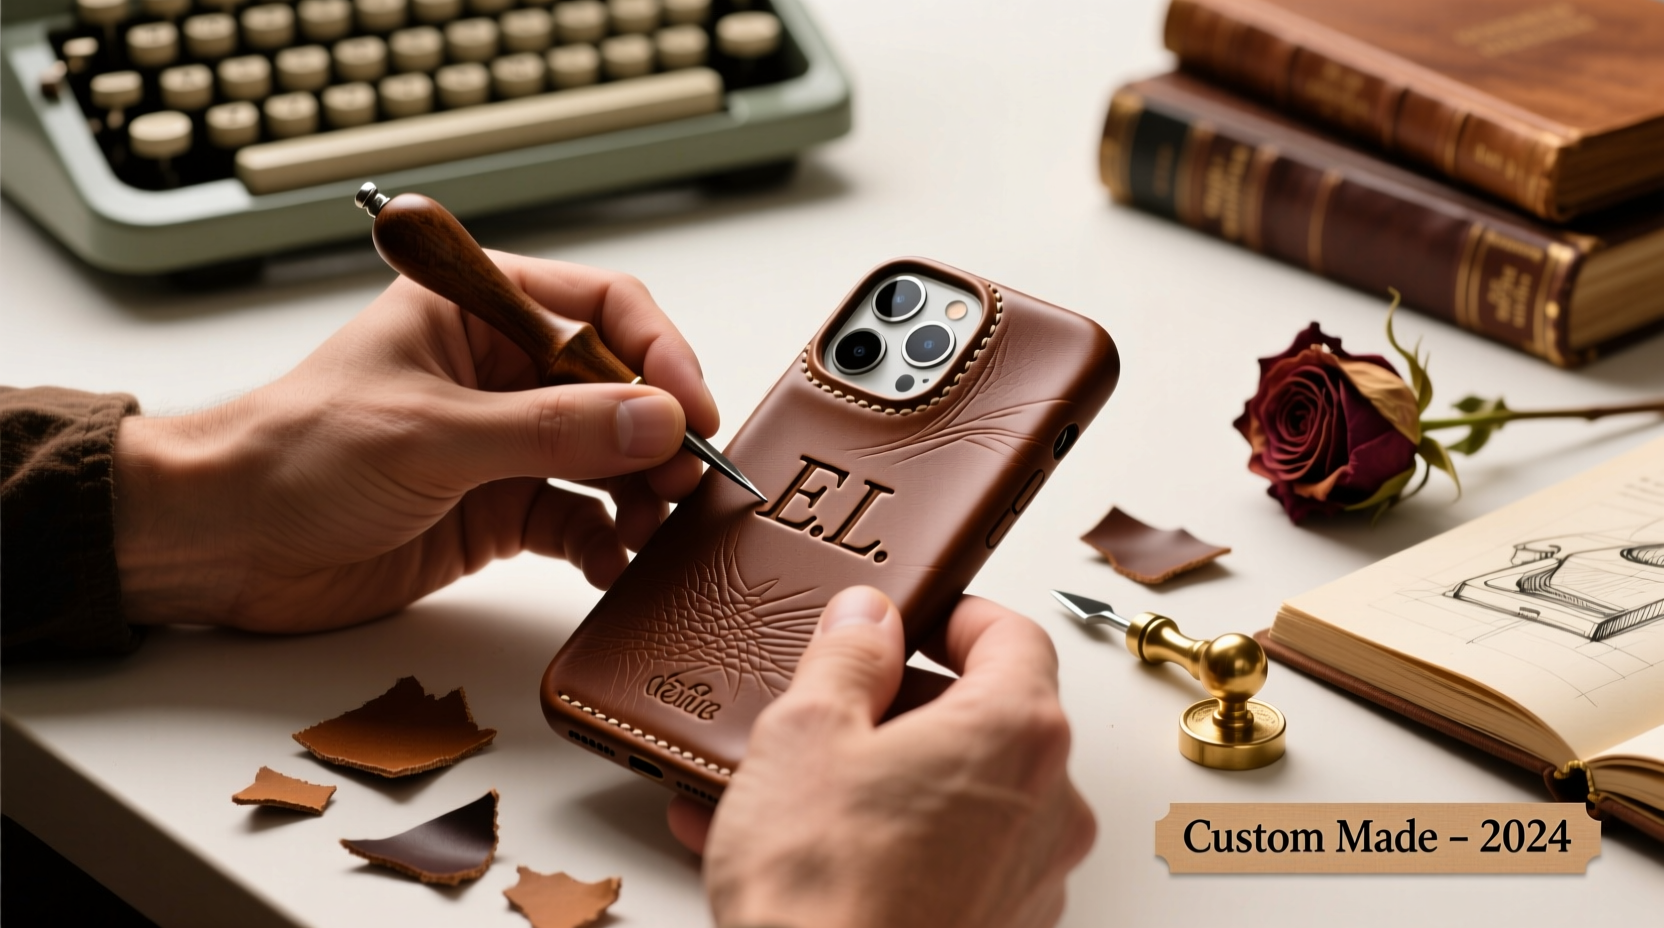
Real Example: A Minimalist Monogram Transformation
Sophia, a graphic designer in Portland, wanted a subtle yet distinctive look for her daily carry. She started with a plain chestnut-colored leather back cover. Using a single initial stamp (her surname’s first letter), she centered it below the camera cutout. After stamping, she applied black antique finish to highlight the impression, then wiped it clean for contrast. Finally, she edged the case with a honey-toned polish.
The result was understated elegance—recognizable as hers at a glance, but not flashy. Over six months of use, the leather developed a warm sheen, deepening the character of the design. Her colleagues began requesting similar customizations, proving that even minimal interventions leave a lasting impression.
Do’s and Don’ts of Leather Personalization
| Do | Don’t |
|---|---|
| Condition leather before starting to prevent cracking during stamping | Use oil-based paints—they can degrade leather fibers over time |
| Work from light to dark when layering colors | Over-wet the leather; excess moisture causes warping |
| Seal dyed surfaces with a matte or satin finish protectant | Apply heavy tooling near stress points like corners |
| Let each coat dry fully before handling or applying the next | Ignore grain direction when brushing on dye—it affects absorption |
Advanced Techniques for Unique Effects
Once comfortable with basics, explore elevated methods:
- Tooling vs. Stamping: Stamping creates instant impressions; hand-tooling involves carving outlines and shading manually for gallery-grade detail.
- Inlay Work: Cut out sections and insert contrasting leather pieces for mosaic-like effects.
- Pyrography: Use a wood-burning tool (with temperature control) to etch fine lines or gradients—ideal for nature motifs or portraits.
- Metallic Foil Application: Apply gold or silver leaf with adhesive and heat press for luxurious accents.
These require patience and practice but yield standout results. Start with small test swatches before attempting them on your final case.
FAQ
Can I personalize a leather case that’s already been used?
Yes, but only if the surface hasn’t been heavily soiled or coated with silicon-based protectants. Clean thoroughly with a leather prep solution first, then lightly abrade the area to be customized for better dye or paint adherence.
How do I ensure my design doesn’t wear off?
Use permanent leather dyes (not markers), seal with at least two layers of acrylic finisher, and condition regularly. Avoid abrasive pockets or rough surfaces that accelerate friction.
Is it safe to use a hairdryer to speed up drying?
No. Excessive heat can cause leather to shrink, warp, or develop cracks. Allow natural air drying in a well-ventilated room away from direct sunlight.
Checklist: Your Personalization Roadmap
- ☐ Choose full-grain vegetable-tanned leather (2–3 oz)
- ☐ Gather tools: stamps, mallet, dyes, edge slicker, transfer paper
- ☐ Sketch and finalize your design
- ☐ Trace and cut the case shape accurately
- ☐ Transfer the artwork using carbon paper
- ☐ Stamp or carve the design with consistent pressure
- ☐ Apply dye in thin, even coats
- ☐ Seal and condition the finished piece
- ☐ Test fit on your iPhone and adjust if needed
Conclusion
A personalized leather iPhone case transcends utility—it becomes a signature. With the right materials, mindful technique, and attention to detail, you can craft something no store can replicate. Whether you opt for a simple monogram or an elaborate scene, the value lies not just in appearance, but in ownership of the process.


 浙公网安备
33010002000092号
浙公网安备
33010002000092号 浙B2-20120091-4
Comments
No comments yet. Why don't you start the discussion?