
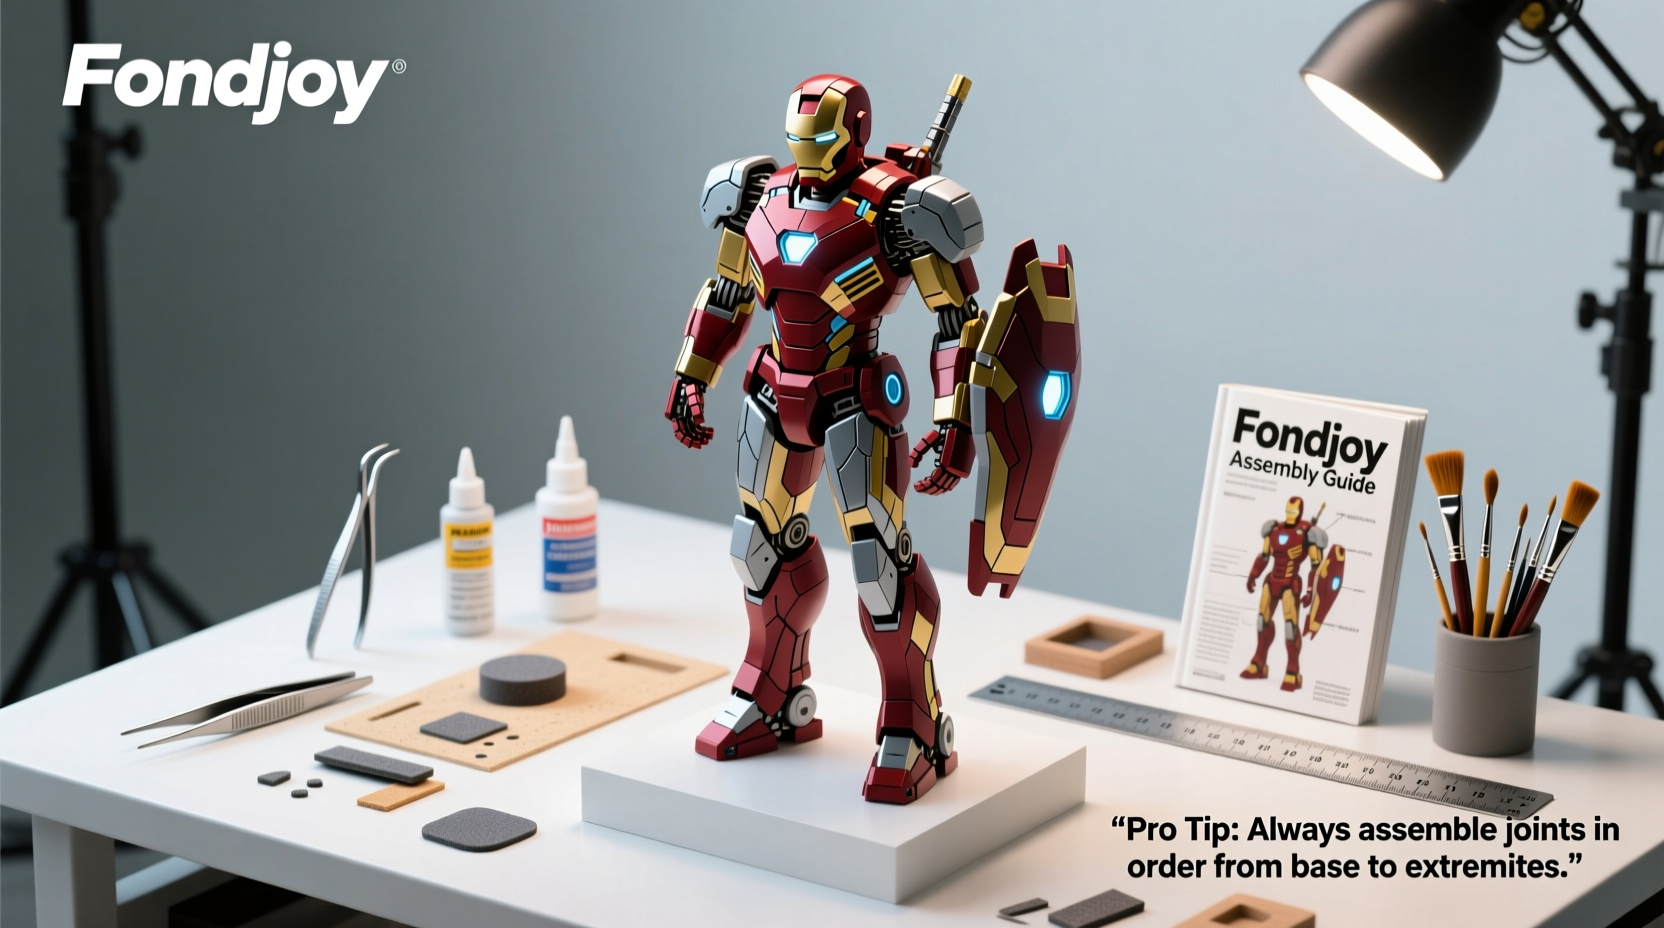
The Fondjoy Iron Man Mk45 model is a standout in the world of collectible action figures—meticulously detailed, highly articulated, and designed to impress even the most discerning enthusiasts. However, assembling it correctly requires more than just following the included instructions. A rushed or imprecise build can lead to misaligned joints, fragile connections, or compromised articulation. To ensure your Mk45 achieves both visual perfection and structural integrity, attention to detail and technique is essential.
This guide compiles field-tested strategies from experienced collectors and model engineers who have mastered the assembly process. Whether you're a seasoned builder or new to high-end collectibles, these insights will help you avoid common pitfalls and elevate your final result.
Pre-Assembly Preparation: Setting the Stage for Success
Before touching a single piece, proper preparation sets the foundation for a flawless build. Rushing into assembly without organizing components or assessing tools leads to confusion and mistakes—especially when dealing with small, similarly shaped parts.
Begin by carefully opening each sprue (plastic frame) with precision clippers rather than snapping pieces off by hand. This prevents stress fractures along connection points that may weaken joints later. Use a fine file or sanding stick to smooth any nubs or mold lines—particularly around ball joints and peg connectors.
Check the instruction manual thoroughly before starting. Note any symbols indicating orientation, such as L/R markings or color-coded tabs. Some users report minor discrepancies between versions of the manual; cross-reference online forums like CollectorVerse or Fondjoy’s official support portal if anything seems unclear.
Step-by-Step Assembly Guide
Follow this optimized sequence for efficient and accurate construction:
- Sort and identify all parts using the inventory list. Separate torso, limbs, head, armor plates, and accessories.
- Assemble internal frame first: Start with the central spine and chest core. These form the structural backbone.
- Attach primary limbs: Mount arms and legs onto the torso using recommended torque—snug but not forced.
- Install electronics (if applicable): The Mk45 includes optional LED lighting modules. Route wires through designated channels before sealing panels.
- Add armor segments in layers: Begin with inner plating, then progress outward. Pay close attention to overlapping seams.
- Finalize head and faceplate mechanisms: Ensure the helmet slides smoothly and eyes align symmetrically.
- Test range of motion: Move each joint through its full arc to confirm unrestricted movement.
Taking time during early stages pays dividends later. For example, installing wiring too late can require disassembling half-built sections—a frustrating setback easily avoided.
Common Pitfalls and How to Avoid Them
Even experienced builders encounter issues with the Mk45 due to tight tolerances and complex layering. Below are frequent problems and their solutions:
| Issue | Cause | Solution |
|---|---|---|
| Shoulder armor binds arm movement | Incorrect alignment of hinge pins | Reposition upper arm connector slightly outward before securing armor |
| Helmet fails to retract fully | Faceplate motor gear misalignment | Adjust micro-servo angle and verify track clearance |
| Legs wobble at hip joint | Over-tightened screw or worn socket | Use thread-locking gel sparingly; replace with reinforced joint insert if needed |
| Backpack unit doesn’t lock securely | Dust or debris in magnetic docking port | Clean contacts with isopropyl alcohol and cotton swab |
Expert Insight: Engineering Precision in Collectible Design
Dr. Alan Reyes, mechanical design consultant for premium collectibles, emphasizes the importance of patience in high-detail builds:
“Models like the Fondjoy Mk45 walk the line between art and engineering. Each component has a functional role beyond aesthetics. Builders who treat assembly like surgery—not carpentry—achieve superior results.” — Dr. Alan Reyes, Product Integrity Specialist
He recommends dry-fitting major sections before final tightening. This allows you to detect interference points and adjust positioning without committing to irreversible connections.
Pro Tips Checklist for Flawless Results
Use this checklist during assembly to maintain quality control:
- ✅ Inspect every part under magnification for flash or defects
- ✅ Use tweezers and needle-nose pliers for precise handling
- ✅ Follow torque guidelines—hand-tight only unless specified
- ✅ Test articulation after each major stage
- ✅ Keep spare screws and clips in a magnetic tray
- ✅ Verify symmetry frequently using a mirror or reference photo
- ✅ Allow adhesive 24 hours to cure if used (only recommended for non-moving parts)
Real Example: Recovering from a Critical Misstep
Mark T., a long-time collector from Austin, shared his experience assembling his Mk45. After attaching the left forearm armor, he noticed the elbow wouldn't bend past 90 degrees. Assuming a faulty joint, he nearly disassembled the entire arm—until he paused and reviewed the manual again.
He discovered the issue: a thin wire from the palm LED had been pinched between the joint housing and outer casing. By gently retracting the panel and rerouting the wire through the internal channel, full mobility was restored. His takeaway? “Always check for hidden obstructions before forcing movement.”
“Sometimes the problem isn’t the part—it’s what’s hiding behind it.” — Mark T., Senior Collector & Forum Moderator
Frequently Asked Questions
Can I paint or customize my Mk45 during assembly?
Yes, but only use acrylic-based paints formulated for plastics. Spray in thin coats and avoid clogging joints or sensors. Painting before full assembly makes finishing easier and reduces risk of overspray on electronics.
What should I do if a screw breaks inside a threaded post?
Stop immediately. Use a micro extraction kit with a reverse drill bit. If inaccessible, contact Fondjoy customer service—they offer free replacement frames for registered models within the first year.
Is it safe to pose the Mk45 aggressively for display?
Moderate posing is fine, but avoid locking joints at extreme angles for prolonged periods. Over time, this can stretch internal bands or crack housing. Rotate poses monthly to preserve elasticity.
Final Thoughts and Call to Action
Assembling the Fondjoy Iron Man Mk45 model is more than a hobby—it’s a craft. With precision, care, and the right techniques, your finished piece won’t just look stunning; it will function flawlessly for years to come. Every smoothed seam, perfectly aligned plate, and fluid joint reflects the dedication you put into the process.
Don’t settle for “good enough.” Apply these expert tips, learn from real-world experiences, and take pride in creating something truly exceptional. Share your completed build online, tag fellow enthusiasts, and inspire others to build with intention.


 浙公网安备
33010002000092号
浙公网安备
33010002000092号 浙B2-20120091-4
Comments
No comments yet. Why don't you start the discussion?