
Temporary back tattoos offer a bold, expressive way to showcase art without commitment. Whether for a special event, a fashion statement, or just experimenting with style, a well-applied temporary tattoo can look strikingly real. But the back presents unique challenges: hard-to-reach areas, natural curves, and inconsistent skin texture. Without proper technique, smudging, bubbling, or uneven adhesion can ruin the effect. The difference between an amateur result and a professional-looking finish lies in preparation, application precision, and aftercare. This guide delivers expert-backed methods to help you apply temporary back tattoos smoothly and evenly every time.
1. Prepare the Skin Thoroughly
Clean, dry skin is the foundation of any successful temporary tattoo application. Oils, sweat, lotions, or dead skin cells create a barrier that prevents the transfer film from adhering properly. On the back, where sweat glands are active and clothing friction is common, this step is especially critical.
Begin by washing the area with mild soap and lukewarm water. Avoid moisturizing soaps or body washes with oils. Use a soft washcloth to gently exfoliate—this removes surface debris and creates a smoother canvas. Rinse thoroughly and pat dry with a clean towel. Do not rub, as this can irritate the skin and create micro-abrasions that affect adhesion.
If you’ve recently shaved the area, wait 24 hours to avoid irritation. Applying a transfer over freshly shaved skin increases the risk of redness and poor adhesion due to micro-cuts.
2. Choose the Right Tattoo Type and Size
Not all temporary tattoos are created equal. For back applications, consider both material and scale. Water-slide transfers, commonly found in kits, work best for large, detailed designs. They adhere more evenly across broad surfaces than sticker-style tattoos, which often peel at the edges on curved areas.
Select a design proportionate to your back size. A small tattoo centered between the shoulder blades may look lost, while an oversized piece could stretch beyond comfortable contours. Measure the intended placement using tape or a washable marker before committing.
| Tattoo Type | Best For Back? | Pros | Cons |
|---|---|---|---|
| Water-slide transfers | Yes | Smooth adhesion, high detail, durable | Requires precise timing, careful handling |
| Stick-on decals | Limited | Easy to apply, widely available | Poor edge retention, prone to peeling |
| Henna (natural) | Yes | Organic, artistic, long-lasting | Stains skin, not removable, skill-dependent |
| Press-on metallic foils | No | Shiny, trendy look | Fragile, poor flexibility on back curves |
For intricate or expansive back pieces, professional-grade airbrush tattoos or custom transfers from specialty vendors yield superior results. These are applied with a solvent spray and require sealing but offer unmatched realism and longevity.
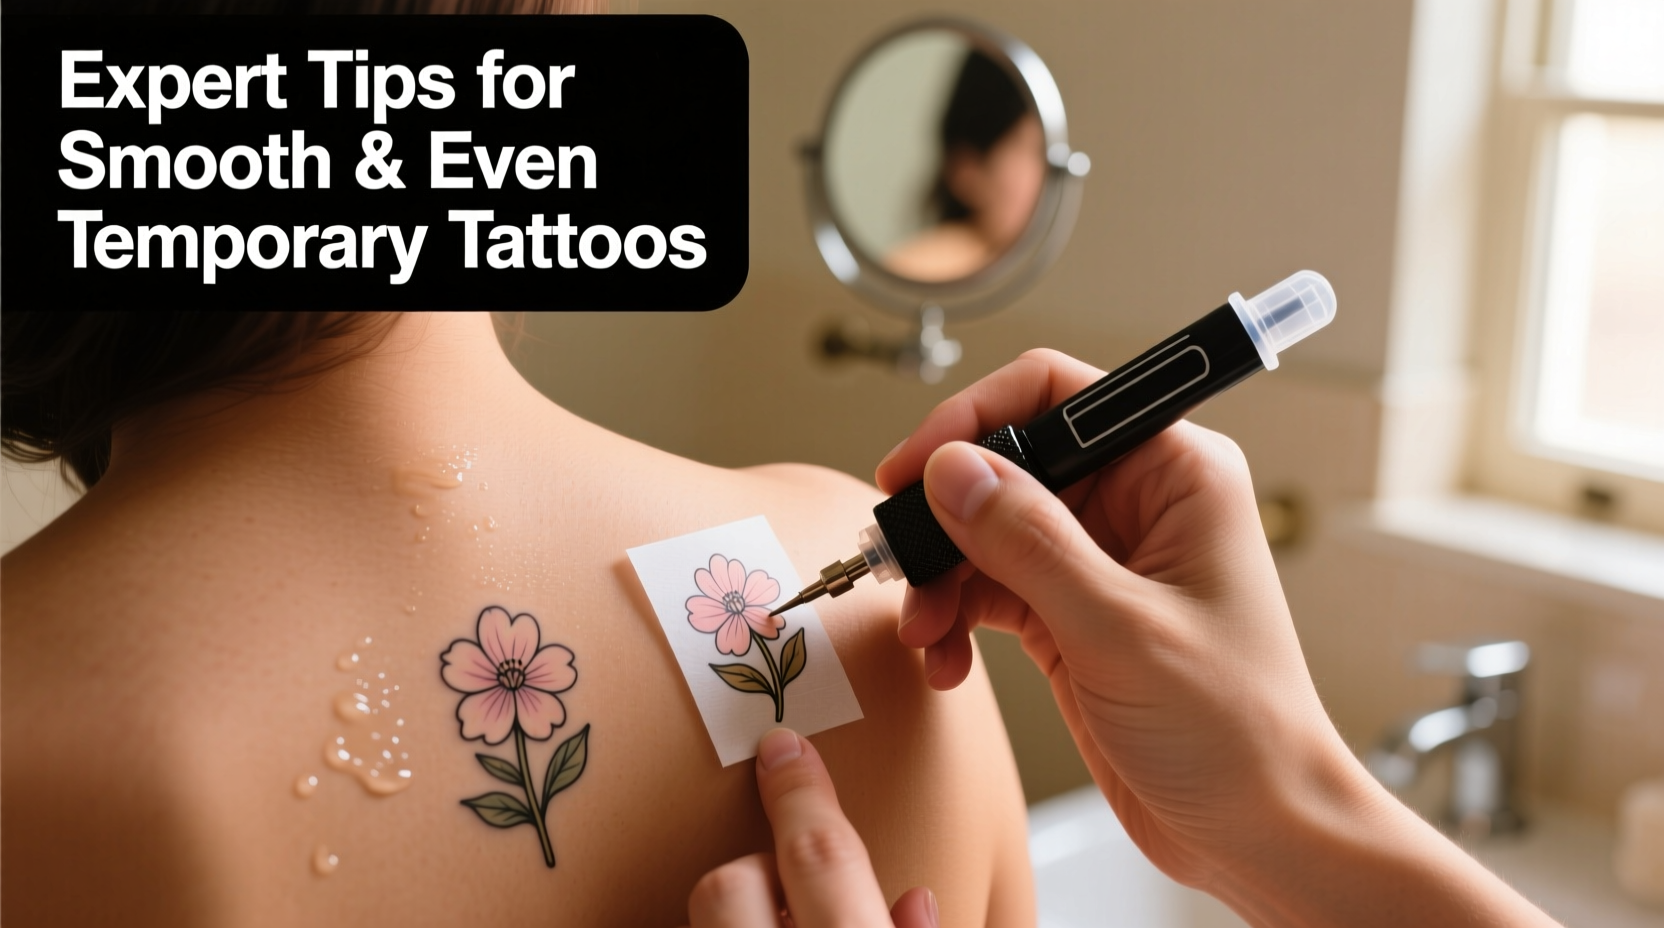
3. Step-by-Step Application Process
Applying a tattoo to your back solo requires planning and tools. Enlist a helper if possible, but if not, use mirrors and extenders to maintain control.
- Cut and position: Trim excess paper around the design, leaving a small border. Determine orientation—many people misalign tattoos vertically when working alone.
- Dampen the skin: Lightly mist the area with water using a fine spray bottle. The skin should be moist but not wet.
- Apply the transfer: Place the tattoo face-down on the skin. Press gently with a flat palm, starting from the center and moving outward to eliminate air pockets.
- Activate with water: Soak a sponge or cloth and press it firmly over the backing paper for 30–60 seconds. Maintain even pressure.
- Peel slowly: Start at one edge and lift the paper at a 45-degree angle. If the ink resists, reapply moisture briefly and try again.
- Blot and seal: Gently pat dry with a tissue. Apply a thin layer of translucent powder or setting spray to reduce shine and protect the image.
4. Real-World Example: Festival-Ready Back Tattoo
Sophie, a 28-year-old event stylist, needed a dramatic yet durable temporary tattoo for a music festival. She chose a large mandala water-transfer design spanning from her upper spine to mid-back. Working with a friend, she prepped her skin with alcohol wipes (after testing on a small patch), then applied the transfer using a damp sponge. They used a full-length mirror and side handheld mirror to align the top center with her vertebrae.
After a 45-second soak, they peeled the backing slowly. One small bubble formed near the right shoulder blade—immediately addressed by re-wetting and smoothing with a silicone applicator. Sophie sealed the tattoo with makeup setting spray and avoided tight clothing. The tattoo remained intact for six days despite dancing, sweating, and swimming.
This case highlights how teamwork, proper tools, and attention to detail overcome the challenges of back application.
5. Expert Insight on Longevity and Finish
“Most temporary tattoo failures come down to rushed prep, not poor product quality. Take five extra minutes to clean and dry the skin, and you’ll see a dramatic improvement in wear time and clarity.” — Jordan Lee, Special Effects Makeup Artist & Body Art Consultant
Lee emphasizes that humidity, movement, and fabric contact are the main enemies of back tattoos. He recommends avoiding silk or wool garments directly over the tattooed area, as fibers can snag or absorb adhesive. Instead, opt for breathable cotton or wear the tattoo under loose layers.
Common Mistakes to Avoid
- Skipping skin prep: Even invisible oils block adhesion.
- Rushing the soaking time: Under-soaking leads to incomplete transfer; over-soaking dissolves the ink.
- Peeling too quickly: Always remove the backing paper slowly and at an angle.
- Touching the tattoo immediately: Let it set for at least 5 minutes before dressing.
- Ignoring environmental factors: Humid climates weaken adhesion—consider waterproof sealants.
FAQ
How long do temporary back tattoos last?
With proper care, most water-transfer tattoos last 5–7 days. Factors like skin type, location, and exposure to water or friction affect longevity. Sealing with a cosmetic fixative can extend wear by 2–3 days.
Can I swim with a temporary back tattoo?
Yes, but minimize prolonged submersion. Chlorine and saltwater accelerate fading. Apply a waterproof barrier spray before swimming and rinse with fresh water afterward.
How do I remove a temporary tattoo safely?
Use rubbing alcohol, baby oil, or adhesive remover on a cotton pad. Gently rub the area in circular motions. Avoid scrubbing, which can irritate the skin. For stubborn residue, repeat after a few minutes.
Final Checklist for Flawless Application
- Exfoliate and clean the back area with oil-free soap.
- Dry completely—wait 10+ minutes after showering.
- Select a water-slide transfer appropriate for size and detail.
- Align the tattoo using mirrors or assistance.
- Apply with even pressure and correct soaking time.
- Peel slowly and inspect for gaps or bubbles.
- Seal with setting spray or translucent powder.
- Avoid tight clothing and excessive moisture for the first hour.
Conclusion
Achieving a smooth, even temporary back tattoo isn’t magic—it’s method. From meticulous skin preparation to strategic sealing, each step plays a role in transforming a simple decal into a stunning body feature. Whether you're preparing for a performance, a photoshoot, or personal expression, these expert techniques ensure your design stays sharp, symmetrical, and secure. Don’t settle for patchy edges or premature fading. Master the process, respect the details, and wear your art with confidence.


 浙公网安备
33010002000092号
浙公网安备
33010002000092号 浙B2-20120091-4
Comments
No comments yet. Why don't you start the discussion?