
A cluttered pantry doesn’t just make cooking stressful—it can lead to wasted food, forgotten expiration dates, and daily frustration. Many people assume that organizing a small pantry requires a shopping spree for matching bins, jars, and fancy labels. But the truth is, effective organization doesn’t depend on spending money. It depends on smart systems, thoughtful sorting, and consistent habits. With a few strategic changes, you can transform even the tiniest pantry into a streamlined, functional space using only what you already own.
Assess and Remove: The First Step to Real Clarity
Before rearranging or reorganizing, you need visibility. Start by removing everything from your pantry. Yes, everything. This may seem extreme, but it’s essential. Only when items are laid out can you see what you truly have, identify duplicates, spot expired goods, and assess packaging efficiency.
As you pull each item out, place it on a nearby counter or table and immediately sort it into one of four categories:
- Keep – Items in good condition, unexpired, and regularly used.
- Donate/Sell – Unopened non-perishables you won’t use (e.g., gifts, impulse buys).
- Trash – Expired, stale, or damaged products.
- Relocate – Items that belong elsewhere (spices near stove, snacks in kids’ reach zone, etc.).
This purge isn’t just about clearing space. It resets your relationship with your pantry. You’ll gain awareness of consumption patterns, notice which foods go unused, and eliminate decision fatigue at mealtime. After this step, wipe down shelves with a damp cloth and mild cleaner. A clean base makes reorganization more satisfying and hygienic.
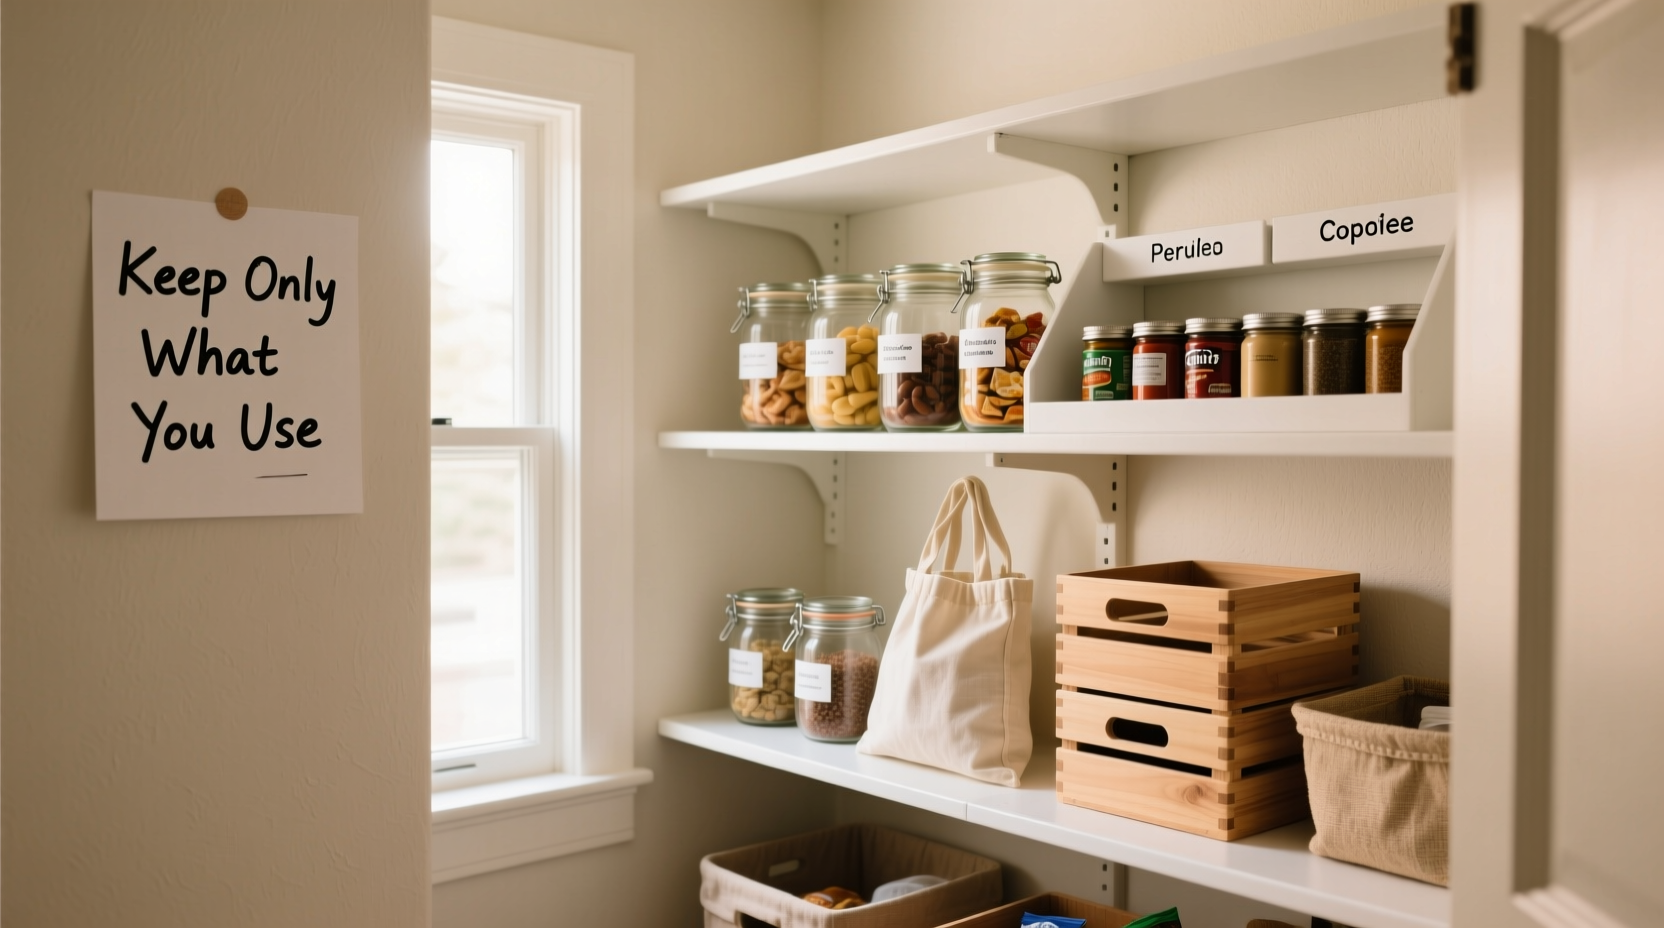
Group Like with Like: The Foundation of Functional Flow
Once your pantry is empty and cleaned, group remaining items by category. This step creates logic in storage and reduces search time. Common categories include:
- Baking supplies (flour, sugar, baking powder)
- Canned goods (vegetables, beans, soups)
- Pasta, rice, and grains
- Snacks (chips, crackers, nuts)
- Breakfast items (cereal, oatmeal, pancake mix)
- Condiments and sauces
- Spices and seasonings
- Beverage mixes (coffee, tea, hot chocolate)
Think beyond ingredients—consider how you cook. For example, keep taco night essentials together: tortillas, seasoning, canned beans, salsa. Or group “lunchbox staples” like granola bars, fruit cups, and string cheese for easy access.
“Organization starts not with containers, but with context. Group items based on how they’re used, not just what they are.” — Laura Bennett, Home Efficiency Consultant
Physical grouping also reveals inefficiencies. Do you have three half-used bags of rice? Consolidate them into one container later—but first, just get them together. This stage is about clarity, not perfection.
Repurpose What You Already Own
Before buying new containers, look around your kitchen. You likely already have suitable storage tools hiding in cabinets or drawers. Repurposing existing items saves money and reduces waste.
Consider these common household items as potential organizers:
- Glass jars from pasta sauce, pickles, or jam—excellent for dry goods like flour, sugar, or lentils.
- Plastic tubs from yogurt, cottage cheese, or deli salads—ideal for snacks or bulk items.
- Tupperware with lids—use for portioned grains or prepped ingredients.
- Cardboard boxes—cut down cereal boxes to create upright dividers for wraps, tortillas, or flat packages.
- Reusable shopping bags—small ones can hold onions, potatoes, or apples to improve airflow.
| Item to Store | Best Repurposed Container | Tips for Use |
|---|---|---|
| Dry pasta | Large peanut butter jar | Label with masking tape; store upright |
| Oats or cereal | Clean tin can (soup/coffee) | Wrap with fabric or paper for visual appeal |
| Chips or crackers | Plastic deli container | Clip original bag inside if resealable |
| Onions/potatoes | Mesh produce bag or basket | Hang or place on shelf for ventilation |
| Tea bags | Empty tissue box | Store open-end up for easy access |
Real Example: Maria’s Apartment Pantry Makeover
Maria lives in a 600-square-foot apartment with a pantry barely 18 inches wide. She had given up on organization, storing items haphazardly in original packaging. After reading about repurposing, she spent one evening pulling everything out and grouping items. She used six glass jars from past purchases to consolidate rice, quinoa, lentils, and sugar. Canned goods were stacked vertically in two rows. Snacks went into three plastic deli containers she’d saved. She cut down two cereal boxes to act as vertical dividers for flat items like tortillas and flatbreads.
The result? Her pantry now holds 30% more, and she sees everything at a glance. “I’m not buying fancy bins,” she says, “but I finally know what I have. I’ve saved money because I’m not doubling up on stuff I forgot I owned.”
Create Zones Without Spending a Dime
Zoning is a professional organizing principle that divides a space into functional areas based on use. In a small pantry, zones prevent chaos and make retrieval intuitive. The key is positioning—not purchasing.
Map your pantry vertically and horizontally:
- Top shelf: Light-use or seasonal items (holiday baking supplies, extra napkins).
- Middle shelf: Daily essentials (cooking oils, spices, frequently used grains).
- Lower shelf: Heavy or bulky items (canned goods, large bottles, pet food).
- Door: Flat or lightweight items (foil, parchment paper, spice packets).
Use spatial cues to define zones. For example, place all baking items in the back left corner, snacks in the front right. No labels needed—your brain will remember the pattern over time.
If your pantry has adjustable shelves, customize heights to fit common items. Leave space above tall jars so they can be removed easily. Avoid stacking boxes too high—they become unstable and block visibility.
Step-by-Step: The 60-Minute Pantry Reset
You don’t need a weekend to make meaningful progress. Follow this timeline for a complete refresh in under an hour:
- 0–15 min: Empty pantry and sort items into Keep/Donate/Trash/Relocate piles.
- 15–20 min: Wipe shelves and assess layout.
- 20–30 min: Group like items and choose repurposed containers.
- 30–50 min: Place items back by zone, prioritizing eye-level access for daily use.
- 50–60 min: Label containers with tape or sticky notes; do a final sweep for strays.
This method works best when done monthly. Set a recurring calendar reminder for a “Pantry Check-In” to maintain order.
Maintain the System: Habits That Prevent Re-Clutter
The most elegant system fails without maintenance. The goal isn’t a one-time cleanup but sustainable habits. Here’s how to keep your pantry functional long-term:
- First In, First Out (FIFO): When restocking, move older items to the front. This prevents food waste and ensures rotation.
- One In, One Out: For every new item added, remove an old or unused one. This keeps volume manageable.
- Shop with a list—and stick to it: Impulse buys disrupt organization. Plan meals weekly and buy accordingly.
- Repackage immediately: Don’t store open cereal bags or torn boxes. Transfer contents to a sealed container right after opening.
- Weekly scan: Spend 5 minutes each week checking for expiring items, wiping spills, and straightening containers.
“Clutter returns when systems aren’t simple. If your method requires too much effort, it won’t last.” — David Kim, Minimalist Living Advocate
Also, involve household members. Teach children where snacks live. Show partners where cooking oils or spices are stored. Shared understanding prevents disorganization.
Decluttering Checklist
Use this checklist during your next pantry reset:
- ☐ Remove all items from pantry
- ☐ Discard expired or damaged food
- ☐ Donate unneeded unopened goods
- ☐ Wipe shelves clean
- ☐ Group items by category
- ☐ Select repurposed containers (jars, tubs, cans)
- ☐ Assign zones (top, middle, bottom, door)
- ☐ Label containers with tape or tags
- ☐ Implement FIFO system
- ☐ Schedule next review in 4 weeks
Frequently Asked Questions
Can I organize a deep pantry without containers?
Absolutely. Use staggered placement—put taller items in back, shorter ones in front—so nothing gets buried. Turn boxes sideways to see contents, or clip tops of bags to shelf edges.
How do I stop my pantry from getting messy again?
Build in micro-habits: always return items to their zone, clean spills immediately, and do a 5-minute tidy weekly. Systems fail when they rely on motivation instead of routine.
What if I don’t have any jars or containers at home?
You don’t need them. Keep dry goods in their original packaging, but fold tops closed and secure with clips or rubber bands. Stack items neatly and face labels outward for visibility.
Final Thoughts: Simplicity Is Sustainable
A well-organized pantry isn’t defined by matching containers or Instagram-worthy aesthetics. It’s defined by function, accessibility, and peace of mind. You don’t need to spend money to gain control—just intention, a bit of time, and a willingness to rethink what “organized” really means.
Start small. Clear one shelf today. Group your snacks tomorrow. Repurpose one jar this week. Progress compounds. Before long, you’ll open your pantry without dread, find what you need instantly, and feel confident in your kitchen’s rhythm.


 浙公网安备
33010002000092号
浙公网安备
33010002000092号 浙B2-20120091-4
Comments
No comments yet. Why don't you start the discussion?