
In the age of visual storytelling, video content dominates digital platforms—but sometimes, a single frame can carry more impact than minutes of motion. Whether you're creating promotional thumbnails, capturing behind-the-scenes moments, or extracting reference frames for design work, pulling high-quality stills from video is an essential skill. However, not all exported frames are created equal. Many end up blurry, pixelated, or poorly timed due to improper techniques. The difference between a usable image and a wasted export lies in preparation, tools, and method.
This guide delivers actionable strategies used by professional editors and content creators to extract sharp, detailed stills that stand up to scrutiny—even in print or large-format displays. From camera settings to post-processing workflows, every step matters when preserving image integrity from motion footage.
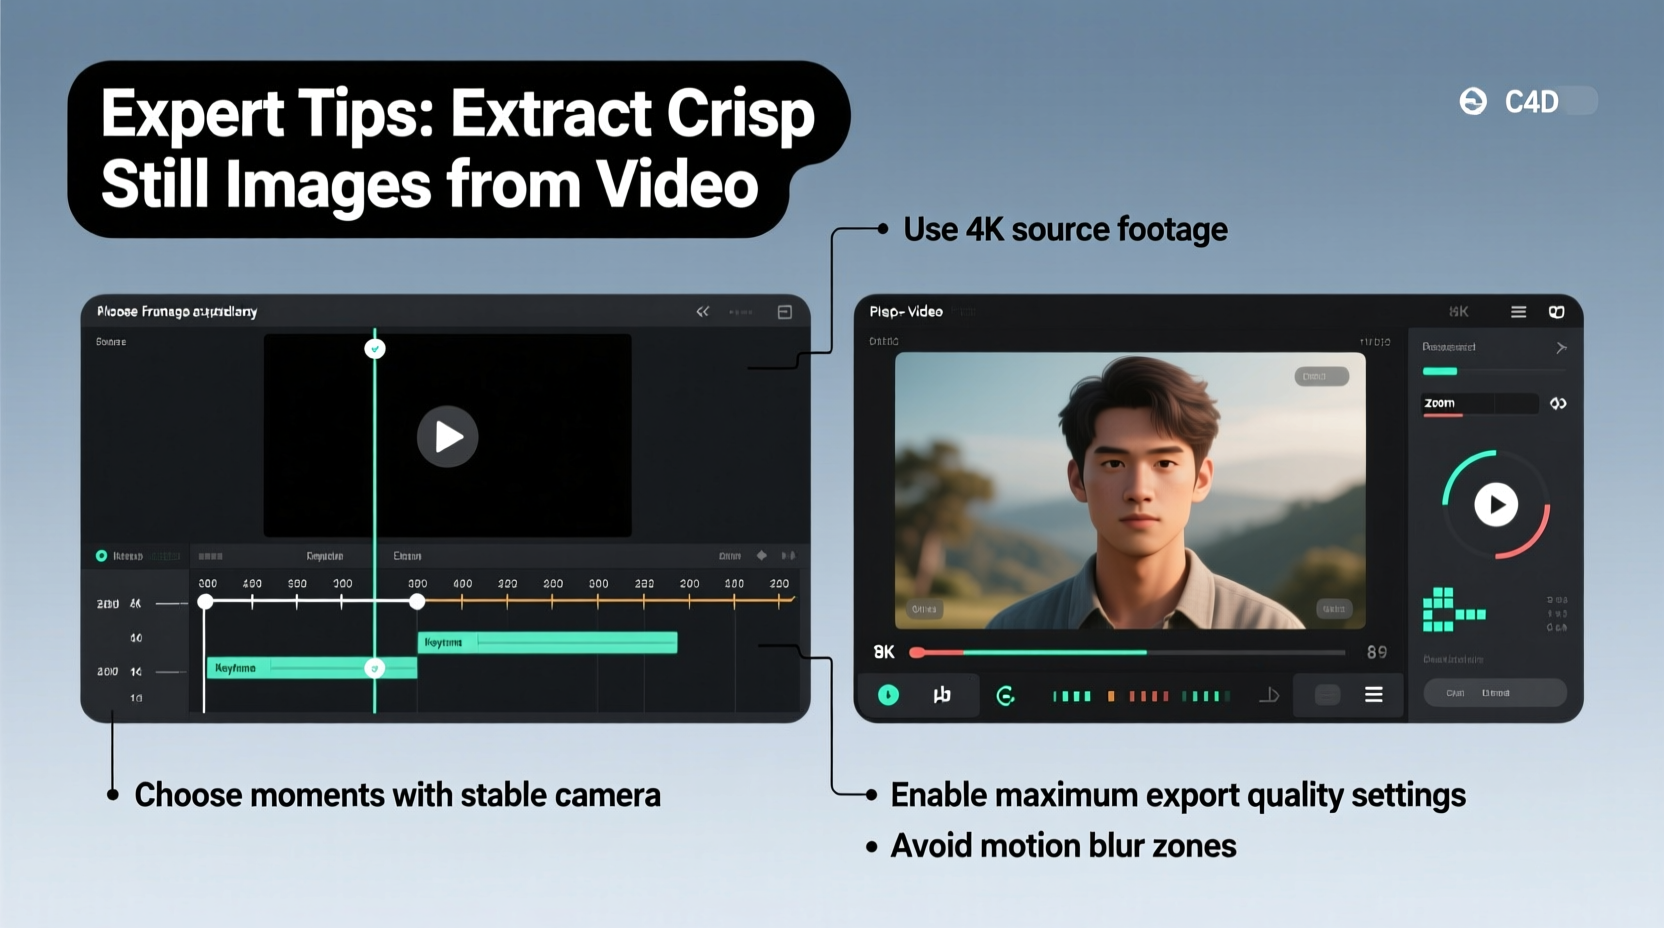
Choose the Right Source Footage
The foundation of any high-quality still extraction begins long before editing: it starts at the moment of recording. No amount of software enhancement can compensate for poorly shot source material. To maximize clarity, shoot using the highest resolution and bitrate your equipment allows. 4K footage provides four times the pixel data of 1080p, giving you significantly more detail to work with when isolating a single frame.
Additionally, prioritize higher bitrates over longer recording times. A high bitrate preserves fine textures and reduces compression artifacts like macroblocking, which often become glaringly obvious when zooming into a still frame.
Avoid heavy digital zoom or excessive cropping during filming unless absolutely necessary. Each crop reduces effective resolution, limiting how large you can scale the final image without degradation.
Optimize Playback and Frame Selection
Not every frame in a video sequence is equally sharp. Motion blur, autofocus hunting, and rolling shutter effects can ruin otherwise perfect moments. To identify the crispest possible frame, slow down playback to 1/4 speed or use frame-by-frame navigation (usually controlled with left/right arrow keys).
Zoom into critical areas—eyes in portraits, text on signs, fabric textures—while reviewing frames. Most editing software allows you to view clips at 100% magnification. This helps reveal subtle blur or compression noise invisible at lower zoom levels.
Stabilized footage generally yields sharper stills. If your original clip suffers from handheld shake, apply stabilization before export—but do so cautiously. Over-stabilization can introduce warping or edge softening, especially near frame boundaries.
“Frame selection is as important as focus during shooting. One perfectly timed, sharply focused frame can outperform dozens of blurry ones.” — Daniel Reyes, Senior Video Editor, Luminary Studios
Export Using the Correct Settings and Tools
How you extract the still determines its final quality. Avoid right-clicking a preview window and selecting “Save Frame As…” in basic players—they often capture interlaced fields or compressed previews rather than full-resolution frames.
Instead, use dedicated video editing or transcoding software designed for precision output. Applications like Adobe Premiere Pro, DaVinci Resolve, or FFmpeg allow you to export uncompressed TIFF or PNG files directly from the timeline, ensuring maximum fidelity.
| Software | Best For | Recommended Export Format |
|---|---|---|
| Adobe Premiere Pro | Professional workflows, multi-cam projects | TIFF or PNG (uncompressed) |
| DaVinci Resolve | Color grading integration, free version available | PNG or EXR (for HDR) |
| FFmpeg (CLI) | Bulk exports, automation | png -q:v 0 (lossless) |
| VLC Media Player | Quick one-offs (limited control) | JPEG (lower quality) |
When exporting, disable chroma subsampling if possible. Formats like JPEG use 4:2:0 chroma sampling by default, reducing color resolution and introducing artifacts. For critical applications, prefer formats that preserve full RGB information.
Step-by-Step: Extracting a High-Quality Still in DaVinci Resolve
- Import your video clip into the timeline.
- Scrub through the timeline and pause on the desired frame.
- Right-click the viewer and select “Grab Still” to add it to the gallery.
- In the Still Gallery, right-click the captured frame and choose “Export”.
- Select PNG format and ensure “Include Alpha” is off unless transparency is needed.
- Set export location and confirm.
- Verify the file size—larger sizes (e.g., 5–20MB for 4K) indicate good data retention.
Avoid Common Pitfalls: Do’s and Don’ts
Even experienced creators make mistakes when extracting stills. These errors compromise image quality and limit usability across different media.
| Action | Do | Don't |
|---|---|---|
| Resolution | Extract from native resolution source | Upscale low-res footage expecting sharpness |
| File Format | Use PNG or TIFF for lossless quality | Rely solely on JPEG for archival or print |
| Focus | Check critical focus points at 100% | Trust auto-focus without manual verification |
| Lighting | Shoot in well-lit conditions to reduce noise | Extract frames from underexposed or noisy scenes |
| Compression | Use intraframe codecs like ProRes or DNxHR | Work exclusively with heavily compressed H.264/AVC |
Real-World Example: Behind the Scenes of a Fashion Campaign
A New York-based photographer was tasked with delivering both video content and hero stills for a luxury fashion brand’s seasonal campaign. Rather than scheduling separate photo and video shoots, the team opted to extract keyframes from 6K RAW video footage captured on a Blackmagic Pocket Cinema Camera.
By carefully choreographing model movements and using precise lighting setups, they ensured each scene had multiple sharp, well-composed frames. In post-production, they reviewed every take at 100% zoom, selected optimal frames, and exported them as 16-bit TIFFs. After minor color correction in Lightroom, the extracted images were indistinguishable from traditional DSLR photos and were used across billboards, social media, and print catalogs.
This approach saved time, reduced production costs, and maintained visual consistency between moving and static assets—all because the team prioritized image quality at every stage.
Frequently Asked Questions
Can I get a printable-quality image from 1080p video?
Yes, but with limitations. A 1920×1080 frame contains roughly 2.1 megapixels—suitable for small prints (up to 6×9 inches at 300 DPI). For larger prints or detailed work, 4K or higher resolution source is strongly recommended.
Why does my exported still look blurrier than the video playback?
This often occurs when the playback app uses interpolation to upscale a lower-resolution stream. Always export from the original, full-resolution file. Additionally, some players display sharpened previews; what looks sharp there may be soft in reality.
Is it better to record in slow motion for still extraction?
Slow-motion footage (e.g., 60fps or 120fps) increases the chance of catching a perfectly timed, motion-freeze frame. However, many cameras reduce resolution or apply crop factors in high-frame-rate modes. Balance frame rate with resolution based on your primary goal.
Maintain Quality from Capture to Output
Extracting high-quality stills from video isn’t magic—it’s methodology. Every decision, from sensor settings to export format, contributes to the final result. By treating your video not just as moving images but as a reservoir of potential photographs, you unlock new value from existing content.
Start applying these practices in your next project: shoot in high resolution and bitrate, review frames meticulously, use professional-grade software, and export in lossless formats. Whether you're a filmmaker, marketer, or multimedia artist, mastering this process ensures you never miss a defining moment—and that when you capture it, it looks flawless.


 浙公网安备
33010002000092号
浙公网安备
33010002000092号 浙B2-20120091-4
Comments
No comments yet. Why don't you start the discussion?