
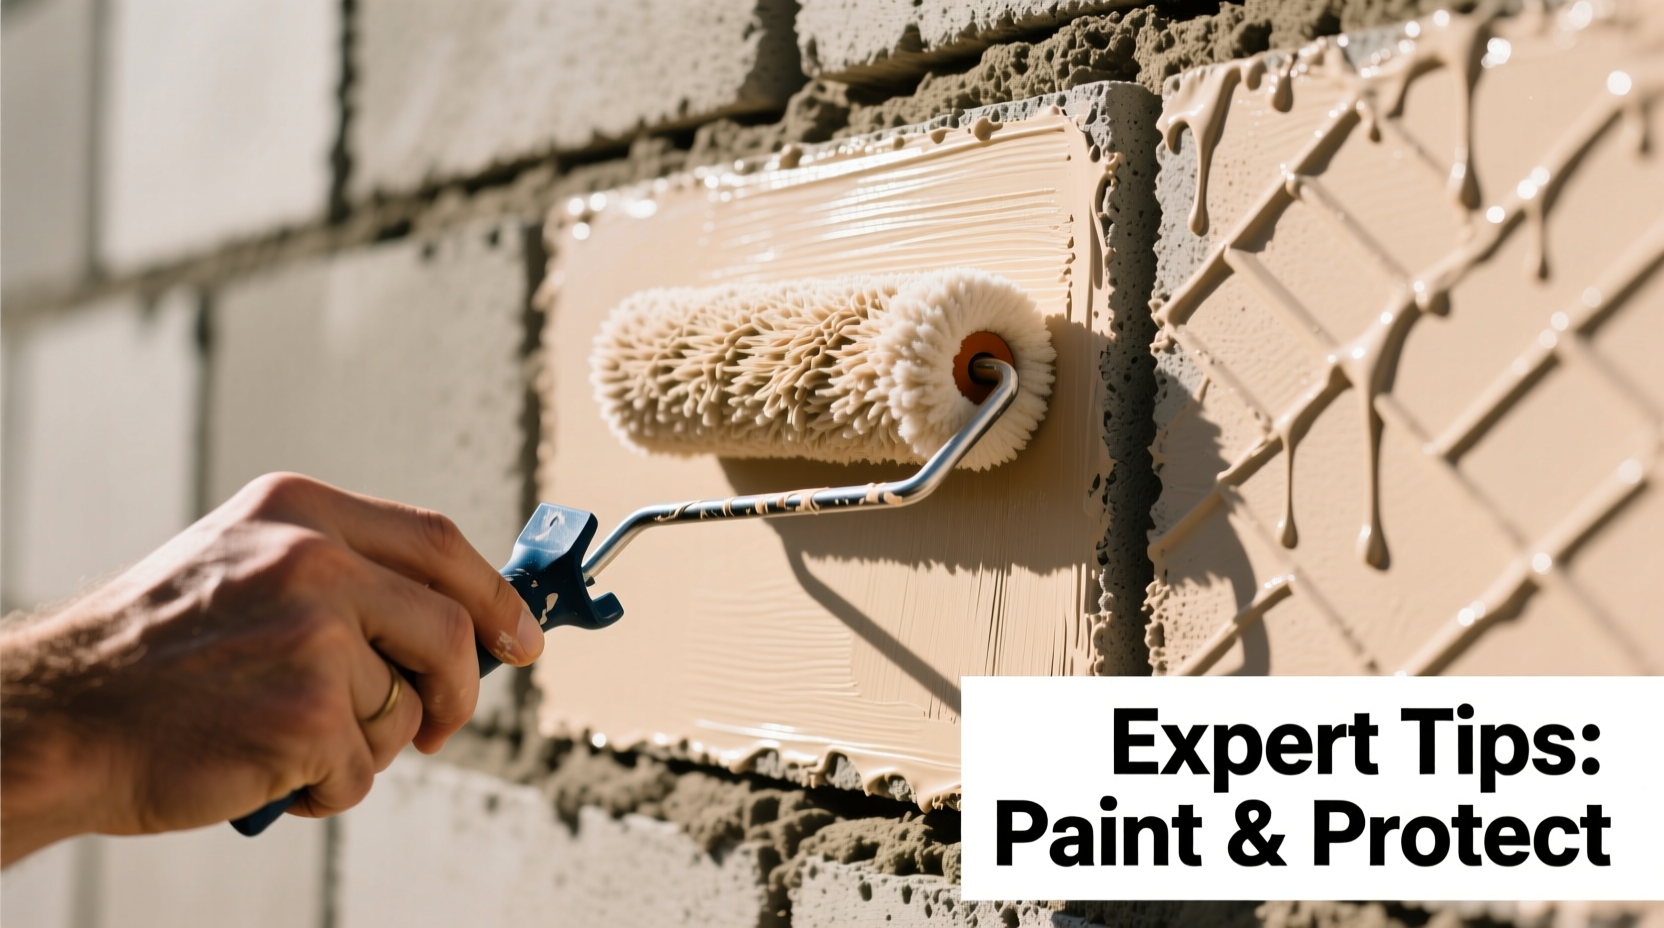
Painting cinder blocks can transform a drab basement, garage, or outdoor retaining wall into a clean, modern space. However, unlike drywall or wood, cinder blocks are porous, uneven, and prone to moisture, making the painting process more complex. Done incorrectly, paint will peel, crack, or bubble within months. But with the right preparation, materials, and technique, you can achieve a smooth, durable finish that lasts for years. This guide walks through every phase of the process—from surface prep to final coat—using expert-backed methods that contractors rely on.
Why Painting Cinder Blocks Is Different
Cinder blocks, also known as concrete masonry units (CMUs), are made from concrete and coal cinders, giving them high porosity and a rough texture. They absorb moisture easily and may contain efflorescence—a white, powdery residue caused by water-soluble salts migrating to the surface. These characteristics mean standard latex paint won’t adhere properly without intervention.
According to the Masonry Institute of America, “Paint failure on masonry is rarely due to the paint itself—it’s usually a result of poor surface preparation or ignoring moisture issues.” That’s why treating the substrate correctly is more important than the brand of paint you choose.
“Success starts before the brush touches the wall. If the block isn’t sound, sealed, and dry, even premium paint will fail.” — Carlos Mendez, Commercial Masonry Contractor with 20+ years of experience
Step-by-Step Guide to Painting Cinder Blocks
Follow this proven sequence to ensure your painted cinder block surfaces remain attractive and intact for a decade or more.
- Inspect and Repair the Surface
Check for cracks, crumbling edges, or loose mortar. Use a wire brush to remove flaking material. Patch deep cracks with hydraulic cement; shallow ones with masonry patching compound. Allow repairs to cure fully (usually 24–48 hours). - Clean Thoroughly
Mix a solution of trisodium phosphate (TSP) and water (1 cup TSP per gallon of warm water). Scrub the entire surface with a stiff nylon brush. Rinse with a garden hose or pressure washer (use low pressure—under 1,500 PSI—to avoid damaging the block). Let dry completely for at least 48 hours in dry conditions. - Treat Efflorescence and Stains
If white powder appears, scrub with a vinegar-water mix (1 part vinegar to 3 parts water) or a commercial efflorescence remover. For oil stains, use a degreaser formulated for masonry. Always rinse and dry afterward. - Apply Concrete Bonding Primer
Use a masonry-specific bonding primer like Behr Concrete & Masonry Bonding Primer or Zinsser Watertite. This seals pores and creates a uniform surface for paint adhesion. Apply with a thick-nap roller (3/4 inch) or sprayer, ensuring full coverage in all crevices. Let dry per manufacturer instructions (typically 6–12 hours). - Apply Base Coat (Optional but Recommended)
For dramatic color changes or highly porous blocks, apply one coat of high-quality acrylic masonry paint in a neutral tone close to your final color. This reduces the number of topcoats needed and improves consistency. - Apply Topcoat(s)
Use 100% acrylic latex paint designed for masonry—avoid cheap flat paints. Flat or satin finishes work best for hiding imperfections. Apply two thin coats with a roller (again, 3/4-inch nap) or airless sprayer. Maintain a wet edge to prevent lap marks. Wait 6–8 hours between coats. - Cure and Protect
Allow paint to cure for at least 72 hours before exposing it to moisture or heavy contact. In humid climates, extend drying time. Consider applying a clear masonry sealer after curing if the wall is exposed to weather or abrasion.
Essential Materials Checklist
- Wire brush or angle grinder with wire wheel
- Trisodium phosphate (TSP) or masonry cleaner
- Stiff nylon scrub brush
- Garden hose or pressure washer (low PSI setting)
- Masonry repair compound (hydraulic cement or patching mix)
- Concrete bonding primer
- 100% acrylic masonry paint (flat or satin)
- Thick-nap roller (3/4 inch) or airless sprayer
- Paint trays, extension poles, painter’s tape (for edges)
- Respirator mask and safety goggles
- Drop cloths or plastic sheeting
Do’s and Don’ts When Painting Cinder Blocks
| Do | Don’t |
|---|---|
| Test for moisture by taping a 1x1 foot piece of plastic to the wall for 24–48 hours. If condensation forms underneath, address moisture first. | Paint over damp or wet blocks—this traps moisture and causes blistering. |
| Use a bonding primer specifically formulated for masonry. | Use standard drywall primer—it won’t bond properly. |
| Choose breathable acrylic-based paint to allow vapor transmission. | Use oil-based or non-breathable paints—they trap moisture and lead to peeling. |
| Apply two thin topcoats instead of one thick one for better durability. | Roll too quickly or skip back-rolling after spraying—leads to uneven texture. |
| Paint during mild temperatures (50–85°F) and low humidity. | Paint in direct sunlight or rainy conditions. |
Real Example: Transforming a Basement Workshop
Tom R., a DIY enthusiast in Ohio, wanted to convert his unfinished basement into a functional workshop. The cinder block walls were stained, dusty, and visually unappealing. He began by sealing foundation leaks and installing a dehumidifier. After cleaning with TSP and repairing spalled corners, he applied a bonding primer with a sprayer, then rolled on two coats of Benjamin Moore’s Aura Grand Entrance in \"Iron Mountain\"—a warm gray that complemented his tool cabinets.
Two years later, the paint remains intact with no peeling, even in corners near the floor where humidity tends to collect. “I skipped nothing,” Tom said. “The primer was messy, but it made all the difference. Now it feels like a real room, not a dungeon.”
Frequently Asked Questions
Can I paint cinder blocks in a high-moisture area like a basement?
Yes, but only after addressing the source of moisture. Painting over damp walls leads to mold and paint failure. Install a dehumidifier, fix leaks, and consider using a waterproofing sealant before priming. Use mold-resistant paint for added protection.
How long does painted cinder block last?
With proper prep and quality materials, a painted cinder block wall can last 10–15 years indoors and 7–10 years outdoors. Exterior walls require periodic inspection and touch-ups, especially in freeze-thaw climates.
Is it better to spray or roll the paint?
Spraying provides faster, more even coverage, especially in textured areas. However, always back-roll immediately after spraying to press paint into pores and eliminate the “orange peel” effect. For small jobs, rolling with a thick-nap roller is sufficient.
Final Tips for Long-Term Success
Keep maintenance simple: dust walls occasionally with a dry microfiber cloth. For stains, spot-clean with mild soap and water—avoid abrasive cleaners. Reapply a clear masonry sealer every 3–5 years on high-traffic or exterior surfaces to preserve color and sheen.
Remember, the beauty of painted cinder block lies not just in color but in transformation. A well-painted wall hides structural imperfections, brightens dark spaces, and adds value to your property. Whether you’re finishing a home gym, refreshing a backyard wall, or upgrading a utility room, taking the time to do it right pays dividends in durability and appearance.
Take Action Today
Don’t let rough, outdated cinder blocks define your space. With careful prep, the right products, and attention to detail, you can achieve professional-looking results that stand the test of time. Gather your supplies, follow this guide, and turn that rugged surface into a clean, cohesive backdrop you can be proud of.


 浙公网安备
33010002000092号
浙公网安备
33010002000092号 浙B2-20120091-4
Comments
No comments yet. Why don't you start the discussion?