
A well-fitting bracelet should feel like an extension of your wrist—not too tight, not too loose, and never slipping off at an inopportune moment. While many people assume jewelry is one-size-fits-all, the truth is that even slight misalignments in length or clasp tension can make wearing a favorite piece uncomfortable or impractical. The good news? Most bracelets can be adjusted with minimal tools and a bit of know-how. Whether you're dealing with a gift that’s slightly too large, a vintage find with a stiff closure, or a daily-wear bangle that pinches, learning how to fine-tune the clasp and overall fit can transform your experience.
Why Proper Clasp Adjustment Matters
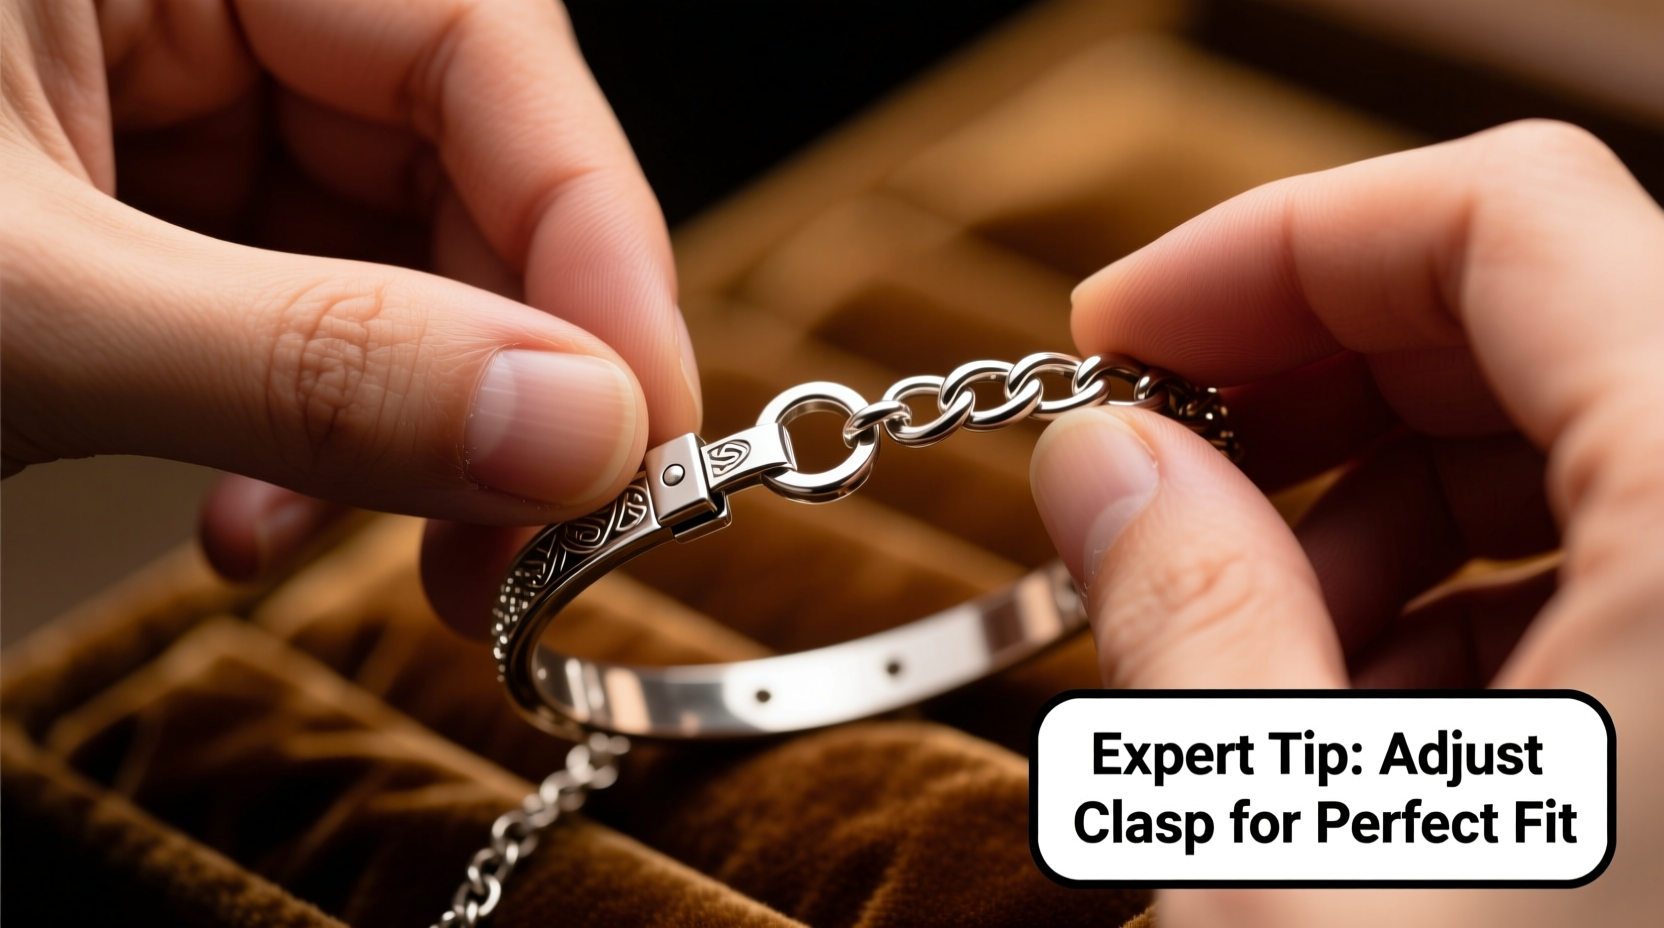
The clasp is more than just a functional element—it's the anchor point of comfort and security. A poorly adjusted clasp can lead to discomfort, restricted circulation, or worse, losing a cherished piece. Over time, metal clasps may loosen due to repeated use, while leather or fabric bands can stretch or compress. Recognizing the signs of a poor fit early prevents long-term damage to both the jewelry and your skin.
According to renowned jewelry designer Maria Tran, “A bracelet should move with you, not against you. The clasp is where intention meets function—if it doesn’t operate smoothly, the entire piece fails its purpose.” This philosophy underscores why thoughtful adjustment isn’t just cosmetic; it’s essential to wearable art.
“Even a 2mm difference in clasp alignment can change how a bracelet drapes on the wrist,” says Elena Rodriguez, master jeweler at Atelier Lumière. “Precision fitting ensures longevity and elegance.”
Step-by-Step Guide: How to Adjust Common Clasp Types
Not all clasps are created equal. Each type requires a different approach when adjusting. Below is a detailed breakdown for the most common styles.
1. Lobster Claw Clasps
These are among the most secure and widely used closures in modern jewelry. They feature a spring-loaded hook that latches onto a jump ring.
- Open the clasp using fine-tipped pliers or tweezers to gently pull back the lever.
- Inspect the attached jump ring. If the bracelet feels loose, consider replacing the current ring with a smaller one or adding a secondary ring for tighter connection.
- To shorten the band itself, remove one or more chain links (if applicable) using a link removal tool or visit a jeweler for precision work.
- Close the clasp and test the fit—your finger should slide between the bracelet and wrist with slight resistance.
2. Toggle Clasps
Commonly found on bangles and cuff bracelets, toggle clasps consist of a bar that passes through a loop. These offer elegant aesthetics but can loosen over time.
- Check if the bar slips out easily during movement. If so, the loop may have widened.
- Use chain-nose pliers to gently squeeze the loop closed by a fraction of a millimeter—avoid over-compressing, which could crack solder joints.
- For added security, add a safety chain or extender chain to prevent total loss if the clasp disengages.
3. Magnetic Clasps
Ideal for those with limited dexterity, magnetic clasps provide easy fastening—but their strength diminishes with wear.
If the magnet feels weak:
- Determine whether the magnets are built into removable end caps. Some designs allow replacement via small screws.
- Clean contact points with rubbing alcohol to remove oils or debris affecting adhesion.
- Consider upgrading to rare-earth neodymium magnets for stronger hold, available in micro sizes suitable for jewelry repair.
4. Box and Tongue Clasps (Like Belt Buckles)
Frequent in leather or braided bracelets, these mimic belt mechanisms with a prong inserted into holes.
To tighten:
- Remove the clasp end using a small screwdriver or jeweler’s punch.
- Punch a new hole closer to the main band using a leather awl or hole-punch tool.
- Reattach the hardware and ensure the tongue clicks securely into place.
To loosen, repeat the process further along the band, preserving existing holes for future adjustments.
Do’s and Don’ts When Adjusting Bracelet Clasps
| Action | Do | Don't |
|---|---|---|
| Tightening a clasp | Use precision pliers with rubber grips to avoid scratching metal. | Apply excessive force that could deform the mechanism. |
| Shortening a chain | Count links removed carefully and keep them in case of reverse adjustment. | Cut the chain without measuring twice—mistakes are hard to undo. |
| Working with delicate materials | Support the surrounding area when manipulating connectors. | Bend thin chains sharply; this can cause kinking or breakage. |
| Testing after adjustment | Wear the bracelet for several minutes to assess real-world comfort. | Assume it fits correctly based on static measurement alone. |
Real Example: Fixing a Heirloom Cuff That Wouldn’t Stay Closed
Sophie inherited a sterling silver cuff from her grandmother, but the toggle clasp had become unreliable. It would occasionally slip open when she gestured while speaking—a risk given the sentimental value. She brought it to a local artisan who diagnosed the issue: years of wear had subtly bent the bar, reducing friction within the loop.
The fix was precise: the jeweler straightened the bar using calibrated pliers, then cold-hammered the loop edges to reduce internal diameter by 0.5mm. After polishing, the bracelet snapped securely into place and stayed put—even during active tasks. Sophie now wears it daily, confident in both its fit and durability.
Essential Tools for DIY Clasp Adjustment
You don’t need a full workshop to make minor repairs. Keep these basics on hand:
- Fine-tipped pliers (chain-nose and round-nose)
- Jeweler’s screwdrivers (especially for magnetic or modular clasps)
- Link removal tool (for chain bracelets)
- Leather punch or awl (for fabric or strap-based designs)
- Ruler or caliper (to measure exact changes)
- Soft cloth or bench block (to protect surfaces during work)
When to Seek Professional Help
While many adjustments are manageable at home, certain situations call for expert hands:
- The clasp is soldered or part of an intricate design
- The material is fragile (e.g., antique gold, enamel, or gemstone-set pieces)
- You’re unsure about reversing changes if they don’t work
- The bracelet has significant monetary or emotional value
Professional jewelers have specialized tools like micro vices, laser welders, and tension testers that ensure adjustments maintain structural integrity. A $20 repair now can save hundreds in restoration costs later.
FAQ: Common Questions About Bracelet Clasp Adjustment
Can I resize any type of bracelet myself?
Most metal chain bracelets and leather bands can be safely adjusted with basic tools. However, rigid bangles, memory wire, or pieces with continuous settings (like eternity bands) typically require professional resizing or cannot be altered at all.
How tight should a bracelet clasp feel?
It should close securely without requiring excessive force. Once fastened, the bracelet should allow a fingertip to slide beneath it comfortably. If it leaves indentations or restricts movement, it’s too tight.
Will adjusting the clasp affect my bracelet’s resale value?
Minor, clean adjustments usually don’t impact value—especially if original components are preserved. However, visible damage from improper handling or non-reversible modifications (like cutting a non-adjustable band) can decrease worth significantly.
Final Thoughts: Comfort Is Part of Craftsmanship
A beautifully designed bracelet deserves a fit that honors its craftsmanship. Taking the time to properly adjust a clasp transforms a piece from merely worn to truly lived-in. Whether you choose to handle simple tweaks yourself or consult a professional for complex work, the goal remains the same: effortless wearability that lasts.


 浙公网安备
33010002000092号
浙公网安备
33010002000092号 浙B2-20120091-4
Comments
No comments yet. Why don't you start the discussion?