
Mastering Rocket League isn’t just about reflexes and game sense—it’s also about how well your controller communicates with your instincts. Many players overlook the importance of fine-tuning their controller settings, settling for defaults that may hinder responsiveness or introduce input lag. The right configuration can transform erratic movements into fluid, precise maneuvers, giving you a tangible edge in high-pressure moments. Whether you're battling for aerial supremacy or executing a last-second save, optimizing your controller setup is one of the most effective ways to elevate your gameplay.
Understanding Input Sensitivity and Dead Zones
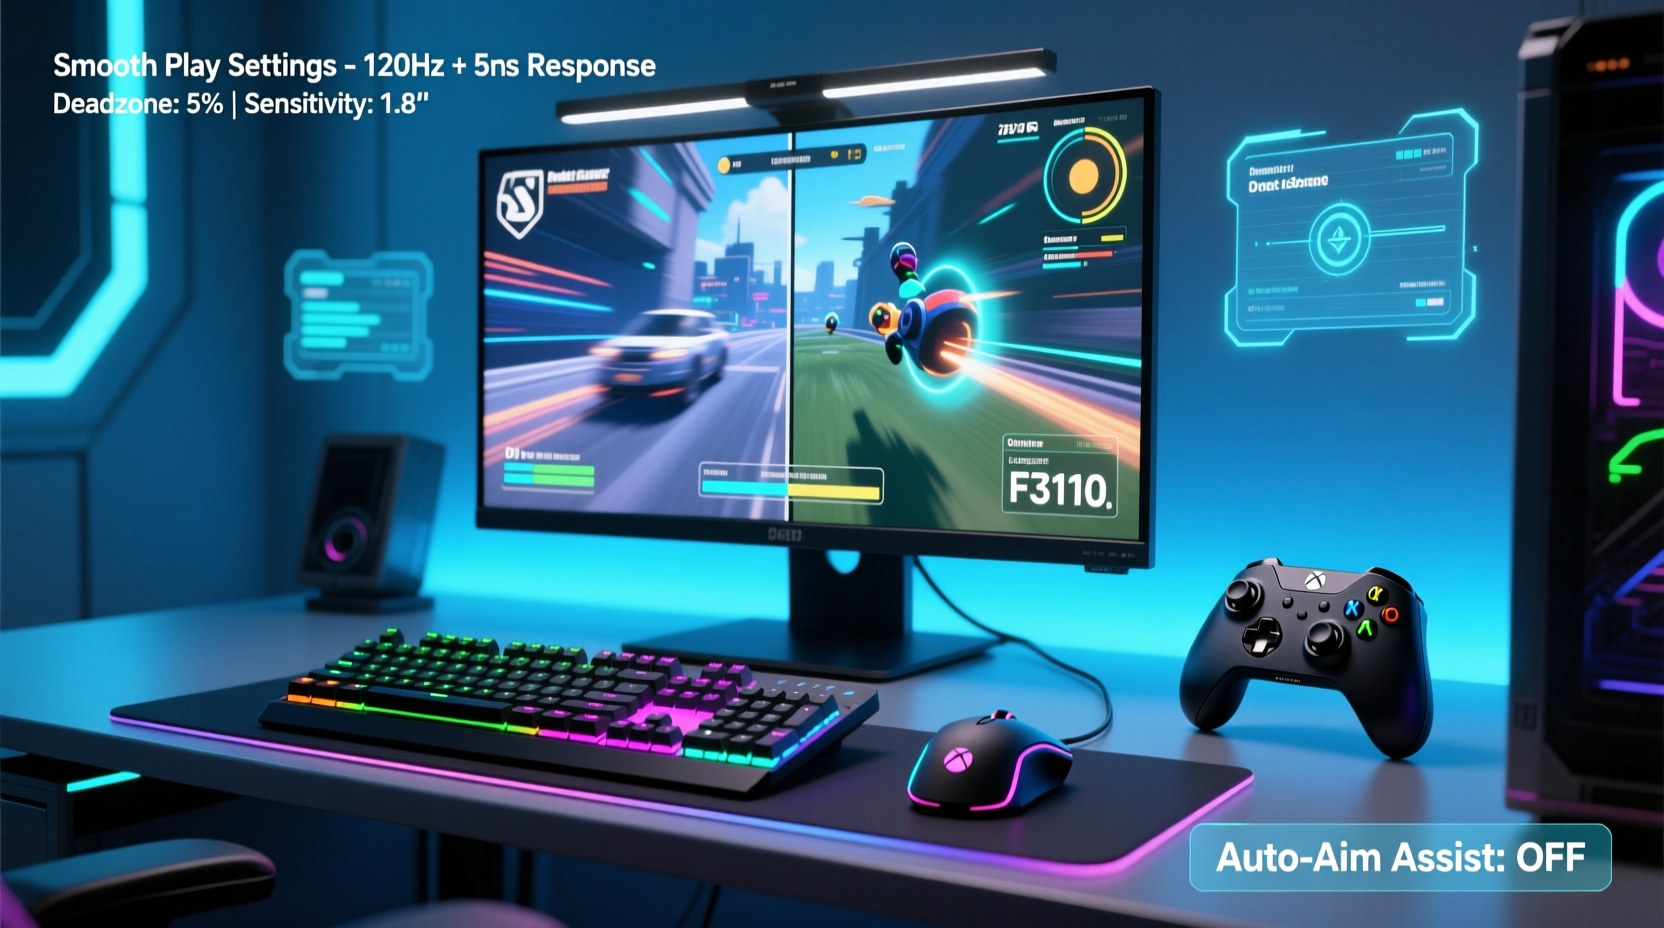
At the core of any controller setup are sensitivity and dead zones—two often misunderstood but critical factors. Sensitivity determines how much on-screen movement results from stick input, while the dead zone defines the area around the stick's neutral position that registers no input. Too large a dead zone, and your inputs feel sluggish; too small, and your car drifts unintentionally when the stick isn't perfectly centered.
Analog sticks naturally wear over time, leading to slight drift. A properly calibrated dead zone compensates for this without sacrificing responsiveness. Most professional players recommend setting the inner dead zone between 0.05 and 0.10. This eliminates minor stick drift while preserving immediate response. The outer dead zone should remain at its default (usually 1.00), ensuring full stick range translates to maximum steering or pitch control.
Optimizing Camera Settings for Better Control
Your camera influences not only visibility but also how intuitively you perceive vehicle orientation and speed. While not a direct controller setting, camera configuration works hand-in-hand with stick sensitivity to create a cohesive control experience.
The ideal camera balances height, distance, and field of view (FOV) to provide both situational awareness and responsive feedback. A higher FOV (around 110) widens peripheral vision, helping track fast-moving balls and opponents. However, excessively high FOV can distort depth perception. For smoother plays, use a moderate FOV (105–110), increased distance (250–300), and a raised camera height (100–120). This setup enhances spatial awareness without stretching visuals unnaturally.
| Camera Setting | Recommended Value | Purpose |
|---|---|---|
| FOV | 105–110 | Balanced visibility and depth accuracy |
| Distance | 270 | Improved tracking of distant targets |
| Height | 110 | Better overhead view for aerials |
| Angle | -4 to -6 | Natural downward perspective |
Step-by-Step Guide to Tuning Your Controller
Finding optimal settings requires systematic testing. Follow this process to dial in a setup tailored to your playstyle:
- Reset to Defaults: Begin with all settings at factory levels to eliminate inconsistencies.
- Adjust Inner Dead Zone: Set to 0.08 and test in Free Play. Increase slightly if drifting occurs; decrease if inputs feel delayed.
- Set Steering Sensitivity: Start with 1.00. Play a few matches focusing on sharp turns and dribbling. If oversteering happens, reduce in 0.05 increments.
- Test Aerial Response: Use the Training Mode aerial drills. Adjust pitch and yaw sensitivity so rotation feels immediate but controllable (most pros use 1.20–1.40).
- Refine Boost and Handbrake Buttons: Ensure they’re easily accessible without shifting grip. Consider rebinding if using paddles or back buttons.
- Validate in Competitive Matches: Apply changes in ranked games. Note consistency in recovery, wall play, and shot execution.
This iterative approach ensures each adjustment serves a functional purpose rather than chasing trends.
Proven Settings Used by Top Players
While personal preference reigns supreme, analyzing top-tier configurations reveals common patterns. According to data compiled from pro player profiles and community surveys, the following ranges dominate competitive setups:
- Steering Sensitivity: 1.00–1.10 (higher for aggressive dribblers)
- Aerial Sensitivity (Pitch/Yaw): 1.30 average
- Inner Dead Zone: 0.08–0.10
- Inverted Aerial Controls: Rarely used; less than 5% of pros invert yaw
- Camera FOV: 108–110
“Your controller should feel like an extension of your body—not something you fight against.” — Jamie “Kaydop” Loftus, RLCS Champion
Kaydop, a three-time RLCS finalist, emphasizes muscle memory development through consistent settings. He recommends locking in a configuration and sticking with it for at least 20 hours before making further changes. This allows your nervous system to adapt fully, reducing cognitive load during intense gameplay.
Checklist: Finalizing Your Ideal Setup
Before declaring your settings complete, verify the following:
- ✅ No unintended car drift when sticks are neutral
- ✅ Full steering lock achieved before stick hits physical limit
- ✅ Aerial rotations are snappy but controllable
- ✅ Camera allows clear view of ball and nearby opponents
- ✅ All buttons are within thumb reach during fast transitions
- ✅ Settings feel consistent across different maps and game modes
Real Example: From Frustration to Fluidity
Consider Marcus, a Diamond-ranked player struggling with inconsistent aerials and late recoveries. His initial settings used a dead zone of 0.15 and steering sensitivity of 1.30—too high for his relaxed grip style. After reducing steering to 1.05 and lowering the dead zone to 0.08, he noticed immediate improvements in ground control. Over two weeks, he practiced daily with fixed settings, gradually building confidence in tight spaces. Within a month, he climbed to Elite, citing better first-touch control and faster repositioning as key factors.
This case illustrates that even small adjustments, when applied systematically, yield measurable gains. The real breakthrough wasn’t the numbers themselves but the discipline to test, evaluate, and commit.
FAQ
Should I use gyro controls or motion aiming?
Gyro controls are not supported in Rocket League. All aiming and movement rely on analog stick input, so focus on optimizing stick sensitivity and response curves instead.
Do pro players use button remapping?
Many do. Common customizations include assigning boost and handbrake to rear paddles on elite controllers (e.g., SCUF, DualShock Edge). This reduces finger travel and improves reaction time during rapid maneuvers.
How often should I update my controller settings?
Only after deliberate testing. Frequent changes prevent muscle memory formation. Stick with a setup for at least 15–20 hours of gameplay before reassessing.
Mastery Through Precision
The difference between good and great Rocket League play often lies in the details—especially those buried in the settings menu. What may seem like minor tweaks to sensitivity or dead zones can fundamentally alter how quickly and accurately you respond to dynamic in-game situations. By treating your controller not just as a tool but as a finely tuned instrument, you unlock smoother inputs, faster reactions, and greater confidence in every touch.
Start today: open your settings, run through the tuning steps, and commit to a setup that aligns with your natural playstyle. Track your progress over the next few matches. You might be surprised how much cleaner your flicks, saves, and aerials become when your hardware finally speaks your language.


 浙公网安备
33010002000092号
浙公网安备
33010002000092号 浙B2-20120091-4
Comments
No comments yet. Why don't you start the discussion?