
Handmade gifts carry a personal touch that store-bought items often lack. One of the most charming ways to elevate your present is by placing it in a hand-folded paper gift box. These boxes are not only eco-friendly and cost-effective, but they also allow for endless creativity in design and presentation. Whether you're preparing for a birthday, holiday, or just want to surprise someone special, learning how to fold your own paper gift boxes adds an extra layer of thoughtfulness to your gesture.
Paper folding, or origami, has roots in Japanese tradition, but modern adaptations have made it accessible and enjoyable for crafters of all skill levels. With just a few sheets of paper and some basic folding techniques, you can create elegant containers that double as both packaging and decor. This guide walks you through different styles, essential tips, and detailed instructions so you can start crafting beautiful boxes today.
Why Make Your Own Paper Gift Boxes?
Creating your own gift boxes offers several advantages over purchasing pre-made ones:
- Customization: Choose colors, patterns, and sizes that match the occasion or recipient’s taste.
- Eco-friendliness: Use recycled or sustainable paper instead of plastic-based packaging.
- Crafting enjoyment: The process itself is meditative and satisfying, especially when results look professional.
- Cost savings: A single pack of origami paper can yield dozens of boxes at a fraction of retail price.
- Space efficiency: Folded boxes lie flat until needed, making them easy to store.
“Origami teaches precision and patience—qualities that make handmade gifts even more meaningful.” — Hiroshi Tanaka, Origami Artist & Educator
Essential Materials and Tools
You don’t need a craft studio to get started. Most supplies can be found around the house or purchased inexpensively at stationery stores.
Here’s what you’ll typically need:
- Square sheets of paper (origami paper, scrapbook paper, or even decorative wrapping paper)
- Ruler and pencil (for measuring and scoring folds if needed)
- Scissors (only if trimming paper to size)
- Tape or glue dots (optional, for securing flaps on certain designs)
- Flat surface (a table or cutting mat works well)
Choosing the Right Paper
The type of paper affects both appearance and durability. Consider these options:
| Paper Type | Best For | Pros | Cons |
|---|---|---|---|
| Origami Paper | Beginner projects | Lightweight, pre-cut, colorful | Too thin for heavy items |
| Cardstock | Durable gift boxes | Holds shape well, printable | Harder to fold without creasing tools |
| Scrapbook Paper | Decorative boxes | Beautiful patterns, moderate thickness | May require backing for stability |
| Recycled Paper | Eco-conscious gifting | Sustainable, unique textures | Inconsistent weight and color |
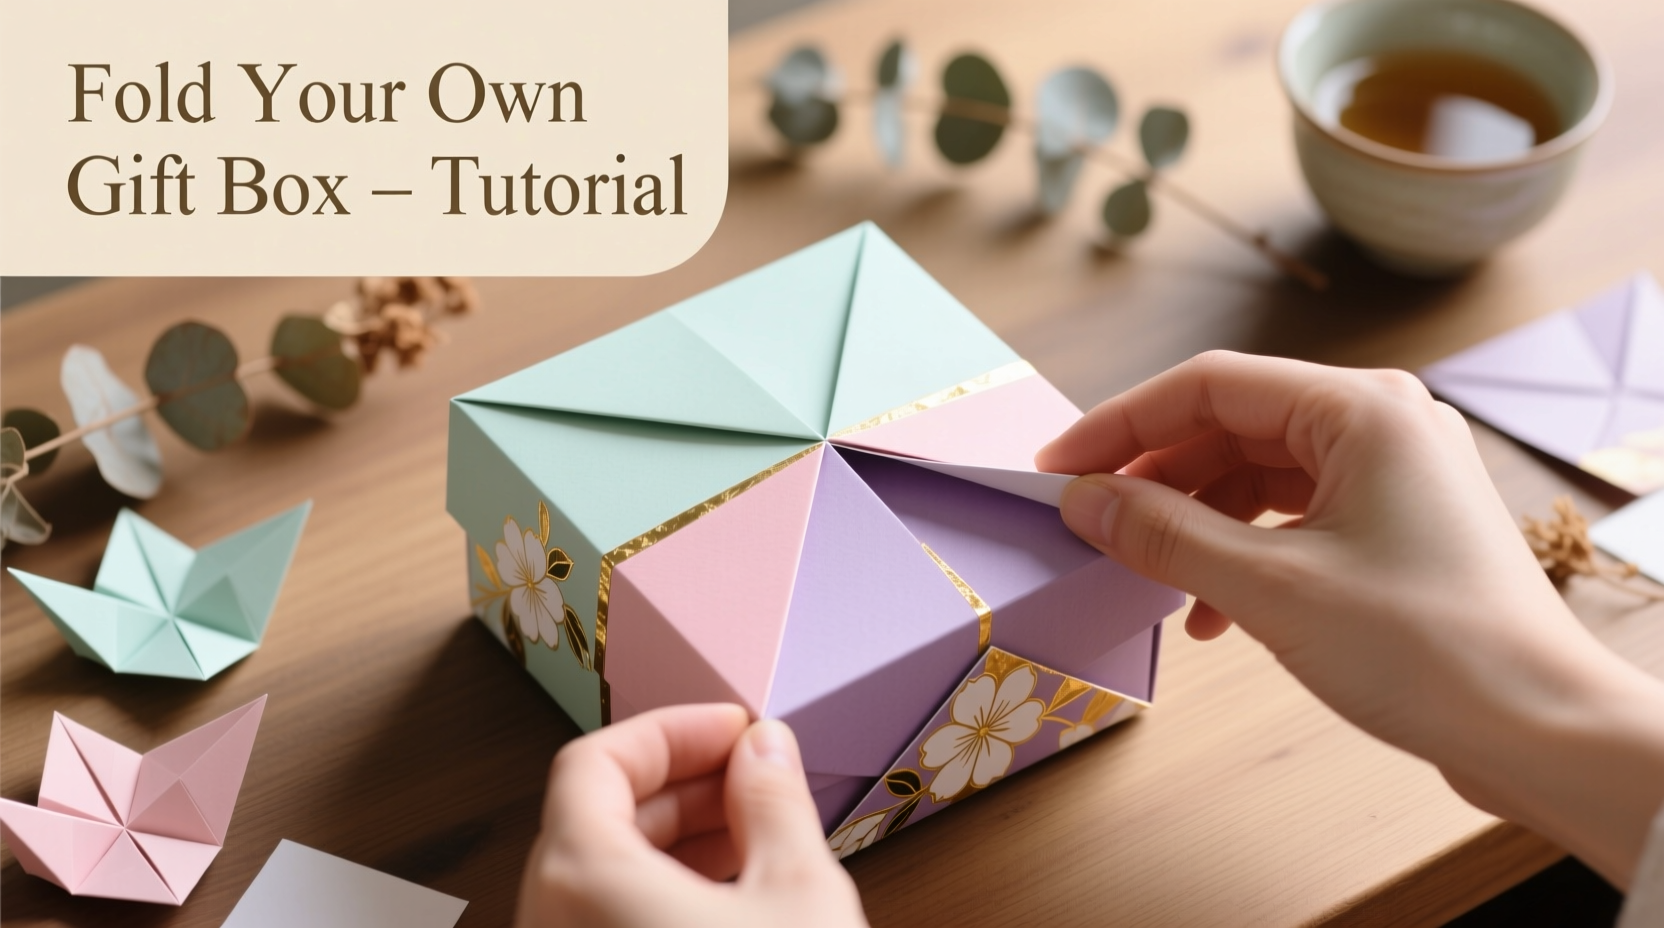
Step-by-Step: How to Fold a Classic Origami Gift Box
This foundational design is known as the \"masu box,\" originating from traditional Japanese storage containers. It's modular, requires no glue, and can be scaled to any size.
- Start with a square sheet. Place it colored-side down if using dual-tone paper.
- Fold diagonally in both directions to create an X-shaped crease. Unfold after each fold.
- Fold horizontally and vertically through the center, creating a plus sign (+) of creases intersecting the X.
- Bring all four corners to the center point. Press firmly along the edges to form a smaller square.
- Flip the model over. Again, bring all four corners to the center and press flat.
- Lift the top layers on opposite sides and open the center cavity gently. Use fingers to push out the interior into a box shape.
- Press down the sides to form clean walls. Repeat on the remaining two sides.
- Adjust the corners and ensure symmetry. Your box is now complete!
To make a matching lid, repeat the process with a slightly larger sheet—about 1/4 inch bigger on each side—and place it over the base.
Creative Variations and Design Ideas
Once comfortable with the basic fold, experiment with these popular variations:
- Heart-shaped box: Perfect for Valentine’s Day or romantic occasions. Uses modified folding sequences to create curved edges.
- Hexagonal box: Offers a modern twist using six-sided folding geometry.
- Collapsible cube box: Ideal for shipping or storage; lies flat when not in use.
- Modular kusudama boxes: Multiple units stitched together to form floral or spherical arrangements.
- Envelope-style box: Features a tuck-in flap closure, great for cards or small treats.
“I once made 50 mini origami boxes for wedding favors, each holding a seed packet. Guests loved the symbolism of growth and care.” — Lila Chen, DIY Wedding Planner
Add finishing touches like ribbon loops, stamped labels, or hand-lettered names to personalize each piece. You can even insert tissue paper liners or fold smaller boxes inside larger ones for layered reveals.
Checklist: Preparing for Your Folding Session
Follow this checklist before starting your next project to ensure smooth progress:
- ☐ Gather all paper and tools in one workspace
- ☐ Cut paper into perfect squares using a paper trimmer
- ☐ Test fold one sheet to check tension and alignment
- ☐ Keep a sample box assembled for reference
- ☐ Plan your color scheme or pattern layout ahead of time
- ☐ Set aside uninterrupted time (30–60 minutes recommended)
- ☐ Have a flat, well-lit surface available
Common Challenges and How to Solve Them
Folding seems simple, but minor errors can throw off symmetry. Here’s how to troubleshoot frequent issues:
- Uneven sides: Ensure all initial creases meet precisely at the center. Re-crease lightly if misaligned.
- Wobbly structure: Use stiffer paper or reinforce corners with tiny glue dots.
- Lid too tight or loose: Adjust the size difference between base and lid. A 0.25–0.5 inch variance usually works best.
- Paper tearing: Avoid over-folding or using brittle paper. Dampen fingers slightly to reduce friction.
- Asymmetrical opening: Open the box slowly from opposite sides to maintain balance.
FAQ
Can I wash or reuse a paper gift box?
Paper boxes are generally not water-resistant unless coated. However, they can be reused if carefully unfolded and refolded. For longevity, consider using laminated or washi-treated papers.
What size should I make the box for jewelry or chocolates?
For small jewelry items like earrings or rings, a 3x3 inch base works well. Chocolates or candies fit nicely in 4x4 to 5x5 inch boxes. Always measure your item first and add 0.5 inch clearance.
Is glue necessary for most designs?
No—traditional origami boxes rely solely on tension and precise folding. Glue is optional for added durability, especially in high-traffic environments.
Conclusion: Start Folding Today
Making your own paper folding gift boxes blends artistry, mindfulness, and generosity. Each fold becomes a quiet act of care, transforming a simple sheet into something functional and beautiful. Whether you're crafting for one person or preparing for a large event, the skills you gain will serve you for years.


 浙公网安备
33010002000092号
浙公网安备
33010002000092号 浙B2-20120091-4
Comments
No comments yet. Why don't you start the discussion?